A Comprehensive Guide on How to Pin a Website to Windows 10’s Start Menu
Introduction:
In the ever-evolving digital landscape, the Start Menu in Windows 10 serves as a gateway to seamless navigation and quick access to your most-used applications and features. However, many users are unaware of the capability to pin their favorite websites directly to the Start Menu, providing instant access to their preferred online destinations. In this comprehensive guide, we will delve into the step-by-step process of pinning a website to Windows 10’s Start Menu, ensuring a more personalized and efficient computing experience.
Understanding the Importance:
Pinning a website to the Start Menu offers a myriad of benefits, making it a valuable feature for users looking to streamline their online activities. Whether it’s a frequently visited news site, an indispensable productivity tool, or an entertainment hub, having quick access from the Start Menu eliminates the need to open a web browser and navigate through bookmarks or search engines.
Step 1: Open Your Preferred Web Browser
To initiate the process of pinning a website to the Start Menu, launch your preferred web browser. Windows 10 supports various browsers such as Microsoft Edge, Google Chrome, Mozilla Firefox, and more. For the purpose of this guide, we will focus on Microsoft Edge, the default browser in Windows 10.
Step 2: Navigate to the Desired Website
Once your web browser is open, navigate to the website you want to pin to the Start Menu. This could be your favorite news site, a web-based application, or any other online platform you frequently visit.
Step 3: Access the Menu Options
Upon reaching the desired website, locate the three horizontal dots in the top-right corner of the browser window. Click on these dots to open the menu options. In Microsoft Edge, this is known as the “More” menu.
Step 4: Choose “Apps” and Then “Install This Site as an App”
Within the menu options, hover over or click on “Apps.” From the submenu that appears, select “Install This Site as an App.” This action prompts Windows 10 to treat the website as a standalone application, enhancing its integration with the operating system.
Step 5: Customize App Name and Choose Install
A pop-up window will appear, allowing you to customize the app name for the website shortcut. Enter a name that succinctly represents the website, ensuring easy identification on the Start Menu. Once you’ve selected a name, click on the “Install” button to proceed.
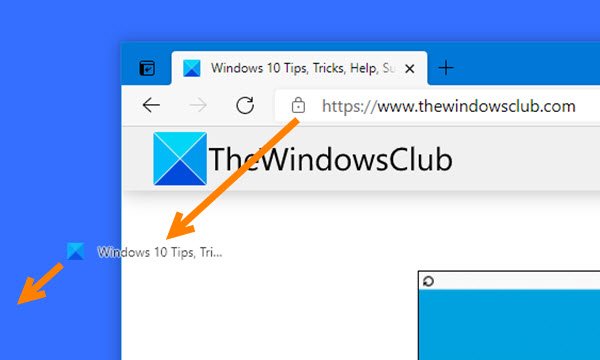
Step 6: Locate the Pinned Website on the Start Menu
Following the installation, navigate to the Start Menu by clicking on the Windows icon in the bottom-left corner of your screen. Scroll through the list of applications until you find the newly pinned website, represented by its customized name.
Step 7: Utilize Live Tile Features (Optional)
For an even more dynamic and informative experience, you can take advantage of the Live Tile features. Right-click on the pinned website icon on the Start Menu, then select “Pin to Start.” This transforms the static icon into a Live Tile, providing real-time updates or previews of the website content without opening the browser.
Conclusion:
Pinning a website to Windows 10’s Start Menu is a straightforward process that significantly enhances the user experience. By incorporating your favorite websites directly into your operating system’s interface, you save time and effort while enjoying a more personalized and efficient computing environment. Whether you’re a casual user or a power user, this guide empowers you to make the most of your Windows 10 experience by unlocking the full potential of the Start Menu.