A Comprehensive Guide to Calculating Image Size in Photoshop
Introduction:
In the realm of digital design and photography, understanding how to calculate image size is a fundamental skill that can significantly impact the quality and usability of your visuals. Adobe Photoshop, a powerhouse in the world of image editing, provides a multitude of tools and options for determining and adjusting the dimensions of your images. In this comprehensive guide, we’ll delve into the intricacies of calculating image size in Photoshop, exploring the various methods and considerations that contribute to achieving precise and effective results.
Understanding Image Size in Photoshop:
- Opening Your Image in Photoshop:
- Launch Adobe Photoshop and open the image you wish to work on.
- Navigate to the “File” menu, select “Open,” and choose your image file.
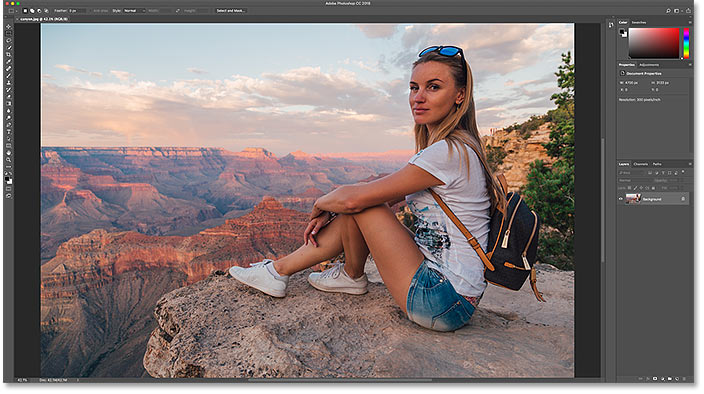
- Locating the Image Size Option:
- Once your image is open, find the “Image” menu in the top toolbar.
- From the dropdown menu, select “Image Size” to access the dialog box containing essential details about your image.
- Dimensions, Resolution, and Units:
- The Image Size dialog box displays the current dimensions of your image in pixels.
- Take note of the width and height, as well as the resolution (measured in pixels per inch or PPI) and the unit of measurement (inches, centimeters, etc.).
Adjusting Image Dimensions:
- Resizing by Percentage:
- One straightforward method is to resize your image by a certain percentage.
- In the Image Size dialog box, you can adjust the width and height by a percentage value, maintaining the original aspect ratio if desired.
- Changing Dimensions in Pixels:
- For precise resizing, you can input specific pixel values for width and height.
- Ensure that the “Constrain Proportions” option is checked to prevent distortion.
- Converting Units of Measurement:
- Photoshop allows you to convert the unit of measurement for your image dimensions.
- Select a different unit (e.g., inches to centimeters) to match your preferred scale.
Understanding Resolution and Pixel Density:
- Resolution for Print vs. Web:
- Consider the intended use of your image. For print, a higher resolution (e.g., 300 PPI) is typically recommended, while web images can often suffice with lower resolutions.
- Resampling Options:
- Resampling refers to adjusting pixel data when changing image size.
- Photoshop provides various resampling options, such as Bicubic and Bilinear, each with its characteristics and use cases.
- The Link Between Image Size and File Size:
- Recognize that increasing image dimensions or resolution can significantly impact file size.
- Balance the need for visual quality with the practical considerations of file size, especially for web use.
Practical Considerations and Tips:
- Non-Destructive Editing with Smart Objects:
- Convert your image layer into a Smart Object for non-destructive editing.
- This allows you to resize your image without losing original data, providing flexibility in adjustments.
- Batch Processing Multiple Images:
- Save time and streamline your workflow by using Photoshop’s batch processing capabilities.
- Apply the same image size adjustments to multiple images simultaneously.
- Checking File Size Before Saving:
- Before saving your edited image, check the file size in the bottom left corner of the Photoshop window.
- Ensure that the file size is within acceptable limits, especially for web usage.
Conclusion:
Calculating image size in Adobe Photoshop is a fundamental skill that empowers designers and photographers to tailor their visuals for specific purposes. By understanding the nuances of image dimensions, resolution, and pixel density, one can achieve precise and optimized results. So, whether you’re preparing images for print, web, or any other medium, let this comprehensive guide serve as your compass in navigating the intricacies of calculating image size in Photoshop.


