Crafting Seamless User Experiences: A Comprehensive Guide to Creating Custom Error Pages in Adobe Dreamweaver
Introduction: In the realm of web development, user experience is paramount. Custom error pages play a crucial role in shaping user perceptions and navigating them through unexpected hiccups gracefully. Adobe Dreamweaver, a leading web development tool, offers robust capabilities for crafting custom error pages that not only inform users of errors but also maintain the visual identity and user experience of your website. In this extensive guide, we’ll delve into the intricacies of creating custom error pages in Adobe Dreamweaver, exploring various techniques, best practices, and creative strategies to ensure a seamless user experience.
Understanding Custom Error Pages: Custom error pages, also known as HTTP error pages or 404 pages, are web pages displayed to users when they encounter an error while attempting to access a specific URL on a website. Common HTTP error codes include 404 (Not Found), 403 (Forbidden), and 500 (Internal Server Error). While default error pages provided by web servers are functional, they often lack personality and fail to provide meaningful guidance to users. Custom error pages allow web developers to design and tailor error messages to align with the website’s branding, provide helpful information, and encourage users to explore alternative content or actions.
Step 1: Planning Your Custom Error Pages Before diving into the design and implementation process, it’s essential to plan your custom error pages carefully. Consider the following factors when planning your error pages:
- Identify common HTTP error codes: Determine which HTTP error codes are most relevant to your website and prioritize creating custom error pages for those codes.
- Define the tone and messaging: Decide on the tone and messaging you want to convey on your error pages. Whether it’s informative, humorous, or empathetic, ensure that the messaging aligns with your website’s brand voice and values.
- Provide helpful guidance: Anticipate user needs and provide clear, actionable guidance on how users can navigate back to the homepage, search for content, or report the error to the website administrator.
- Maintain consistency: Ensure that your custom error pages maintain visual consistency with the rest of your website, including branding elements, typography, color schemes, and navigation menus.
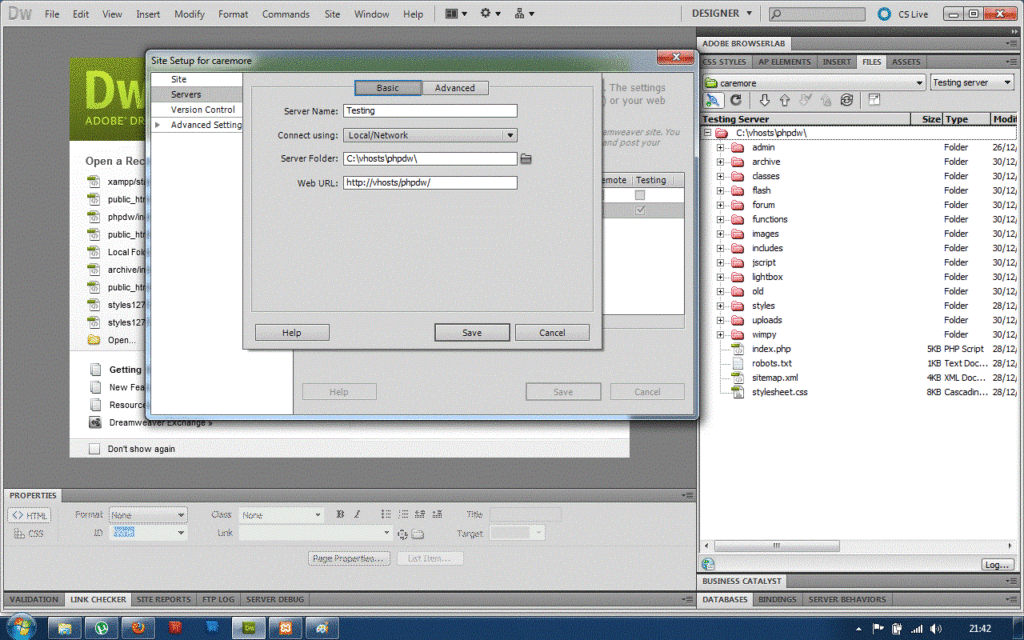
Step 2: Designing Custom Error Pages in Adobe Dreamweaver Once you’ve outlined the structure and messaging of your custom error pages, it’s time to design them using Adobe Dreamweaver’s intuitive interface and powerful design tools. Follow these steps to design custom error pages in Dreamweaver:
- Open Adobe Dreamweaver and create a new HTML document for each custom error page you plan to create (e.g., 404.html, 403.html, 500.html).
- Design the layout and visual elements of your error pages using Dreamweaver’s visual design tools, such as the Layout view and CSS Designer.
- Incorporate branding elements, such as logos, colors, and typography, to maintain visual consistency with your website.
- Write informative and user-friendly error messages that explain the nature of the error and provide guidance on how users can proceed.
- Use HTML, CSS, and JavaScript to enhance the functionality and interactivity of your error pages, such as including a search bar or navigation menu for users to explore alternative content.
- Test your custom error pages in Dreamweaver’s live view or browser preview to ensure that they display correctly and function as intended across different devices and screen sizes.
Step 3: Implementing Custom Error Pages on Your Web Server Once you’ve designed your custom error pages in Adobe Dreamweaver, it’s time to deploy them to your web server and configure your server to serve the custom error pages when appropriate. Follow these general steps to implement custom error pages on your web server:
- Upload your custom error pages (e.g., 404.html, 403.html, 500.html) to the root directory of your website on the web server.
- Configure your web server to recognize and serve the custom error pages for specific HTTP error codes. The exact method for configuring custom error pages may vary depending on your web server software (e.g., Apache, Nginx, Microsoft IIS).
- Test the custom error pages by intentionally triggering HTTP errors (e.g., accessing a nonexistent URL) and verifying that the appropriate custom error page is displayed instead of the default server error page.
Step 4: Monitoring and Iterating Creating custom error pages is an iterative process that requires ongoing monitoring and refinement to ensure optimal performance and user experience. Here are some tips for monitoring and iterating on your custom error pages:
- Track error occurrences: Use web analytics tools to monitor the frequency and context of HTTP errors encountered by users on your website.
- Gather user feedback: Solicit feedback from users who encounter custom error pages to identify pain points, usability issues, and areas for improvement.
- Analyze user behavior: Analyze user interactions with custom error pages, such as bounce rates, exit rates, and navigation patterns, to identify opportunities for optimization.
- Iterate based on insights: Use insights from error tracking, user feedback, and behavior analysis to refine the design, messaging, and functionality of your custom error pages iteratively.
Conclusion: Creating custom error pages in Adobe Dreamweaver is a critical aspect of web development that contributes to a seamless and user-centric browsing experience. By following the steps outlined in this guide and leveraging Dreamweaver’s design and development tools, you can design custom error pages that not only inform users of errors but also maintain the visual identity and user experience of your website. Whether you’re a novice web developer or seasoned professional, mastering the art of custom error page creation in Dreamweaver empowers you to deliver polished and user-friendly websites that delight and engage visitors.


