Designing Professional Labels with Canva: A Comprehensive Guide
Introduction: Labels are essential for organizing, branding, and adding information to various products, packages, or documents. With Canva, an intuitive online graphic design platform, creating custom labels has never been easier. In this comprehensive guide, we will explore the step-by-step process of designing labels in Canva, empowering users to create eye-catching and professional labels that meet their specific needs and preferences.
Step 1: Accessing Canva To begin designing labels in Canva, users can either sign up for a Canva account or log in to their existing account. Canva offers both free and premium plans, providing users with access to a vast library of design tools, templates, and resources. Once logged in, users can navigate to the “Templates” section and search for “Labels” to explore the available templates and designs.
Step 2: Choosing a Template Canva offers a variety of professionally designed label templates, each tailored to different styles, shapes, and sizes. Users can browse through the template library and select a design that best fits their labeling needs. Whether you’re creating product labels, address labels, or event labels, Canva has a template for you. Each template is fully customizable, allowing users to personalize every aspect of their label design.
Step 3: Customizing the Design Once a template is chosen, users can begin customizing the design to reflect their brand identity and content preferences. Canva’s intuitive interface makes it easy to modify text, colors, shapes, and other design elements. Users can click on any element within the template to edit its properties, including font style, size, and color. Additionally, users can upload their own images or choose from Canva’s extensive library of stock photos, illustrations, and graphics to enhance their label design.
Step 4: Adding Information and Details Effective labels include essential information and details that convey the intended message or purpose clearly. Users should carefully consider the information they want to include on their labels, such as product names, descriptions, ingredients, or contact information. Canva’s text tools allow users to easily add and format text fields, including adjusting font size, color, and alignment, ensuring that the information stands out and is easy to read.
Step 5: Incorporating Branding Elements Branding elements such as logos, brand colors, and typography play a crucial role in reinforcing brand identity and recognition. Users should incorporate these elements into their label design to create a cohesive and memorable brand experience. Canva’s design tools enable users to seamlessly integrate branding elements, ensuring consistency across all labeling materials.
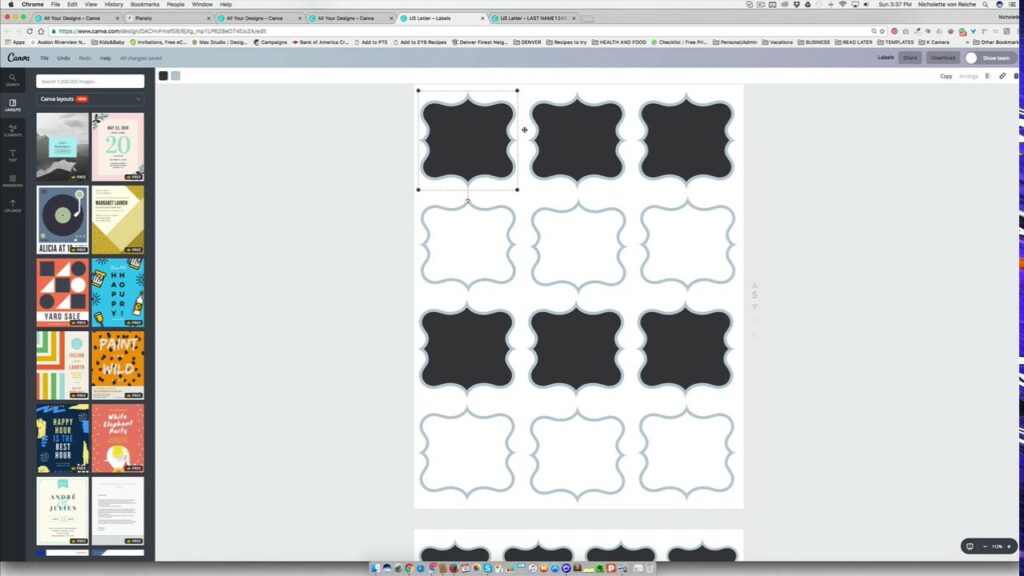
Step 6: Choosing Label Material and Shape When designing labels in Canva, users should consider the material and shape of the labels they plan to use. Canva offers various label shapes, including rectangles, squares, circles, and custom shapes, as well as different sizes and materials. Users can choose a label shape and material that best suits their labeling needs and complements their design.
Step 7: Experimenting with Layouts Experimenting with different layouts and compositions can help users find the most visually appealing design for their labels. Users can rearrange elements, adjust spacing, and experiment with different design elements until they find the perfect layout for their labels. Canva’s grid and alignment tools make it easy to create balanced and visually appealing layouts that guide viewers’ eyes seamlessly.
Step 8: Reviewing and Finalizing Before finalizing the label design, users should review every detail for accuracy and coherence. It’s essential to double-check spelling, grammar, and visual elements to ensure that the final design is error-free and visually appealing. Users can preview their labels and make any necessary adjustments before proceeding to the final step.
Step 9: Saving and Downloading Once satisfied with their label design, users can save their design in various formats, including PDF and JPEG, for printing or digital distribution. Canva also offers printing services that allow users to order printed labels directly from the platform. Additionally, users can download and save their label designs for future reference or revisions.
Conclusion: Designing labels in Canva is a creative and empowering process that empowers users to create professional and eye-catching labels that meet their specific needs and preferences. By following the step-by-step guide outlined above, users can leverage Canva’s intuitive design tools and templates to craft labels that stand out and make an impact. Whether you’re labeling products, packages, or documents, Canva provides the flexibility and versatility you need to create labels that enhance your brand and communicate effectively with your audience.


