How to Set Up Sales Tax in QuickBooks: A Comprehensive Guide
Managing sales tax is a crucial aspect of running a business, and QuickBooks offers robust tools to help you handle this task efficiently. Whether you are new to QuickBooks or looking to refine your existing setup, this comprehensive guide will walk you through the process of setting up sales tax in QuickBooks, ensuring compliance with tax regulations and streamlining your accounting processes.
Understanding Sales Tax
Before diving into the setup, it’s essential to understand what sales tax is and why it’s important. Sales tax is a consumption tax imposed by the government on the sale of goods and services. The tax is typically calculated as a percentage of the sale price and collected by the seller at the point of sale. The seller then remits the collected tax to the appropriate tax authority.
Prerequisites for Setting Up Sales Tax in QuickBooks
- Determine Your Tax Nexus: A tax nexus is the connection between your business and a taxing jurisdiction. This could be due to having a physical presence, employees, or significant sales volume in a state or locality. Understanding your tax nexus helps identify where you need to collect sales tax.
- Obtain Sales Tax Permits: Once you’ve determined your tax nexus, you must register for sales tax permits in those jurisdictions. This is typically done through the state’s department of revenue or a similar agency.
- Know the Tax Rates: Sales tax rates can vary widely by state, county, and even city. Ensure you have accurate information on the rates applicable to your business locations and the products or services you sell.
Setting Up Sales Tax in QuickBooks
Step 1: Enable Sales Tax in QuickBooks
- Open QuickBooks: Launch QuickBooks and sign in to your account.
- Navigate to the Taxes Tab: On the left navigation pane, click on “Taxes.”
- Set Up Sales Tax: If you’re using QuickBooks for the first time, you’ll see an option to set up sales tax. Click on “Set up sales tax.”
Step 2: Add Sales Tax Agencies
- Add Your Tax Agency: QuickBooks will prompt you to add the tax agency that you’ll be remitting taxes to. This is typically the state or local tax authority.
- Enter Agency Details: Provide the necessary details such as the agency name, the frequency of tax payments (monthly, quarterly, etc.), and the start date of your sales tax obligation.
- Save Information: After entering the details, click “Save.”
Step 3: Set Up Sales Tax Rates
- Add New Sales Tax Rate: QuickBooks allows you to add different sales tax rates depending on your nexus. Click on “Add tax rate and agency.”
- Enter Rate Details: Provide the name of the tax rate, the rate percentage, and assign it to the appropriate tax agency.
- Save the Rate: Click “Save” after entering all the details.
Step 4: Assign Sales Tax to Customers and Items
- Assign Default Tax Code to Customers: You can assign a default tax code to each customer based on their location. Navigate to the “Customers” tab, select a customer, and edit their profile to include the correct tax code.
- Set Up Items with Tax Codes: Ensure that your products and services are set up with the correct tax codes. Go to the “Products and Services” tab, select an item, and edit its tax settings.
Automating Sales Tax Calculation
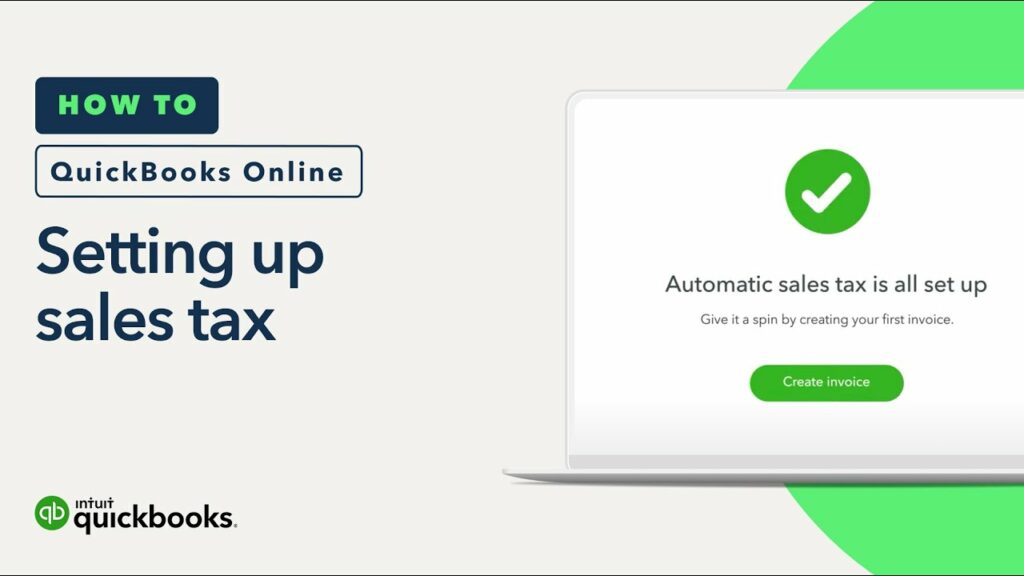
QuickBooks Online has a built-in feature called Automated Sales Tax, which can simplify the sales tax process significantly. Here’s how to enable and use it:
Step 1: Enable Automated Sales Tax
- Navigate to Taxes: Go to the “Taxes” tab.
- Set Up Automated Sales Tax: Click on “Set up automated sales tax” if it’s not already enabled.
Step 2: Verify Your Business Information
- Enter Business Address: QuickBooks uses your business address to determine applicable tax rates. Ensure your address is accurate and up-to-date.
- Review Tax Information: QuickBooks will automatically configure tax rates based on your business location. Review and confirm the information.
Step 3: Create Sales Transactions
- Create an Invoice or Sales Receipt: When creating a new sales transaction, QuickBooks will automatically calculate the sales tax based on the customer’s shipping address.
- Review Sales Tax: QuickBooks will show the calculated sales tax on the transaction form. Review the amount for accuracy.
- Save and Send: Save the transaction and send it to your customer.
Managing Sales Tax Payments
QuickBooks not only helps you calculate and collect sales tax but also assists in managing and remitting tax payments. Here’s how:
Step 1: Review Sales Tax Liability
- Go to the Taxes Tab: Navigate to the “Taxes” tab to see a summary of your sales tax liability.
- Review Reports: QuickBooks provides detailed sales tax liability reports that show the amount of tax collected, the amount due, and the payment due dates.
Step 2: Record Sales Tax Payments
- Select Tax Agency: Choose the tax agency you are paying.
- Enter Payment Details: Provide details such as the payment date, amount, and the account from which the payment will be made.
- Save the Payment: After entering the details, save the payment record.
Step 3: File Sales Tax Returns
- Generate Sales Tax Report: Generate a sales tax report for the filing period. This report will provide the necessary information for completing your tax return.
- File the Return: Use the information from the sales tax report to file your return with the appropriate tax authority. This can typically be done online through the tax agency’s website.
- Record the Filing: After filing the return, record the filing in QuickBooks to keep your records up-to-date.
Best Practices for Managing Sales Tax in QuickBooks
- Regularly Update Tax Rates: Sales tax rates can change. Ensure you regularly update the tax rates in QuickBooks to stay compliant.
- Reconcile Sales Tax Accounts: Periodically reconcile your sales tax liability accounts to ensure accuracy.
- Utilize Sales Tax Reports: QuickBooks offers various sales tax reports that can help you monitor your sales tax obligations and ensure you are collecting and remitting the correct amounts.
- Seek Professional Advice: Sales tax regulations can be complex and vary by jurisdiction. Consider consulting with a tax professional to ensure full compliance.
Troubleshooting Common Sales Tax Issues
- Incorrect Tax Calculations: If you notice incorrect tax calculations, verify that the customer and item tax codes are set up correctly and that the tax rates are current.
- Missing Tax Rates: If a tax rate is missing, ensure that your business address is accurate and that you’ve set up all necessary tax jurisdictions.
- Uncollected Sales Tax: If you’ve failed to collect sales tax on a transaction, you may need to issue a new invoice or manually adjust your sales tax records.
Conclusion
Setting up sales tax in QuickBooks is a critical task for ensuring your business complies with tax regulations and operates smoothly. By following the steps outlined in this guide, you can effectively set up and manage sales tax in QuickBooks, minimizing errors and ensuring timely tax payments. Remember, staying informed about changes in sales tax laws and regularly reviewing your tax setup will help you maintain compliance and avoid costly mistakes.


