How to Use the Subtitle Room in PowerDirector
Adding subtitles to your videos can enhance viewer engagement, accessibility, and comprehension. CyberLink PowerDirector offers a powerful tool called the Subtitle Room, which allows you to create, customize, and manage subtitles for your video projects. This comprehensive guide will walk you through the steps of using the Subtitle Room in PowerDirector, covering everything from basic subtitle creation to advanced customization techniques.
1. Introduction to the Subtitle Room
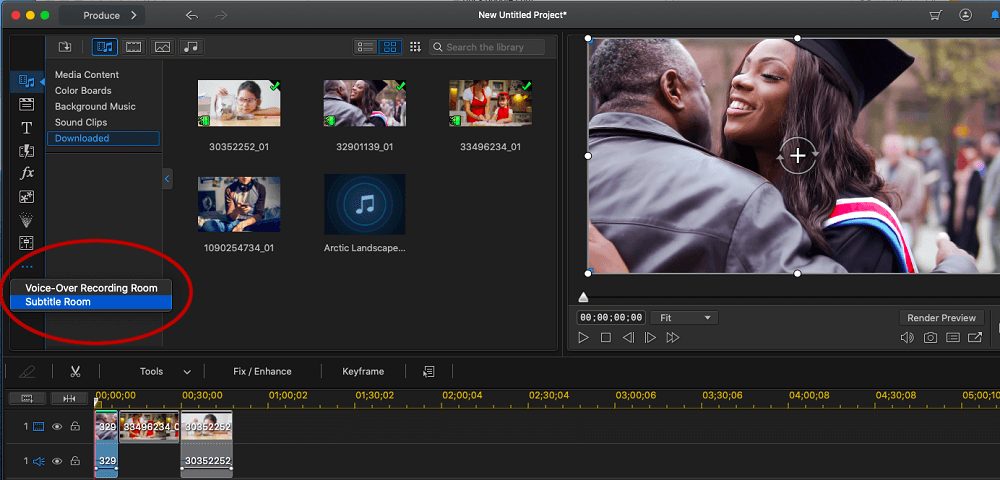
The Subtitle Room in PowerDirector is a dedicated interface for adding and managing subtitles. It provides various tools to create, edit, style, and synchronize subtitles with your video. You can access the Subtitle Room by clicking on the “Subtitle Room” icon, usually represented by a speech bubble with text, located on the left side of the interface.
2. Creating Subtitles
a. Adding a New Subtitle Track
To start adding subtitles, you need to create a new subtitle track. Follow these steps:
- Open your project in PowerDirector.
- Click on the “Subtitle Room” icon to enter the Subtitle Room.
- Click on the “Add New Subtitle Track” button located at the top of the Subtitle Room panel.
b. Adding Subtitles
Once you have created a subtitle track, you can begin adding individual subtitles. Here’s how:
- Move the playhead to the point in the timeline where you want the subtitle to appear.
- Click the “Add Subtitle” button in the Subtitle Room. A new subtitle entry will be created at the playhead position.
- Enter the subtitle text in the provided text box.
Repeat these steps to add all the necessary subtitles for your video.
3. Editing Subtitles
a. Adjusting Subtitle Timing
Ensuring that subtitles appear and disappear at the correct times is crucial for synchronization with the audio and video. To adjust the timing of a subtitle:
- Select the subtitle you want to adjust in the Subtitle Room panel.
- Use the “Start Time” and “End Time” fields to set the precise timing. You can manually enter the timecodes or use the arrow buttons to fine-tune the timing.
- Alternatively, you can drag the edges of the subtitle box on the timeline to adjust its duration.
b. Modifying Subtitle Text
To edit the text of an existing subtitle:
- Select the subtitle in the Subtitle Room panel.
- Click inside the text box and make the necessary changes.
- Press “Enter” to apply the changes.
4. Styling Subtitles
PowerDirector offers various styling options to customize the appearance of your subtitles.
a. Font and Size
To change the font and size of your subtitles:
- Select the subtitle you want to style.
- In the Subtitle Room panel, click on the “Font” dropdown menu to choose a font.
- Use the “Font Size” dropdown menu to adjust the size of the text.
b. Color and Background
You can change the text color and add a background color to your subtitles:
- Select the subtitle you want to style.
- In the Subtitle Room panel, click on the “Text Color” button and choose a color from the palette.
- To add a background color, click on the “Background Color” button and select a color.
c. Alignment and Position
To adjust the alignment and position of your subtitles:
- Select the subtitle you want to style.
- In the Subtitle Room panel, use the “Alignment” buttons to align the text to the left, center, or right.
- To change the position of the subtitle on the screen, click and drag the subtitle box in the preview window.
5. Advanced Customization
a. Adding Effects to Subtitles
PowerDirector allows you to add effects to your subtitles to make them more dynamic and engaging. To add effects:
- Select the subtitle you want to enhance.
- In the Subtitle Room panel, click on the “Effects” button.
- Choose from various effects, such as fade in, fade out, shadow, and more.
- Adjust the effect settings as needed.
b. Using Keyframes
Keyframes enable you to create complex animations for your subtitles. To use keyframes:
- Select the subtitle you want to animate.
- Click on the “Keyframe” button in the Subtitle Room panel.
- Use the keyframe timeline to set different properties (e.g., position, opacity) at various points in time.
- Add keyframes by clicking the “Add Keyframe” button and adjusting the properties as needed.
6. Synchronizing Subtitles with Audio
Accurate synchronization between subtitles and audio is essential for viewer comprehension. PowerDirector provides tools to help you synchronize subtitles effectively.
a. Using the Waveform Display
The waveform display shows the audio waveform of your video, making it easier to match subtitles to specific audio cues:
- In the Subtitle Room, enable the waveform display by clicking the “Waveform” button.
- Use the waveform to visually identify the points where dialogue or audio cues occur.
- Adjust the start and end times of your subtitles to align with the waveform peaks and troughs.
b. Automatic Speech Recognition (ASR)
PowerDirector includes an Automatic Speech Recognition (ASR) feature that can generate subtitles automatically based on the audio in your video. To use ASR:
- In the Subtitle Room, click the “ASR” button.
- Select the language of the audio and click “Start.”
- PowerDirector will analyze the audio and generate subtitles automatically.
- Review and edit the generated subtitles for accuracy.
7. Importing and Exporting Subtitles
PowerDirector allows you to import and export subtitles in various formats, making it easy to collaborate with others or use subtitles in different projects.
a. Importing Subtitles
To import subtitles:
- In the Subtitle Room, click the “Import” button.
- Choose the subtitle file format (e.g., SRT, ASS) and select the file from your computer.
- PowerDirector will import the subtitles and add them to your project.
b. Exporting Subtitles
To export subtitles:
- In the Subtitle Room, click the “Export” button.
- Choose the subtitle file format and select the destination folder on your computer.
- PowerDirector will export the subtitles, making them available for use in other projects or for sharing.
8. Managing Multiple Subtitle Tracks
PowerDirector supports multiple subtitle tracks, allowing you to create subtitles in different languages or for different purposes.
a. Adding Additional Subtitle Tracks
To add additional subtitle tracks:
- In the Subtitle Room, click the “Add New Subtitle Track” button.
- Repeat the process of adding and editing subtitles for each new track.
b. Switching Between Subtitle Tracks
To switch between subtitle tracks:
- In the Subtitle Room, click the “Track” dropdown menu.
- Select the track you want to work on from the list.
9. Previewing and Exporting Your Video with Subtitles
a. Previewing Subtitles
Before exporting your video, preview it to ensure that the subtitles are correctly synchronized and styled:
- Use the preview window in the Subtitle Room to watch your video with subtitles.
- Make any necessary adjustments to the timing, text, or styling of your subtitles.
b. Exporting Your Video
To export your video with subtitles:
- Click the “Produce” button to open the export settings.
- Choose your desired video format and quality settings.
- In the “Subtitle” section, select whether to burn the subtitles into the video or export them as a separate file.
- Click “Start” to export your video.
Conclusion
The Subtitle Room in PowerDirector is a powerful tool that allows you to create, edit, style, and manage subtitles for your video projects. By understanding and utilizing the various features and customization options available, you can enhance the accessibility and engagement of your videos. Whether you are creating subtitles for accessibility, language translation, or creative purposes, PowerDirector provides the tools you need to achieve professional results. Take the time to experiment with different settings and techniques to find the best workflow for your needs. Happy editing!


