Mastering Adobe Illustrator: A Comprehensive Guide to Creating Custom Pattern Brushes

Introduction:
In the realm of digital design, Adobe Illustrator stands as a cornerstone tool, offering a wealth of features to bring artistic visions to life. Among its versatile toolkit, the ability to create custom pattern brushes opens up a world of possibilities for designers and illustrators alike. Whether you’re looking to add decorative elements to your designs or enhance illustrations with unique textures, mastering the creation of custom pattern brushes is essential. In this comprehensive guide, we’ll delve into the step-by-step process of creating and utilizing custom pattern brushes in Adobe Illustrator.
Chapter 1: Understanding Pattern Brushes in Adobe Illustrator
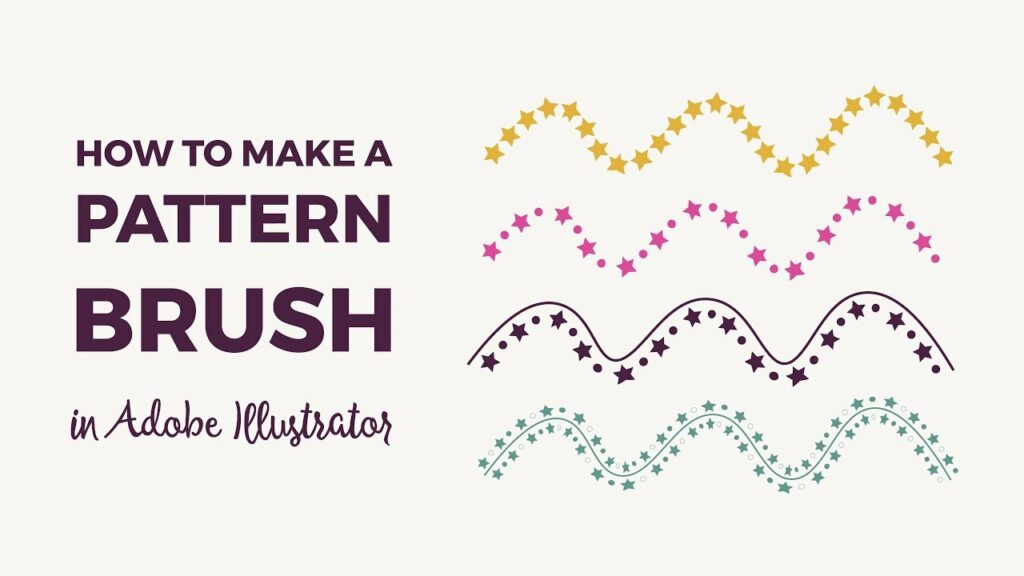
Before diving into the creation process, it’s crucial to understand the concept of pattern brushes in Adobe Illustrator. Pattern brushes are a type of brush that repeats a pattern along the length of a path, allowing designers to create decorative borders, frames, and intricate designs effortlessly. These brushes can consist of various elements, such as shapes, symbols, or artwork, arranged in a sequence to create a seamless pattern when applied to a path.
Chapter 2: Planning Your Custom Pattern Brush Design
The first step in creating a custom pattern brush is planning the design. Consider the theme and style of your project, as well as the intended use of the brush. Will it be used for decorative borders, textured strokes, or artistic effects? Sketch out ideas and determine the elements that will make up your pattern brush, whether they’re simple shapes, intricate motifs, or custom artwork.
Chapter 3: Creating the Pattern Artwork
Once you’ve planned your design, it’s time to create the artwork for your pattern brush. This can be done using Illustrator’s drawing tools, shapes, or by importing existing artwork. Ensure that the elements are arranged in a sequence that will seamlessly repeat along the path. Experiment with different arrangements and variations until you achieve the desired effect.
Chapter 4: Defining the Pattern Brush
With the artwork in place, it’s time to define the pattern brush in Adobe Illustrator. Select all the elements that make up your pattern artwork and navigate to the Brushes panel. From the panel options menu, choose “New Brush” and select “Pattern Brush.” In the Pattern Brush Options dialog box, you can customize settings such as spacing, scaling, and corner tiles to refine the appearance of your brush.
Chapter 5: Testing and Refining the Pattern Brush
Once the pattern brush is defined, it’s essential to test it on a path to ensure that it repeats seamlessly and achieves the desired effect. Apply the brush to a curved path or shape and adjust settings as needed to refine the appearance. You may need to tweak spacing, scaling, or artwork placement to achieve optimal results. Don’t hesitate to experiment and iterate until you’re satisfied with the brush’s performance.
Chapter 6: Utilizing Custom Pattern Brushes in Your Designs
With your custom pattern brush created and refined, it’s time to put it to use in your designs. Apply the brush to paths, shapes, or strokes to add decorative elements, textures, or borders. Experiment with different stroke weights, colors, and blending modes to achieve a variety of effects. Custom pattern brushes can enhance illustrations, embellish designs, and add visual interest to any project.
Conclusion:
Creating custom pattern brushes in Adobe Illustrator is a valuable skill for designers and illustrators looking to add depth, texture, and creativity to their work. By understanding the process of designing, defining, and utilizing pattern brushes, you can unlock endless possibilities for enhancing your designs and bringing your artistic visions to life. Experiment with different patterns, styles, and techniques to create brushes that are uniquely tailored to your projects, and watch as your designs come to life with newfound depth and creativity.


