Mastering Creativity: A Comprehensive Guide to Creating Custom Brushes in Adobe Illustrator
Adobe Illustrator offers a plethora of tools and features to unleash your creativity, and one such feature that allows for limitless artistic expression is the ability to create custom brushes. Whether you’re looking to add unique textures, intricate patterns, or realistic strokes to your artwork, creating custom brushes empowers you to craft truly original designs. In this comprehensive guide, we’ll explore the step-by-step process of creating custom brushes in Adobe Illustrator, along with tips, techniques, and creative ideas to inspire your brush-making journey.
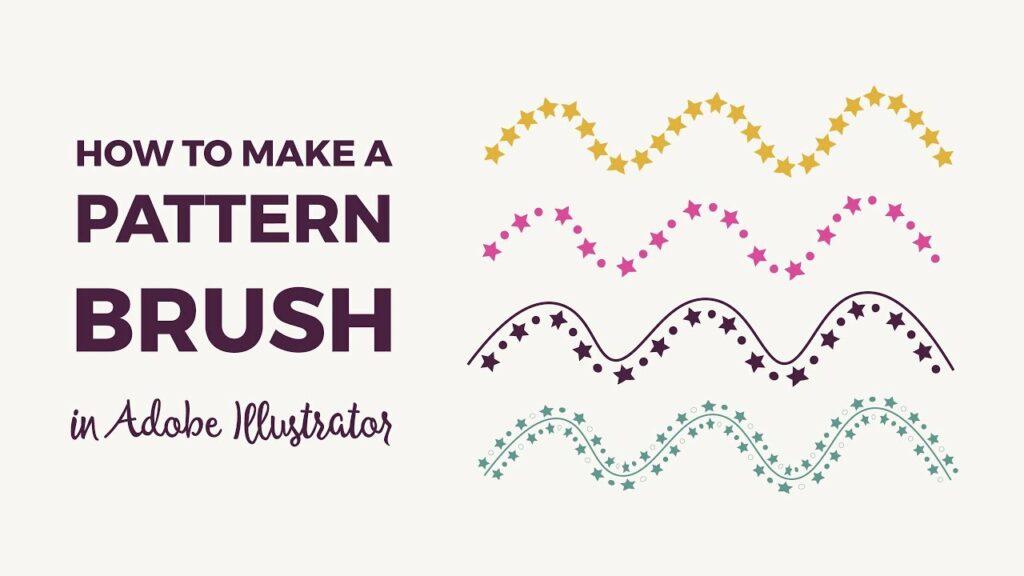
Understanding Brushes in Adobe Illustrator:
Before diving into the creation process, let’s familiarize ourselves with the concept of brushes in Adobe Illustrator. Brushes in Illustrator are essentially predefined paths that you can apply to strokes, shapes, or outlines to achieve various artistic effects. Illustrator offers a range of default brushes, including basic round brushes, calligraphy brushes, and pattern brushes. However, the real magic happens when you create your own custom brushes tailored to your specific design needs.
Step-by-Step Guide to Creating Custom Brushes:
- Prepare Your Artwork: Begin by creating or selecting the artwork that you want to turn into a brush. This could be a simple shape, a hand-drawn doodle, a pattern, or even a photograph. Keep in mind that the artwork you choose will determine the appearance of your custom brush.
- Define the Brush Area: Select the artwork that you want to convert into a brush, and ensure that it is contained within a square or rectangular bounding box. This bounding box will define the area of the brush and determine how it repeats along a path.
- Access the Brushes Panel: Open the Brushes panel in Adobe Illustrator by navigating to Window > Brushes. This panel contains all the default brushes as well as options for creating and managing custom brushes.
- Create a New Brush: With your artwork selected, click on the “New Brush” icon at the bottom of the Brushes panel. This will open a dialog box with options for creating different types of brushes, including Scatter Brushes, Art Brushes, Pattern Brushes, and more.
- Choose Brush Type and Options: Select the type of brush you want to create based on the characteristics of your artwork. For example, if you’re creating a brush with a repeating pattern, choose “Pattern Brush.” Adjust the settings and options in the dialog box to customize the behavior of your brush, such as the spacing, scale, and rotation.
- Name and Save Your Brush: Give your custom brush a descriptive name that reflects its purpose or appearance. Click “OK” to save the brush, and it will now appear in the Brushes panel alongside the default brushes.
- Apply Your Custom Brush: To apply your newly created brush to a stroke or shape, simply select the object and click on the thumbnail of your custom brush in the Brushes panel. The selected object will instantly adopt the appearance and characteristics of the brush.
Tips and Techniques for Creating Unique Brushes:
- Experiment with different types of artwork, including hand-drawn sketches, digital illustrations, and imported textures, to create a diverse range of custom brushes.
- Adjust the settings of your brushes, such as the scatter, size, and rotation, to achieve varying effects and styles.
- Combine multiple shapes and elements to create complex pattern brushes with intricate designs.
- Explore the possibilities of pressure sensitivity if you’re using a graphics tablet, as this allows for more dynamic and expressive brush strokes.
- Don’t be afraid to think outside the box and create unconventional brushes that push the boundaries of traditional illustration.
Creative Ideas for Custom Brushes:
- Watercolor Wash Brush: Create a brush with a soft, transparent texture reminiscent of watercolor washes for adding subtle color gradients and depth to your artwork.
- Grunge Texture Brush: Design a brush with a gritty, distressed texture to add an edgy and weathered look to your designs, perfect for urban-themed illustrations or vintage-inspired artwork.
- Botanical Pattern Brush: Craft a brush featuring intricate floral motifs and foliage to embellish borders, frames, or decorative elements in your illustrations with a touch of natural beauty.
- Geometric Shape Brush: Develop a brush that repeats a series of geometric shapes or patterns, ideal for creating eye-catching backgrounds, borders, or abstract compositions.
- Charcoal Sketch Brush: Capture the organic and expressive qualities of charcoal sketches by creating a brush with a rough and textured appearance, perfect for adding hand-drawn charm to your artwork.
Conclusion:
In conclusion, creating custom brushes in Adobe Illustrator is a powerful way to elevate your digital artwork and unleash your creativity. By following the step-by-step process outlined in this guide and experimenting with different techniques and ideas, you’ll be able to craft unique brushes that add depth, texture, and personality to your designs. So, dive in, explore the possibilities, and let your imagination run wild as you master the art of custom brush creation in Adobe Illustrator!


