Mastering Liquid Text Animation in Adobe After Effects: A Comprehensive Tutorial
Introduction: Liquid text animation in Adobe After Effects is a visually captivating technique that brings text to life through fluid and dynamic motion. Whether you’re looking to create eye-catching titles for videos, promotional materials, or motion graphics projects, mastering liquid text animation can add a unique and professional touch to your creations. In this extensive tutorial, we’ll explore the step-by-step process of creating liquid text animation in Adobe After Effects, covering everything from basic setup to advanced techniques, ensuring that you can unleash your creativity and produce stunning liquid text effects with confidence and efficiency.
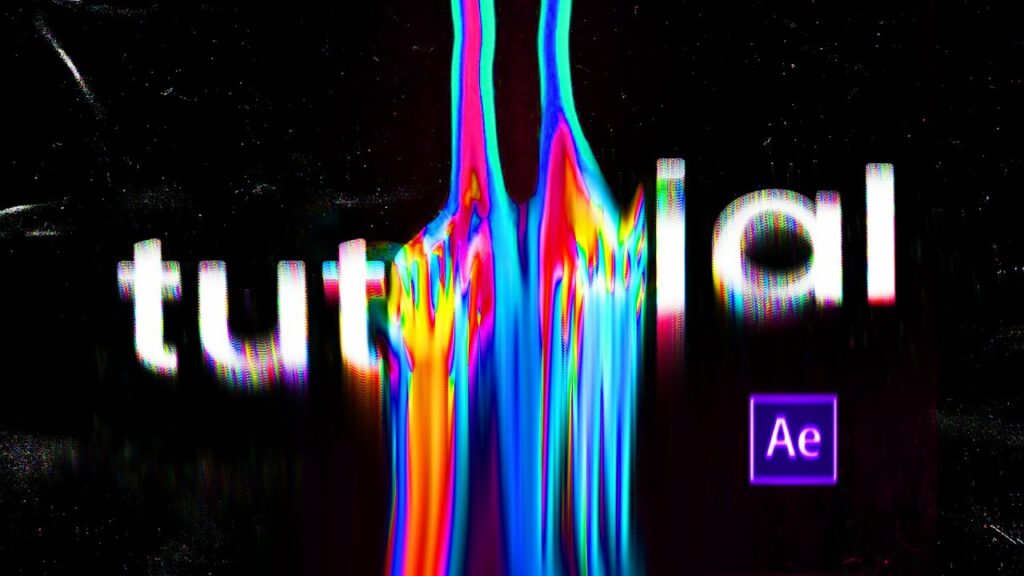
Understanding Liquid Text Animation: Liquid text animation involves animating text elements to simulate the behavior of liquid or fluid substances, such as water, paint, or mercury. This technique often incorporates organic motion, morphing shapes, and dynamic transitions to create a sense of fluidity and movement within the text. By leveraging the capabilities of Adobe After Effects, you can achieve a wide range of liquid text effects, from smooth and flowing animations to turbulent and chaotic dynamics.
Basic Setup: To create a liquid text animation in Adobe After Effects, follow these steps:
- Create a New Composition: Launch After Effects and create a new composition by selecting “Composition” > “New Composition” from the menu. Set the desired dimensions, frame rate, and duration for your animation.
- Add Text Layer: Create a new text layer by selecting the Text Tool from the toolbar and typing your desired text into the composition window. Customize the font, size, and styling options as desired.
- Convert Text to Shape Layer: Right-click on the text layer in the timeline and select “Create Shapes from Text” to convert the text into editable shape layers. This allows you to manipulate the individual characters as shape paths.
- Precompose Text Layers: Select all the shape layers comprising your text animation, right-click, and choose “Pre-compose” to group them into a single composition. This makes it easier to apply effects and animations to the entire text animation as a single entity.
Creating Liquid Effects: Once you’ve set up your text layers, you can begin adding liquid effects to animate them. Here are some techniques for creating liquid text animation in After Effects:
- Wave Warp Effect: Apply the Wave Warp effect to the text layer to create undulating waves or ripples that simulate liquid motion. Adjust the properties of the effect, such as Wave Height, Wave Width, and Direction, to achieve the desired look.
- Displacement Map Effect: Use the Displacement Map effect to distort the text layer based on the luminance values of a displacement map layer. Create a new solid layer, apply a fractal noise or turbulent noise effect to it, and use it as the displacement map for the text layer to create organic distortions.
- Liquid Simulation Plugins: Explore third-party plugins and scripts for After Effects that specialize in liquid simulations and dynamics. Plugins such as Newton, RealFlow, or Plexus offer advanced tools for generating realistic liquid effects and dynamic animations.
- Masking and Animation: Utilize masking techniques to reveal or conceal portions of the text layer, creating the illusion of liquid flowing or dripping off the text. Combine mask animations with keyframe animation to create dynamic transitions and fluid movements.
- Particle Systems: Experiment with particle systems and simulations to generate particle-based liquid effects, such as dripping water or splashing paint. Use particle emitter effects like Particle World or Trapcode Particular to generate particles that interact with the text animation.
Fine-Tuning and Refinement: Once you’ve applied liquid effects to your text animation, it’s time to fine-tune and refine the result. Here are some tips for enhancing your liquid text animation:
- Keyframe Animation: Use keyframe animation to animate properties such as scale, position, rotation, and opacity over time to create dynamic motion and transitions.
- Timing and Easing: Pay attention to the timing and easing of your animations to ensure smooth and natural movement. Experiment with different easing curves and animation speeds to achieve the desired effect.
- Color and Texture: Experiment with color gradients, textures, and blending modes to add depth and visual interest to your liquid text animation. Incorporate subtle textures or overlay effects to simulate the appearance of liquid materials.
- Layer Styles and Effects: Apply layer styles and effects, such as glows, blurs, and gradients, to enhance the appearance of the liquid text and add polish to the animation.
- Sound Design: Consider adding sound effects or audio cues to complement your liquid text animation and enhance the overall impact. Choose sound effects that match the fluidity and dynamics of the animation, such as dripping water or sloshing liquids.
Export and Integration: Once you’re satisfied with your liquid text animation, it’s time to export and integrate it into your projects. Here’s how to do it:
- Render Composition: Preview your animation in After Effects and make any final adjustments as needed. Once you’re ready, go to “Composition” > “Add to Render Queue” to add the composition to the render queue.
- Export Settings: In the render queue panel, configure the export settings, such as output format, codec, resolution, and frame rate. Choose settings that are appropriate for your intended use and distribution platform.
- Render Output: Click on the “Render” button to start rendering the composition. After Effects will render the animation and save the output file to the specified location on your computer.
- Integration: Import the rendered animation into your video editing software or motion graphics project. You can overlay the liquid text animation onto video footage, integrate it into title sequences, or use it as standalone visual elements in your projects.
Conclusion: Liquid text animation in Adobe After Effects offers a versatile and creative approach to adding dynamic and engaging visuals to your projects. By leveraging After Effects’ powerful tools and techniques, you can create stunning liquid text effects that captivate viewers and elevate the quality of your videos, motion graphics, and animations. Whether you’re a seasoned motion designer or a newcomer to After Effects, mastering liquid text animation opens up a world of creative possibilities and allows you to express your ideas with fluidity and style. So, dive in, experiment, and unleash your creativity with liquid text animation in Adobe After Effects.


