Mastering Mileage Tracking in QuickBooks: A Comprehensive Guide
Understanding the Importance of Mileage Tracking
Mileage, for many businesses, is a significant operational cost. Accurately tracking mileage not only aids in tax deductions but also provides valuable data for expense management and business performance analysis. QuickBooks, with its robust features, offers efficient tools to manage mileage records.
Setting Up Mileage Tracking in QuickBooks
Before diving into the tracking process, it’s essential to configure your QuickBooks account for mileage tracking.
QuickBooks Online
Create Vehicle Records:
- Navigate to the Expenses tab.
- Click on the “Mileage” dropdown and select “Manage vehicles.”
- Add details about your vehicles, including make, model, license plate, and odometer reading.
Enable Mileage Tracking:
- From the Expenses tab, click on the “Mileage” dropdown and select “Mileage settings.”
- Ensure the “Track mileage” option is turned on.
- Customize mileage rates as needed.
QuickBooks Desktop
Create Vehicle List:
- Go to Lists, then Chart of Accounts.
- Create vehicle asset accounts for each vehicle.
- Assign a depreciation schedule if applicable.
Set Up Mileage Tracking:
- Navigate to the Company menu, then Preferences.
- In the General & Lists tab, select Mileage.
- Configure mileage rates and other preferences.
Tracking Mileage: Manual and Automatic Methods
QuickBooks offers both manual and automatic methods to record mileage.
Manual Mileage Tracking
Add a New Trip:
- Go to the Expenses tab and select “Mileage.”
- Click “Add trip.”
- Enter the start and end dates, locations, distance, and purpose of the trip.
- Assign the trip to a vehicle.
Categorize the Trip:
- Indicate whether the mileage is for business or personal use.
- If for business, associate it with a customer or job.
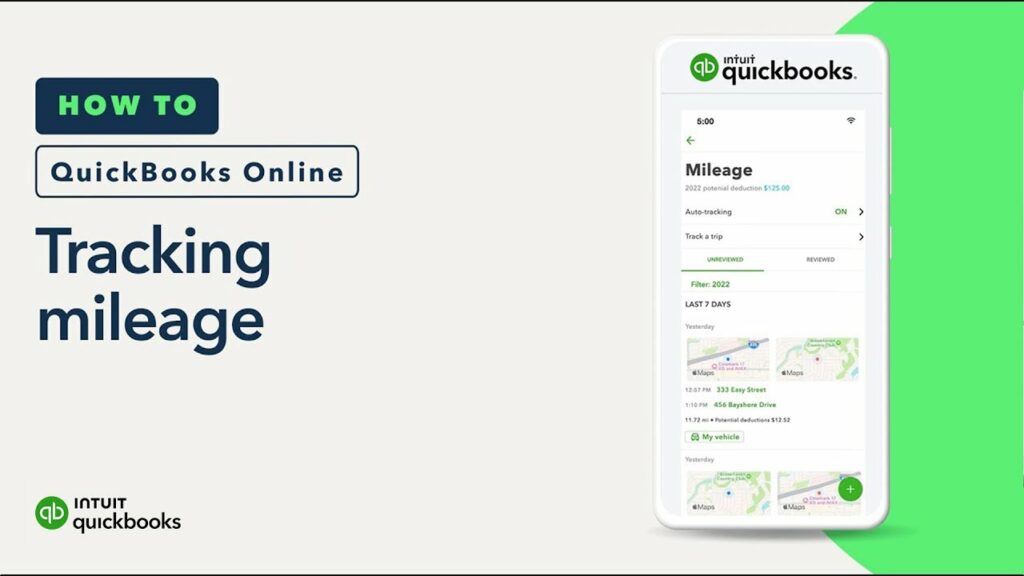
Automatic Mileage Tracking (QuickBooks Online)
QuickBooks Online offers a mobile app that can automatically track mileage.
Enable Location Services:
- Ensure your device’s location services are turned on for the QuickBooks app.
Start Tracking:
- Open the QuickBooks app and start tracking mileage.
- The app will record your trips based on your location.
Review and Categorize:
- Regularly review the tracked mileage and categorize trips as business or personal.
Important Considerations for Accurate Mileage Tracking
- Start and End Odometer Readings: Record the odometer reading at the beginning and end of each trip for precise mileage calculation.
- Trip Purpose: Clearly define the purpose of each trip (business, personal, or mixed) for tax and expense management.
- Vehicle Maintenance: Track vehicle-related expenses like fuel, repairs, and insurance for accurate cost analysis.
- Mileage Rate: Use the current IRS mileage rate for business-related expenses.
- Record Retention: Maintain detailed mileage records for at least three years for potential tax audits.
Using Mileage Data for Business Insights
Accurate mileage data can provide valuable insights into your business operations.
- Expense Analysis: Identify mileage-related costs and areas for potential savings.
- Productivity Measurement: Analyze mileage patterns to assess employee efficiency.
- Route Optimization: Optimize travel routes to reduce mileage and fuel consumption.
- Tax Preparation: Use mileage data to prepare accurate tax returns.
Common Mileage Tracking Challenges and Solutions
- Incorrect Mileage Entries: Regularly review and verify mileage data to prevent errors.
- Missing Trip Data: Develop a habit of recording mileage immediately after each trip.
- Data Export: Export mileage data to spreadsheets or other software for analysis and reporting.
By following these guidelines and utilizing QuickBooks’ features effectively, you can streamline mileage tracking, optimize your business operations, and maximize tax benefits.


