Mastering Photographic Integration: A Comprehensive Guide on How to Fill a Shape with a Photo in Photoshop
Introduction:
Adobe Photoshop stands as a powerhouse in the realm of digital creativity, offering a vast array of tools that enable artists and designers to bring their visions to life. One intriguing and visually captivating technique within the Photoshop repertoire is the ability to fill a shape with a photograph. This versatile method opens up a myriad of creative possibilities, allowing for the seamless integration of images into distinct shapes and forms. In this comprehensive guide, we will explore the step-by-step process of filling a shape with a photo in Photoshop, empowering users to enhance their digital compositions with depth, texture, and a touch of artistic flair.
I. Understanding the Basics:
1.1 Definition and Applications:
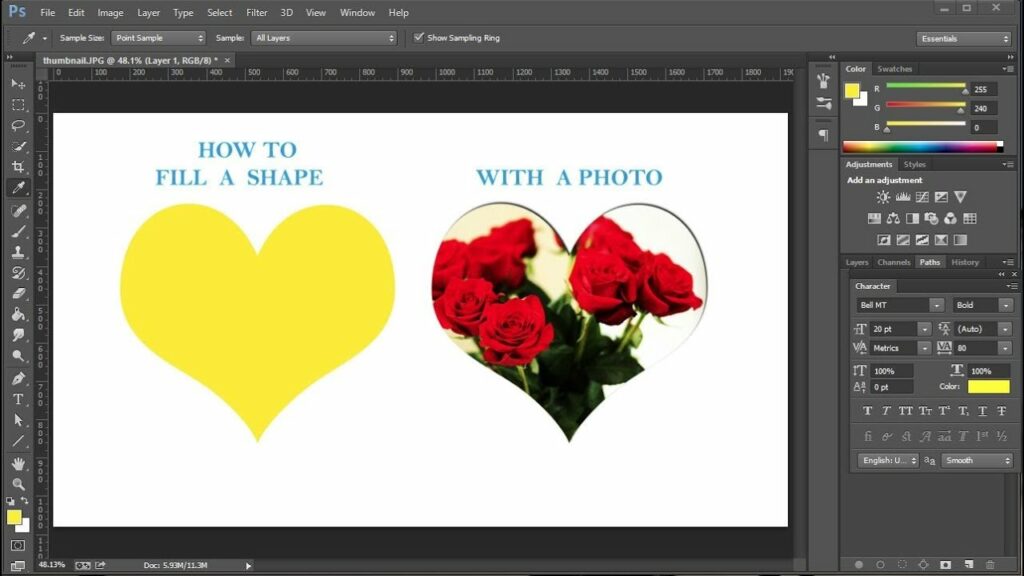
- Filling a shape with a photo involves placing an image within a defined shape, creating a visually engaging composition.
- This technique finds applications in graphic design, digital art, and various creative projects, providing a unique way to convey information or evoke emotions.
1.2 Importance of Precision:
- Achieving a seamless integration requires precision and attention to detail.
- The process involves careful selection, layering, and blending to ensure the photo fits the shape organically.
II. Selecting the Right Shape and Photo:
2.1 Choosing a Shape:
- Begin by selecting the shape that will host the photo. Common choices include rectangles, circles, polygons, or custom shapes created with the Pen Tool.
- Consider the overall design and composition to determine the most suitable shape for your creative vision.
2.2 Preparing the Photo:
- Choose a photo that complements the shape and enhances the overall theme of your project.
- Ensure that the photo has sufficient resolution to avoid pixelation when integrated into the shape.
III. Creating a Masked Layer:
3.1 Importing the Photo:
- Open both the photo and the document containing the shape in Photoshop.
- Copy and paste the photo onto a new layer in the document with the shape.
3.2 Masking the Photo:
- Create a mask on the photo layer using the shape layer as a reference.
- Use the ‘Create Clipping Mask’ option to restrict the visibility of the photo to the confines of the shape.
IV. Refining the Integration:
4.1 Adjusting Size and Position:
- Resize and reposition the photo within the shape using the Transform tools (Ctrl+T on Windows, Command+T on Mac).
- Ensure the photo fits harmoniously and highlights key elements within the shape.
4.2 Layer Styles and Blending Modes:
- Experiment with layer styles and blending modes to enhance the integration.
- Overlay, Multiply, and Screen are commonly used blending modes to achieve different effects.
V. Fine-Tuning and Adding Detail:
5.1 Masking and Erasing:
- Refine the integration by using masks and erasers to eliminate any unwanted areas or imperfections.
- Feather the edges to create a seamless transition between the shape and the photo.
5.2 Adding Effects:
- Experiment with Photoshop’s filters, such as Gaussian Blur or Smart Sharpen, to add depth or sharpen specific areas.
- Apply adjustment layers to fine-tune the color, contrast, and saturation of the integrated photo.
VI. Exporting and Saving:
6.1 Saving for Web or Print:
- Consider the intended use of the composition (web, print, etc.) when choosing the file format and resolution for saving.
- Save the document with layers intact to retain flexibility for future edits.
VII. Advanced Techniques and Creative Exploration:
7.1 Multiple Photos in a Single Shape:
- Explore the possibility of filling a shape with multiple photos, creating a collage effect within a single form.
- Use layer masks and blending modes strategically for a cohesive result.
7.2 Adding Textures and Patterns:
- Elevate the visual interest by incorporating textures or patterns into the shape along with the photo.
- Experiment with layer blending modes to achieve unique and captivating results.
VIII. Conclusion:
Mastering the art of filling a shape with a photo in Photoshop is a journey that combines technical skill with creative intuition. This versatile technique opens the door to a world of artistic expression, allowing designers and artists to seamlessly integrate images into their compositions with precision and finesse. By understanding the fundamental steps, refining the integration process, and exploring advanced techniques, users can unlock the full potential of this method and breathe life into their digital creations. Embrace experimentation, push the boundaries of your creative vision, and let the fusion of shapes and photos in Photoshop become a powerful tool in your artistic arsenal.