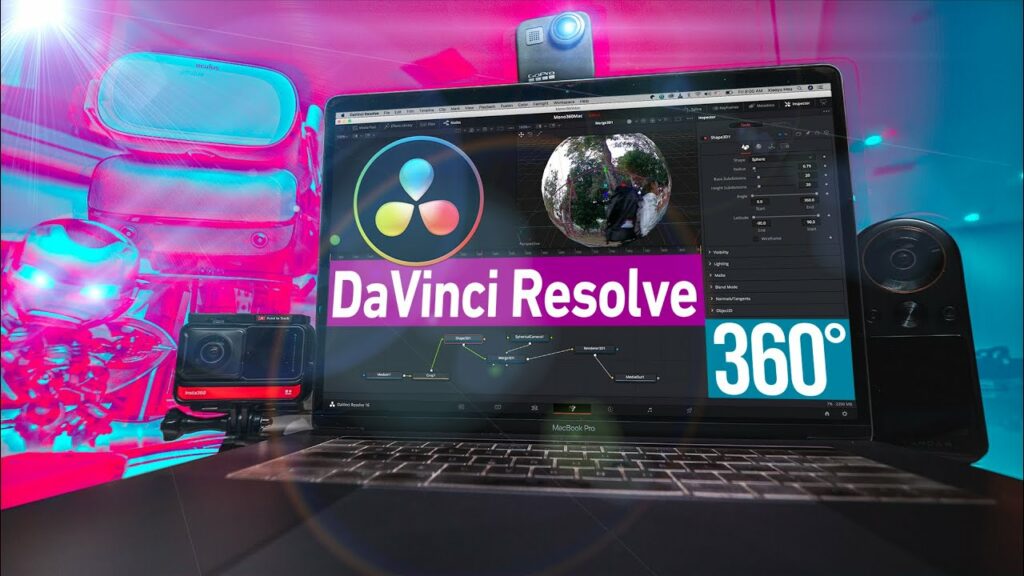
Mastering Stability in the Spherical Realm: A Comprehensive Guide to Stabilizing 360-Degree Videos in DaVinci Resolve

Introduction: The immersive allure of 360-degree videos offers viewers the freedom to explore virtual worlds from every angle. However, capturing stable footage in dynamic environments can be challenging, often resulting in shaky or jittery footage that detracts from the immersive experience. Fortunately, DaVinci Resolve, a leading video editing and color grading software, provides robust tools for stabilizing 360-degree videos with precision and finesse. In this extensive guide, we embark on a journey through the intricacies of stabilizing 360-degree videos in DaVinci Resolve, empowering creators to enhance the fluidity and immersion of their spherical narratives.
Understanding the Challenges of 360-Degree Video Stabilization: Stabilizing 360-degree videos presents unique challenges compared to traditional flat videos. The spherical nature of 360-degree footage requires specialized techniques to address stabilization issues effectively. Some common challenges include:
- Parallax Distortion: Movement of the camera or subject can cause parallax distortion, where objects appear to shift position relative to each other as the camera moves.
- Stitching Artifacts: Inconsistencies in stitching between individual camera lenses can result in visible seams or distortion in the final stitched footage.
- Warping and Stretching: Traditional stabilization methods may cause warping or stretching artifacts in the spherical projection, disrupting the natural flow of the immersive experience.
To overcome these challenges, DaVinci Resolve offers advanced stabilization tools tailored to the spherical nature of 360-degree videos. Let’s explore the step-by-step process of stabilizing 360-degree videos in DaVinci Resolve:
Stabilizing 360-Degree Videos in DaVinci Resolve: DaVinci Resolve provides powerful stabilization tools that leverage the unique characteristics of 360-degree footage to achieve smooth and fluid motion while preserving the immersive integrity of the spherical environment. Follow these steps to stabilize 360-degree videos in DaVinci Resolve:
- Import Footage:
- Begin by importing your 360-degree footage into DaVinci Resolve’s media pool. Ensure that the footage is properly formatted and stitched to create a seamless spherical view.
- DaVinci Resolve supports a wide range of 360-degree video formats, including equirectangular projection and cubic map projection.
- Apply Stabilization:
- Once your footage is imported, navigate to the Color tab in DaVinci Resolve to access the stabilization tools. Select the clip you wish to stabilize in the timeline.
- In the OpenFX panel, search for the “Stabilizer” effect and apply it to the selected clip. This will open the stabilization controls in the Inspector panel.
- Adjust Stabilization Settings:
- In the Inspector panel, adjust the stabilization settings to achieve the desired level of smoothness and stability. Experiment with parameters such as Strength, Zoom, and Smoothness to optimize the stabilization effect.
- DaVinci Resolve’s advanced stabilization algorithms analyze the motion within the 360-degree footage and apply corrective transformations to reduce shake and jitter while preserving the spherical integrity of the environment.
- Preview and Fine-Tune:
- After applying stabilization, preview the stabilized footage in the viewer to assess the effectiveness of the stabilization effect. Scrub through the timeline to identify any remaining jitter or distortion.
- Use keyframe animation and manual adjustments to fine-tune the stabilization effect for specific sections of the footage. DaVinci Resolve’s flexible keyframe controls allow for precise adjustments tailored to the unique motion patterns of each shot.
- Render and Export:
- Once satisfied with the stabilization results, navigate to the Deliver tab in DaVinci Resolve to export the stabilized footage. Specify the desired output format, resolution, and codec settings in the export settings.
- DaVinci Resolve will render the stabilized footage with the specified settings, producing a smooth and fluid result ready for distribution or further editing.
Best Practices for 360-Degree Video Stabilization: To achieve optimal results when stabilizing 360-degree videos in DaVinci Resolve, consider the following best practices:
- Use High-Quality Source Footage: Start with high-quality source footage captured with a stable camera rig to minimize the need for aggressive stabilization.
- Prioritize Smoothness: Aim for a balance between stabilization strength and natural motion to preserve the immersive integrity of the 360-degree environment.
- Apply Stabilization Conservatively: Avoid over-stabilizing the footage, as this can result in unnatural motion or distortion artifacts, detracting from the immersive experience.
- Preview in 360-Degree Viewer: Preview the stabilized footage in DaVinci Resolve’s 360-degree viewer to assess the stabilization effect from different perspectives and ensure compatibility with immersive playback environments.
- Test Playback in VR Headsets: Verify the stability and quality of the stabilized footage by testing playback in VR headsets or immersive platforms to simulate the viewer experience accurately.
Conclusion: Stabilizing 360-degree videos in DaVinci Resolve unlocks new possibilities for immersive storytelling and engagement, allowing creators to transport viewers into fully immersive worlds with fluid and seamless motion. By leveraging DaVinci Resolve’s advanced stabilization tools and techniques, creators can enhance the visual quality and immersive integrity of their spherical narratives while overcoming the unique challenges of 360-degree video production. Whether you’re capturing panoramic vistas, dynamic action sequences, or immersive experiences, DaVinci Resolve provides the tools and flexibility to achieve smooth and stable motion that captivates audiences and immerses them in your creative vision. Embrace the spherical realm and embark on a journey of stability mastery with DaVinci Resolve.


