Mastering Structural Modeling with SAP2000: A Comprehensive Guide

Introduction: SAP2000 is a powerful structural analysis and design software widely used by civil engineers, structural engineers, and architects for modeling and analyzing complex structures. From buildings and bridges to dams and towers, SAP2000 provides advanced tools and capabilities to simulate structural behavior under various loading conditions, optimize designs, and ensure structural safety and performance. In this extensive guide, we’ll explore the intricacies of modeling structures in SAP2000, covering everything from creating geometry to applying loads and conducting analysis.
Step 1: Installing SAP2000 and Getting Started Before you can model structures in SAP2000, you’ll need to download and install the software on your computer. SAP2000 is available for Windows platforms and can be obtained from the Computers and Structures, Inc. (CSI) website. Once installed, launch SAP2000 to begin your structural modeling journey. Familiarize yourself with the SAP2000 interface, including the main menu, toolbar, and workspace, where you’ll create and analyze your structural models.
Step 2: Creating a New Model The first step in modeling a structure in SAP2000 is to create a new model file. You can start by defining the basic properties of the model, including units, coordinate systems, and grid settings. SAP2000 offers a user-friendly graphical interface for defining these parameters, allowing you to customize the model according to your project requirements. Once the model settings are configured, you can proceed to create the geometry of the structure.
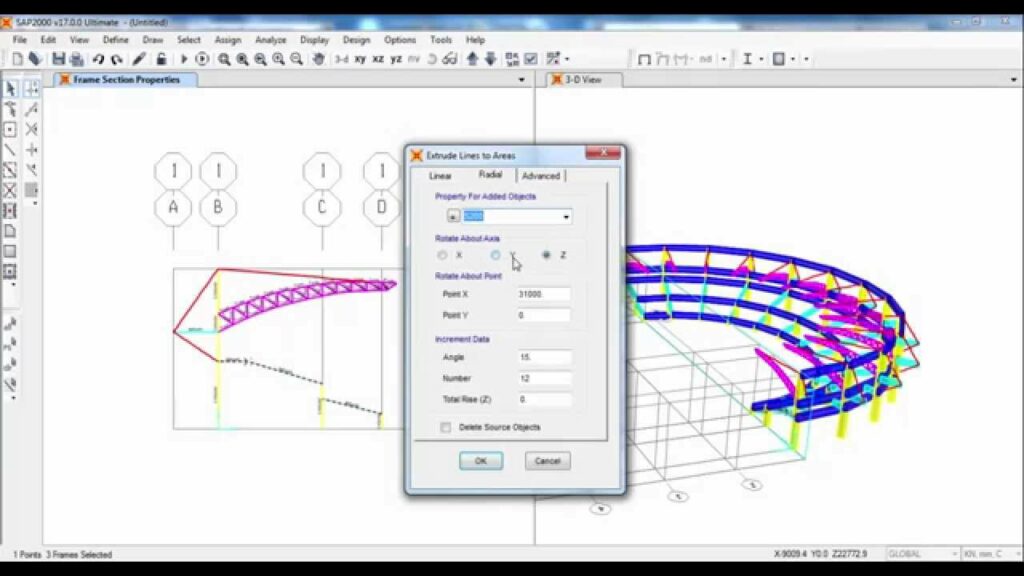
Step 3: Defining Geometry and Structural Elements With the model settings established, it’s time to define the geometry of the structure and specify the structural elements. SAP2000 supports various types of structural elements, including beams, columns, walls, slabs, and shells, which can be used to represent different parts of the structure. You can create these elements manually by specifying their dimensions and locations or import geometry from CAD software using file formats such as DXF or DWG. Use SAP2000’s drawing tools and editing commands to create and modify structural geometry with precision.
Step 4: Assigning Material Properties and Section Properties Once the structural elements are defined, you’ll need to assign material properties and section properties to them. Material properties define the mechanical properties of the materials used in the structure, such as modulus of elasticity, Poisson’s ratio, and yield strength. Section properties define the cross-sectional properties of structural elements, such as area, moment of inertia, and torsional constant. SAP2000 provides libraries of standard materials and sections for common construction materials and shapes, allowing you to assign properties easily or define custom properties as needed.
Step 5: Applying Loads and Boundary Conditions With the structural geometry and properties defined, it’s time to apply loads and boundary conditions to the model. Loads represent external forces, pressures, or accelerations acting on the structure, while boundary conditions specify constraints or supports at fixed or pinned locations. SAP2000 offers a wide range of load types, including dead loads, live loads, wind loads, seismic loads, and thermal loads, which can be applied using graphical tools or input tables. Similarly, boundary conditions can be applied using constraints such as fixed supports, pinned supports, roller supports, or spring supports to simulate real-world conditions accurately.
Step 6: Setting Analysis Options and Parameters Before running an analysis in SAP2000, you’ll need to configure analysis options and parameters according to the desired analysis type and objectives. SAP2000 supports various analysis types, including static analysis, dynamic analysis, nonlinear analysis, and time history analysis, each serving different purposes. You can specify analysis settings such as solution algorithms, convergence criteria, time step sizes, and output options to control the analysis process and obtain accurate results. Additionally, you can define load combinations and load cases to simulate different loading scenarios and design conditions.
Step 7: Running Analysis and Reviewing Results Once the analysis options and parameters are set, you’re ready to run the analysis in SAP2000 and review the results. Click the “Run Analysis” button to initiate the analysis process, and SAP2000 will solve the structural model using the specified analysis settings and algorithms. After the analysis is complete, you can review the results using SAP2000’s graphical post-processing tools and output displays. Visualize analysis results such as displacements, stresses, forces, and reactions using contour plots, diagrams, and animations to gain insights into structural behavior and performance.
Step 8: Design Optimization and Documentation After reviewing the analysis results, you may need to optimize the design of the structure to meet performance criteria and design standards. SAP2000 offers advanced optimization tools and design modules for structural design and code checking, allowing you to refine the design iteratively and ensure compliance with applicable regulations. You can generate detailed design reports, drawings, and documentation directly from SAP2000, including plan views, elevation views, section views, and reinforcement details, to communicate the design intent and specifications effectively.
Conclusion: Modeling structures in SAP2000 is a complex yet rewarding process that requires careful planning, attention to detail, and engineering expertise. By following the steps outlined in this comprehensive guide, you can leverage SAP2000’s powerful features and capabilities to create accurate and efficient structural models, simulate structural behavior under various loading conditions, and optimize designs for safety and performance. Whether you’re designing buildings, bridges, or other civil engineering structures, SAP2000 provides the tools you need to tackle the most challenging structural analysis and design tasks. With practice and experimentation, you can become proficient in using SAP2000 and unlock its full potential for solving real-world engineering challenges.


