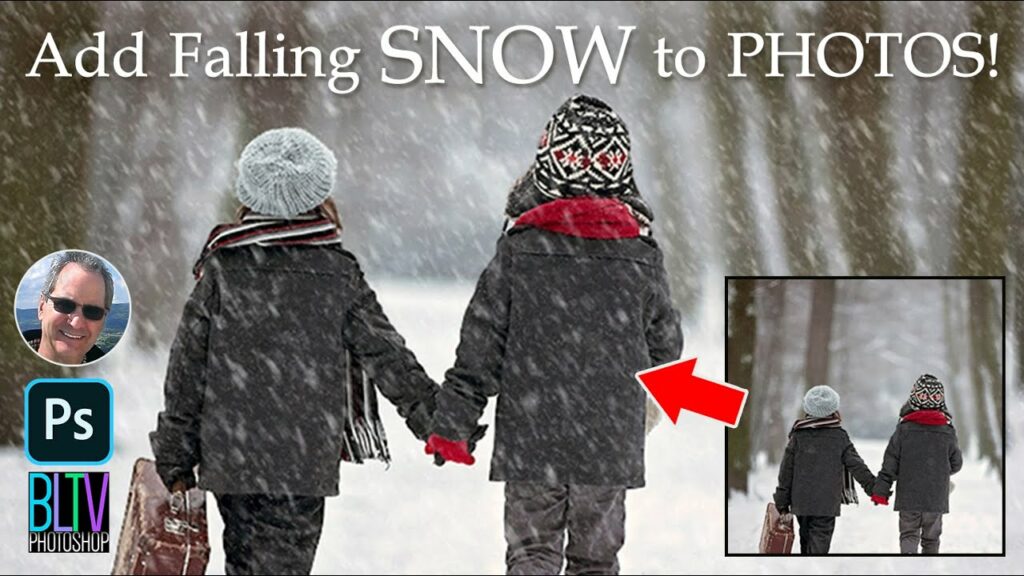
Mastering the Art of Adding Falling Snow to Photos in Photoshop: A Comprehensive Tutorial
Introduction:
As the winter season blankets the world in a serene layer of snow, capturing its ethereal beauty in photographs becomes a cherished pastime for many photographers. However, sometimes the magic of falling snowflakes can elude even the most picturesque scenes. Fear not, for Adobe Photoshop offers a plethora of tools and techniques to bring these snow-filled dreams to life. In this extensive tutorial, we embark on a journey to master the art of adding falling snow to photos in Photoshop, turning ordinary images into enchanting winter wonderlands.
Understanding the Magic of Snow in Photoshop:
Before diving into the intricacies of adding falling snow, it’s essential to grasp the fundamental principles behind this transformative process. Photoshop empowers users with a wide array of tools, filters, and brushes to manipulate images with precision and creativity. By harnessing these tools effectively, photographers can imbue their photos with the illusion of gently falling snow, evoking a sense of tranquility and wonder.
Preparing Your Image:
The first step in adding falling snow to a photo is ensuring that the image is suitably prepared for the process. This may involve adjusting the exposure, contrast, and white balance to create the desired atmosphere for a snowy scene. Additionally, it’s advisable to select an image with a clear and uncluttered background to enhance the realism of the final result.
Creating a New Layer:
Once the image is prepared, the next step is to create a new layer on which to add the falling snow effect. To achieve this, navigate to the Layers panel and click on the “New Layer” icon at the bottom, or use the shortcut “Ctrl + Shift + N” (Windows) or “Cmd + Shift + N” (Mac). This new layer will serve as the canvas for our snowfall.
Adding the Snow Effect:
With the new layer selected, it’s time to unleash the magic of falling snow in Photoshop. There are several methods to achieve this effect, each offering its unique advantages:
- Brush Tool: One of the simplest ways to add falling snow is by using the Brush tool in Photoshop. Select a soft, round brush from the Brush Preset picker and adjust its size and opacity to suit your preferences. Next, choose a white color and begin painting snowflakes onto the new layer. Experiment with varying brush sizes and opacities to create a natural-looking snowfall effect.
- Custom Shapes: For more intricate snowflake patterns, consider using custom shapes available in Photoshop. Access the Custom Shape tool from the toolbar and choose a snowflake shape from the Shape Picker menu. Click and drag on the new layer to create snowflake patterns of different sizes and orientations. This method offers greater control over the shape and distribution of snowflakes, perfect for adding detail to your winter scene.
- Snowflake Brushes: Photoshop also provides a wide range of snowflake brushes that can be downloaded or created by users. These brushes come in various styles and sizes, allowing for effortless creation of realistic snowfall effects. Simply select a snowflake brush from the Brush Preset picker and paint onto the new layer to add intricate snowflake patterns to your image.
- Particle Systems: For a more dynamic and realistic snowfall effect, consider using Photoshop’s particle systems. Plugins like Adobe After Effects offer advanced particle simulation tools that can be integrated with Photoshop through Smart Objects. By importing a particle system animation into Photoshop, users can generate lifelike snowfall with customizable parameters such as density, speed, and direction.
Refining the Effect:
Once the snowfall effect is applied to the image, it’s essential to refine and customize it to achieve the desired look. This may involve adjusting the opacity and blending mode of the snow layer to seamlessly integrate it with the background. Experiment with different blending modes such as Screen or Lighten to enhance the transparency of the snowflakes and create a more natural appearance.
Additionally, consider adding depth and dimension to the snowfall effect by varying the size, opacity, and spacing of the snowflakes. This can be accomplished by using layer masks, adjustment layers, or the Transform tool to manipulate individual snowflakes and create a sense of perspective within the image.
Fine-tuning the Details:
To elevate the realism of the snowfall effect, pay attention to finer details such as motion blur, color temperature, and lighting adjustments. Adding a subtle motion blur to the snowflakes can simulate their movement through the air, enhancing the illusion of falling snow. Similarly, adjusting the color temperature and brightness of the snow layer to match the ambient lighting conditions in the photo can further integrate the effect with the scene.
Furthermore, consider incorporating additional elements such as lens flares, bokeh effects, or atmospheric haze to enhance the winter ambiance of the image. These subtle touches can contribute to the overall atmosphere and immerse viewers in the wintry landscape.
Conclusion:
In conclusion, adding falling snow to photos in Photoshop is a captivating process that allows photographers to infuse their images with the enchanting beauty of winter. By leveraging the versatile tools and techniques offered by Photoshop, users can transform ordinary photographs into magical winter wonderlands, complete with delicately falling snowflakes. Whether using brushes, custom shapes, particle systems, or a combination of these methods, the key lies in attention to detail and artistic experimentation. With practice and creativity, photographers can master the art of adding falling snow to photos, creating captivating images that evoke the timeless charm of a snowy day.