Mastering the Art of Creating Flaming Hot Fire Text in Photoshop
Introduction:
In the dynamic world of graphic design, mastering eye-catching and attention-grabbing text effects is essential. One such effect that has stood the test of time and continues to captivate audiences is the flaming hot fire text effect. This powerful and intense visual style can add a touch of excitement and drama to any design, making it perfect for posters, banners, social media graphics, or any project where you want your text to stand out in a blazing spectacle.
In this comprehensive guide, we’ll delve into the step-by-step process of creating flaming hot fire text in Adobe Photoshop. From setting up your workspace to applying intricate details, we’ll cover everything you need to know to transform ordinary text into a scorching masterpiece.
Step 1: Preparing Your Workspace
Before you embark on the fiery journey, ensure your workspace is set up for optimal creativity. Open Adobe Photoshop and create a new document with a black background. Choose dimensions that suit your project, but a standard 1920x1080px canvas often works well.
Step 2: Adding Text
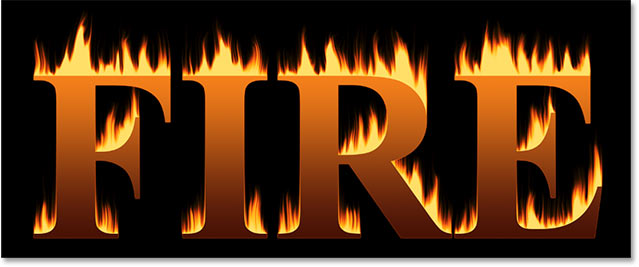
Select the Text tool (T) and choose a bold, impactful font that complements the fiery theme. Type your desired text in white or a light color to ensure visibility against the dark background. Adjust the font size and positioning according to your design preferences.
Step 3: Applying the Base Fire Effect
To create the foundation of the fire effect, use the “Outer Glow” layer style. Right-click on your text layer, select “Blending Options,” and navigate to the “Outer Glow” section. Choose a vibrant, warm color reminiscent of flames, such as shades of red, orange, and yellow. Adjust the size and opacity sliders to achieve a subtle yet noticeable glow around the text.
Step 4: Adding Texture and Depth
To enhance the realism of your flaming hot text, incorporate texture and depth. Create a new layer above your text layer and, using a soft brush, paint irregular patterns of light and dark hues reminiscent of flames. Experiment with blending modes like Overlay or Soft Light to achieve a harmonious integration with the base text.
Step 5: Introducing Gradient Overlays
To simulate the varied temperatures within a flame, apply gradient overlays. Create a new layer above the text layer, select the Gradient tool (G), and choose a gradient ranging from deep red to vibrant yellow. Drag the gradient tool across your text, experimenting with different angles and opacities until you achieve a dynamic, multi-dimensional fiery effect.
Step 6: Refining the Flames
Refine the flames by adding smaller details and nuances. Create new layers and use brushes with varying opacities to add sparks, wisps, and intricate flames around the text. This step requires experimentation and creativity, so don’t hesitate to explore different brushes and techniques to achieve the desired intensity.
Step 7: Adjusting Overall Color Balance
Fine-tune the overall color balance of your flaming hot text by adjusting the saturation, contrast, and color balance of the entire image. This ensures a cohesive and visually appealing result that integrates seamlessly with your design.
Conclusion:
Mastering the art of creating flaming hot fire text in Photoshop opens up a realm of creative possibilities for designers. By following these step-by-step instructions and allowing room for experimentation, you can elevate your text effects to a blazing spectacle that demands attention. Whether you’re designing promotional materials, digital art, or simply expressing your artistic flair, the flaming hot fire text effect is sure to leave a lasting impression. Embrace the heat and set your designs ablaze with this powerful and captivating technique.


