The Ultimate Guide: How to Install Ableton Live and Set Up Your Music Production Environment
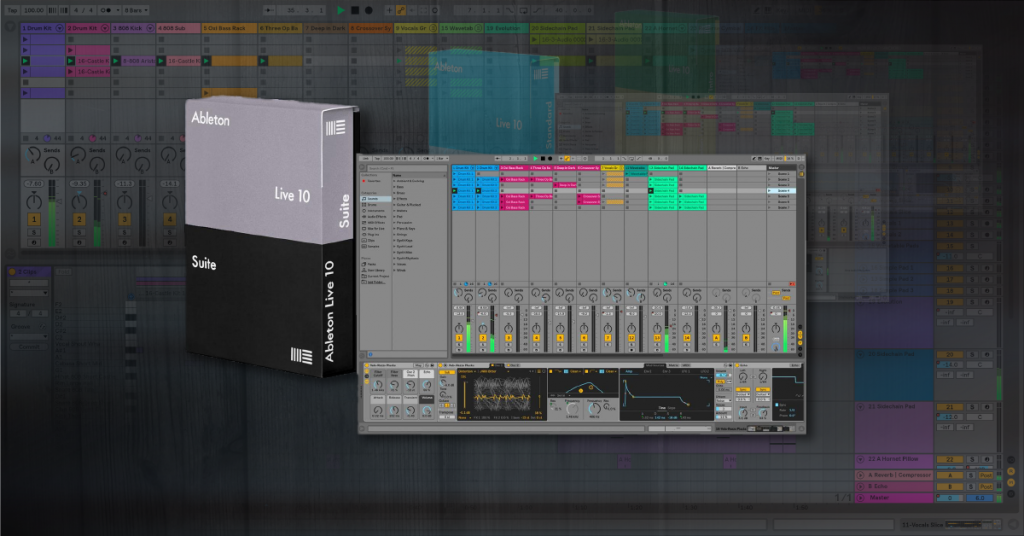
In the realm of music production software, Ableton Live stands as a cornerstone, renowned for its intuitive interface, powerful features, and seamless integration of performance and production capabilities. Whether you’re a seasoned producer, an aspiring artist, or a curious beginner, mastering Ableton Live opens up a world of creative possibilities. In this comprehensive guide, we’ll walk you through the process of installing Ableton Live and setting up your music production environment, ensuring you’re ready to unleash your musical potential.
Understanding Ableton Live:
Before we dive into the installation process, let’s briefly explore what makes Ableton Live such a powerful tool for music production:
- Unique Workflow: Ableton Live’s session and arrangement views offer a unique approach to music creation, allowing for both linear arrangement-based composition and non-linear, improvisational performance.
- Flexible Instrumentation: With a vast library of instruments, effects, and samples, Ableton Live provides endless sonic possibilities for producers across genres.
- Live Performance: Ableton Live’s seamless integration of MIDI controllers and live performance features make it a favorite among DJs, electronic musicians, and performers seeking to push the boundaries of live music.
Installation Guide:
- System Requirements:
- Before installing Ableton Live, ensure your computer meets the minimum system requirements specified by Ableton. These typically include a certain amount of RAM, processor speed, and available disk space.
- Downloading Ableton Live:
- Visit the official Ableton website and navigate to the “Shop” or “Products” section to purchase Ableton Live or download a trial version.
- Choose the edition of Ableton Live that best suits your needs, whether it’s Live Intro, Live Standard, or Live Suite.
- Installation Process:
- Once you’ve downloaded the Ableton Live installer, double-click on the file to begin the installation process.
- Follow the on-screen instructions provided by the installer, including accepting the end-user license agreement and selecting the installation location on your computer’s hard drive.
- Allow the installer to complete the installation process, which may take several minutes depending on your computer’s speed.
- Authorization:
- After installing Ableton Live, you’ll need to authorize the software using the serial number provided upon purchase.
- Launch Ableton Live and follow the prompts to enter your serial number and authorize your copy of the software.
- If you’ve purchased a physical copy of Ableton Live, the serial number may be included on a card or printed inside the packaging.
Setting Up Your Environment:
Now that you’ve installed Ableton Live, it’s time to set up your music production environment for optimal creativity and efficiency:
- Audio Interface Setup:
- Connect your audio interface to your computer using the appropriate cables.
- Open Ableton Live and navigate to the “Preferences” menu.
- Select your audio interface from the “Audio” tab and configure the input and output settings as needed.
- MIDI Controller Configuration:
- If you have a MIDI controller, such as a keyboard or pad controller, connect it to your computer via USB or MIDI cables.
- In Ableton Live’s preferences, navigate to the “MIDI” tab and ensure your MIDI controller is detected.
- Assign MIDI mappings to control parameters within Ableton Live, allowing for hands-on manipulation of instruments and effects.
- Plug-in Installation:
- If you’ve purchased Ableton Live Suite or Standard, you’ll have access to a wide range of built-in instruments, effects, and sounds.
- Additionally, you can install third-party plug-ins and virtual instruments to expand your sonic palette further.
- Follow the installation instructions provided by the plug-in manufacturer, ensuring compatibility with your version of Ableton Live.
Exploring Ableton Live:
With Ableton Live installed and your environment set up, it’s time to explore the vast array of features and tools at your disposal:
- Session View vs. Arrangement View:
- Familiarize yourself with Ableton Live’s dual-view interface, which allows for both real-time performance and traditional linear arrangement-based composition.
- Experiment with launching clips, arranging scenes, and recording automation to sculpt your musical ideas.
- Instruments and Effects:
- Dive into Ableton Live’s extensive collection of instruments, including synths, samplers, and drum racks.
- Explore the built-in audio effects, such as EQ, compression, reverb, and delay, to shape and sculpt your sounds.
- Workflow Tips and Tricks:
- Take advantage of Ableton Live’s workflow enhancements, such as grouping tracks, using session and arrangement templates, and utilizing keyboard shortcuts to streamline your creative process.
Conclusion:
Installing Ableton Live and setting up your music production environment is the first step on your journey towards creating incredible music. By following the steps outlined in this guide and exploring the vast capabilities of Ableton Live, you’ll be well-equipped to unleash your creativity and express yourself through music in ways you never thought possible.
Whether you’re producing electronic dance music, scoring a film, or experimenting with avant-garde soundscapes, Ableton Live offers the tools and inspiration you need to bring your musical visions to life. So, fire up Ableton Live, let your imagination run wild, and embark on your musical adventure today!