Unleashing Creativity: A Comprehensive Guide to Mastering the Symbol Sprayer Tool in Adobe Illustrator

Introduction:
In the realm of digital design, Adobe Illustrator stands as a powerhouse, offering a myriad of tools and features to fuel creative expression. Among these tools, the symbol sprayer tool emerges as a versatile instrument, enabling artists to effortlessly scatter and manipulate symbols across their artwork with precision and finesse. Whether you’re a seasoned illustrator or an aspiring designer, understanding how to effectively wield the symbol sprayer tool in Adobe Illustrator is essential for unlocking new dimensions of creativity. In this comprehensive guide, we’ll embark on a journey to explore the intricacies of the symbol sprayer tool, from its basic functions to advanced techniques for creating captivating artwork.
Chapter 1: Introducing the Symbol Sprayer Tool
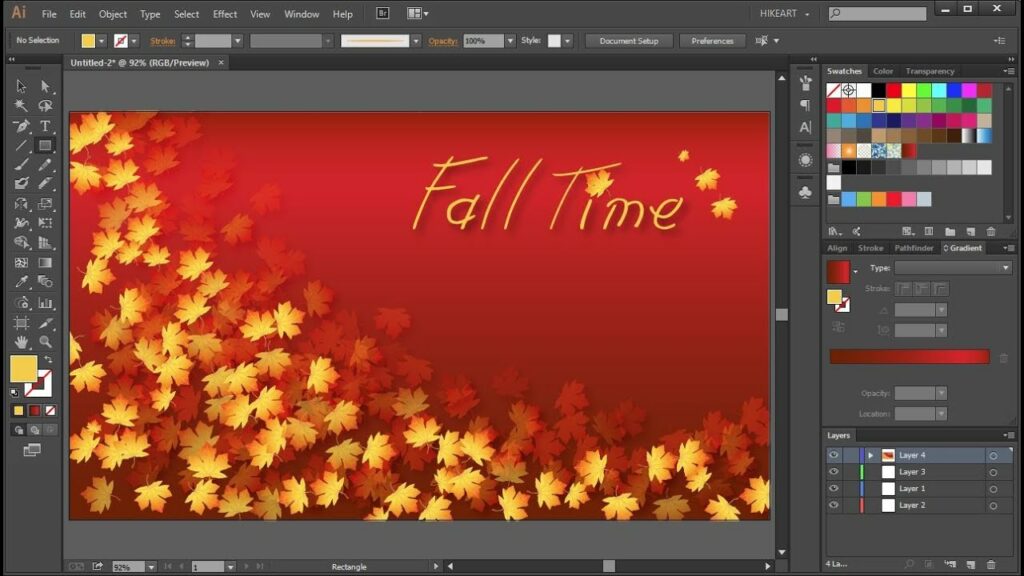
At its core, the symbol sprayer tool in Adobe Illustrator is a dynamic feature that allows artists to scatter and manipulate instances of symbols across their artwork. Symbols are predefined graphics or objects that can be reused multiple times within an illustration, offering efficiency and flexibility in design workflows. The symbol sprayer tool enables users to spray instances of symbols onto their artwork, adjust their size, rotation, and density, and manipulate them in various ways to create complex compositions.
Chapter 2: Getting Started with the Symbol Sprayer Tool
Before diving into advanced techniques, it’s important to familiarize yourself with the basic functions of the symbol sprayer tool in Adobe Illustrator. Start by selecting the symbol sprayer tool from the toolbar or by pressing the Shift+S shortcut. Then, choose a symbol from the symbols panel or create your own custom symbol using Illustrator’s drawing tools. Once selected, click and drag on your artwork to spray instances of the symbol onto the canvas.
Chapter 3: Adjusting Symbol Sprayer Settings
To achieve the desired effect, it’s essential to understand and adjust the various settings of the symbol sprayer tool. Experiment with the intensity and density sliders to control the spacing and concentration of sprayed symbols. Use the size and rotation sliders to adjust the size and orientation of the sprayed symbols, adding variety and dynamism to your compositions. Additionally, explore the options for overlapping and stacking symbols to create depth and complexity in your artwork.
Chapter 4: Manipulating Sprayed Symbols
The true power of the symbol sprayer tool lies in its ability to manipulate sprayed symbols in a variety of ways. Use the direct selection tool (A) to select and move individual symbols, adjusting their position and orientation within your composition. Experiment with the stylus pressure settings or the keyboard shortcuts to control the size and density of sprayed symbols dynamically. You can also use the symbol shifter tool to rearrange and reposition sprayed symbols with ease.
Chapter 5: Combining Symbol Sprayer with Other Tools and Techniques
To push the boundaries of your creativity, consider combining the symbol sprayer tool with other Illustrator tools and techniques. Experiment with blending modes, opacity masks, and layer effects to add depth and dimension to your compositions. Use the appearance panel to apply gradients, strokes, and effects to sprayed symbols, creating unique visual effects and textures. Additionally, explore the possibilities of using symbols as building blocks for more complex illustrations, such as patterns, textures, and decorative elements.
Chapter 6: Advanced Techniques and Tips
For seasoned Illustrator users looking to take their symbol sprayer skills to the next level, consider exploring advanced techniques and tips. Experiment with creating custom symbol libraries and organizing symbols into categories for easy access and management. Utilize the symbol screener tool to adjust the transparency and opacity of sprayed symbols, allowing for subtle blending and layering effects. Additionally, explore the use of 3D symbols and perspective grids to add depth and realism to your compositions.
Chapter 7: Saving and Exporting Symbol Sprayer Artwork
Once you’ve completed your artwork using the symbol sprayer tool in Adobe Illustrator, it’s important to save and export your work for sharing or further editing. Save your Illustrator document in a compatible file format, such as AI or PDF, to preserve the vector properties of your artwork. If you’re creating artwork for the web, consider exporting your artwork as an SVG file for scalability and compatibility with web browsers. For print-based projects, export your artwork as a high-resolution raster image in formats such as JPEG or PNG.
Conclusion:
Mastering the symbol sprayer tool in Adobe Illustrator is a journey of exploration and experimentation, offering endless opportunities for creativity and expression. By understanding the basic functions, adjusting settings, and exploring advanced techniques, you can unlock the full potential of the symbol sprayer tool and create captivating artwork that captivates and inspires. So grab your stylus, unleash your imagination, and let the symbol sprayer tool take your illustrations to new heights of creativity.


