A Comprehensive Guide on Installing Windows XP
In the realm of operating systems, Windows XP holds a special place in the hearts of many users, despite its age. Whether for nostalgia, compatibility needs, or simply the desire for a familiar interface, installing Windows XP remains a task that many undertake. In this comprehensive guide, we’ll walk you through the step-by-step process of installing Windows XP, ensuring a smooth and successful installation every time.
Preparation:
Before diving into the installation process, it’s crucial to gather all the necessary tools and prepare your system for the installation. Here’s what you’ll need:
- Windows XP installation CD or ISO file.
- A valid product key for Windows XP.
- A computer capable of running Windows XP, meeting the minimum system requirements.
- Backup of important data, as the installation process may involve formatting the hard drive.
Step 1: Booting from the Installation Media
Insert the Windows XP installation CD into your computer’s optical drive or mount the ISO file if you’re using a virtual machine. Then, restart your computer. During the boot process, you’ll need to enter the BIOS or UEFI settings to change the boot order. Set the CD/DVD drive or the virtual drive (if using a virtual machine) as the first boot device.
Step 2: Starting the Installation
Once you’ve configured the boot order, save changes and exit the BIOS/UEFI settings. Your computer will now boot from the Windows XP installation media. You’ll see a message prompting you to “Press any key to boot from CD.” Press any key to continue.
Step 3: Beginning the Setup Process
The installation process will begin, loading necessary files and drivers. After a brief moment, you’ll be presented with the Windows XP Setup screen. Press Enter to start the setup process.
Step 4: Accepting the License Agreement
Next, you’ll encounter the End-User License Agreement (EULA). Read through the license agreement carefully, and if you agree to the terms, press F8 to accept and continue.
Step 5: Partitioning and Formatting the Hard Drive
At this stage, you’ll need to select the partition where you want to install Windows XP. If your hard drive is new or doesn’t contain any important data, you can create a new partition by pressing C. Alternatively, you can choose an existing partition by highlighting it and pressing Enter.
After selecting the partition, you’ll be prompted to choose a file system and format the partition. For most users, the default NTFS file system is the recommended choice. Press Enter to format the partition using NTFS.
Step 6: Copying Files
Once the partition is formatted, the setup process will begin copying files from the installation media to your hard drive. This may take some time, depending on your system’s speed and the size of the installation files.
Step 7: Installing Windows XP
After the files are copied, your computer will restart automatically. During the restart, make sure not to press any keys, as this may interrupt the installation process. Windows XP will now continue with the installation process, configuring hardware and installing device drivers.
Step 8: Regional and Language Options
Following the restart, you’ll be prompted to specify your regional and language settings. Choose your preferred settings and click Next to continue.
Step 9: Entering the Product Key
Now, you’ll need to enter your Windows XP product key. This 25-character alphanumeric code is typically found on the sticker attached to your computer or included with the installation CD. Enter the product key carefully, as it is case-sensitive.
Step 10: Computer Name and Administrator Password
Next, you’ll be asked to enter a name for your computer and set an administrator password. Choose a descriptive name for your computer and create a strong password to ensure the security of your system.
Step 11: Date and Time Settings
Set the correct date, time, and time zone for your location. This information is crucial for accurate system operation and time synchronization.
Step 12: Network Settings
If your computer is connected to a network, you’ll be prompted to configure network settings. Choose the appropriate options based on your network configuration, such as obtaining an IP address automatically or specifying a static IP address.
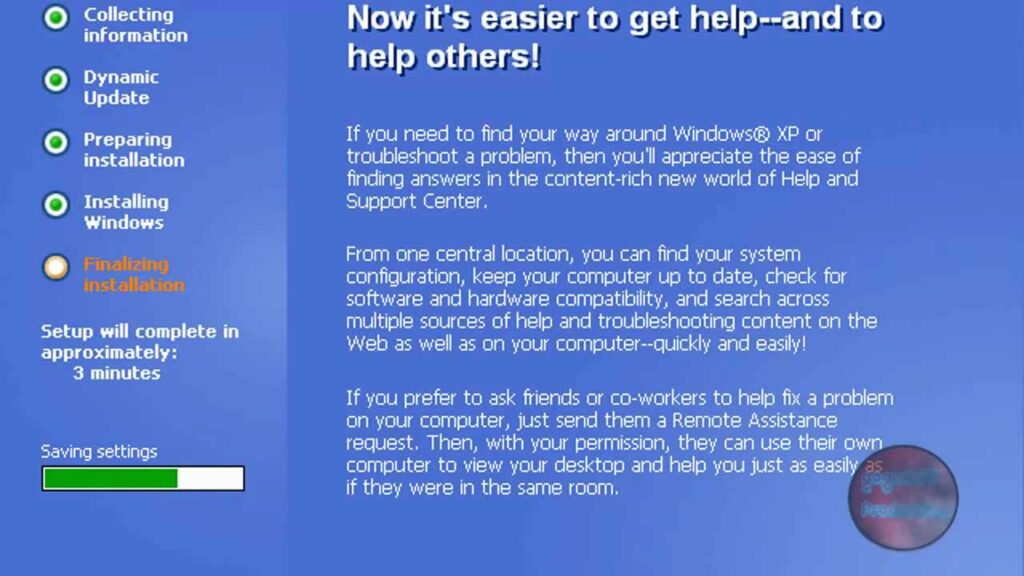
Step 13: Finalizing Installation
Once you’ve configured all the necessary settings, Windows XP will finalize the installation. This involves setting up user accounts, installing additional components, and preparing the system for first-time use.
Step 14: Completing Setup
After the final configurations are completed, Windows XP will restart one last time. Upon restart, you’ll be greeted with the Windows XP welcome screen, indicating that the installation process is complete.
Congratulations! You’ve successfully installed Windows XP on your computer. From here, you can begin exploring the familiar interface, installing drivers and applications, and customizing your system to suit your needs.
In conclusion, while Windows XP may be an older operating system, its installation process remains straightforward and accessible to users of all levels. By following this comprehensive guide, you can install Windows XP with confidence, reviving the nostalgia of a bygone era or fulfilling specific compatibility requirements. Enjoy your journey with Windows XP!


