Mastering Double Exposure: A Comprehensive Guide to Creating Double Exposure Effects in Adobe Premiere Pro
Introduction: Double exposure is a captivating visual technique that combines two or more images to create a surreal and dreamlike effect. This technique has been widely used in photography, film, and digital art to convey themes of duality, connection, and transformation. With Adobe Premiere Pro, a leading video editing software, users can easily create double exposure effects to add depth, texture, and visual interest to their videos. In this comprehensive guide, we will explore the step-by-step process of creating a double exposure effect in Adobe Premiere Pro, from importing footage to blending and compositing images for professional-quality results.
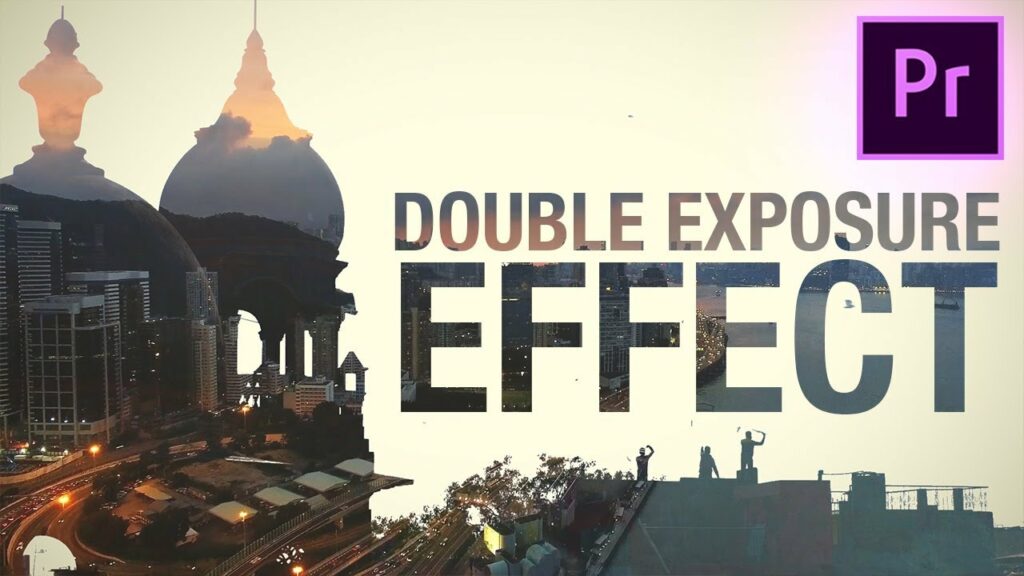
Understanding Double Exposure Effects: Double exposure effects involve superimposing two or more images or videos to create a single, cohesive composition. This technique can be used to blend portraits with landscapes, cityscapes with nature, or any combination of images to evoke emotion and convey meaning. Double exposure effects are often characterized by their ethereal and otherworldly quality, with seamless transitions and overlapping elements that create a sense of unity and harmony. With Adobe Premiere Pro, users can leverage a range of tools and features to create stunning double exposure effects that elevate their videos to new heights.
Step 1: Importing Footage into Adobe Premiere Pro The first step in creating a double exposure effect in Adobe Premiere Pro is to import the footage into the project. Launch Adobe Premiere Pro on your computer and create a new project by clicking on the File menu and selecting New Project. Import the footage into the project by clicking on the Import button in the Project panel and navigating to the location of the footage on your computer. Alternatively, you can drag and drop the footage directly into the Project panel in Adobe Premiere Pro.
Step 2: Organizing the Timeline Once the footage is imported into Adobe Premiere Pro, organize the timeline by arranging the footage layers in the desired order. Place the base footage on the bottom layer of the timeline, followed by the footage layers that will be composited on top. This organization will help ensure that the layers are properly stacked and blended to create the double exposure effect. Use the Razor tool or the Split Clip command to trim and adjust the duration of the footage layers as needed.
Step 3: Applying the Opacity Effect After organizing the timeline, apply the Opacity effect to the top footage layer in Adobe Premiere Pro. Select the footage layer in the timeline and navigate to the Effect Controls panel. Locate the Opacity property and adjust the opacity value to create the desired transparency for the footage layer. Lowering the opacity value will make the footage layer more transparent, allowing the base footage to show through and create the double exposure effect. Experiment with different opacity values to achieve the desired level of blending and transparency.
Step 4: Blending and Compositing Images With the opacity adjusted, blend and composite the images in Adobe Premiere Pro to create the double exposure effect. Experiment with different blending modes, such as Screen, Multiply, Overlay, and Lighten, to achieve interesting and visually striking results. Each blending mode will produce a different effect, allowing you to create unique and creative compositions. Use the Effects Control panel to adjust the blending mode and opacity of the footage layers to fine-tune the double exposure effect.
Step 5: Adding Additional Effects (Optional) To enhance the double exposure effect even further, consider adding additional effects and adjustments in Adobe Premiere Pro. Experiment with effects such as Color Correction, Blur, and Distortion to add depth, atmosphere, and visual interest to the composition. Use adjustment layers to apply effects to multiple footage layers simultaneously, creating a cohesive and unified look for the double exposure effect. Experiment with different effects and adjustments to create the desired mood and aesthetic for your video.
Step 6: Previewing and Exporting the Final Result Once you’ve created the double exposure effect in Adobe Premiere Pro, preview the final result in the Program Monitor to assess the overall look and feel. Play back the video to review the double exposure effect in real-time and make any necessary adjustments or refinements to the composition. Once you’re satisfied with the final result, export the video as a file by clicking on the Export button and selecting the desired output format, resolution, and compression settings.
Tips and Best Practices:
- Choose images or footage that have distinct shapes, colors, and textures to create visually interesting double exposure effects.
- Experiment with different blending modes and opacity values to achieve unique and creative compositions.
- Use masks and mattes to isolate specific areas of the footage and create intricate and detailed double exposure effects.
- Pay attention to composition, lighting, and contrast to create visually compelling and cohesive compositions.
- Study and analyze examples of double exposure effects in films, music videos, and digital art to inspire and inform your own work.
Conclusion: Creating a double exposure effect in Adobe Premiere Pro is a creative and versatile technique that allows you to add depth, texture, and visual interest to your videos. By following the step-by-step process outlined in this guide and experimenting with different tools and techniques, you can create stunning double exposure effects that captivate and engage audiences. Whether you’re creating a short film, a music video, or a promotional video, Adobe Premiere Pro provides all the tools and features you need to bring your creative vision to life. With practice, experimentation, and creativity, you can master the art of creating double exposure effects in Adobe Premiere Pro and unlock endless possibilities for visual storytelling and expression.


