A Comprehensive Guide to Screen Recording in Windows 10
Introduction:
In an era where visual communication plays a crucial role in sharing information, screen recording has become an indispensable tool for Windows 10 users. Whether you’re creating tutorials, capturing gameplay, or documenting software issues, the ability to record your screen enhances your ability to communicate effectively. This comprehensive guide will walk you through various methods to record your screen in Windows 10, covering both built-in features and third-party tools to cater to a range of preferences and needs.
Built-in Screen Recording Options:
Method 1: Xbox Game Bar
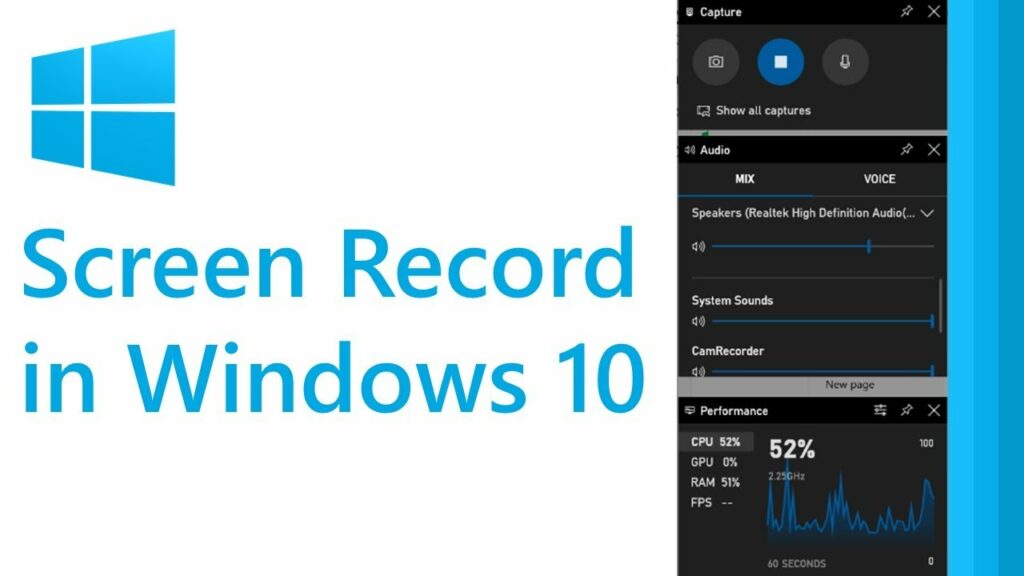
Windows 10 comes equipped with the Xbox Game Bar, a feature initially designed for gaming but capable of recording any application window. Here’s how to use it:
- Press
Win + Gto open the Xbox Game Bar. - If prompted, confirm that the application is a game.
- Click on the red record button to start recording.
You can access additional settings, including audio preferences and capture options, by clicking on the gear icon in the Game Bar.
Method 2: PowerPoint Screen Recording
If you frequently use Microsoft PowerPoint, you can utilize its built-in screen recording feature:
- Open PowerPoint and create a new presentation or open an existing one.
- Go to the “Insert” tab and select “Screen Recording.”
- Choose the area you want to record, and the recording will start.
This method is excellent for creating presentations with embedded screen recordings.
Third-Party Screen Recording Tools:
Method 3: OBS Studio (Open Broadcaster Software)
OBS Studio is a powerful, free, and open-source tool widely used by content creators for streaming and screen recording. Follow these steps to record your screen with OBS Studio:
- Download and install OBS Studio from the official website (https://obsproject.com/).
- Open OBS Studio and configure your recording settings, including video and audio sources.
- Click on “Start Recording” to begin capturing your screen.
OBS Studio provides advanced options for fine-tuning your recording, making it suitable for various use cases.
Method 4: Camtasia
Camtasia is a premium screen recording and video editing software known for its user-friendly interface and robust features. Here’s a brief guide on using Camtasia:
- Download and install Camtasia from the official website (https://www.techsmith.com/camtasia.html).
- Open Camtasia and select “Record.”
- Choose your recording area and configure audio and webcam settings.
- Click the red record button to start recording.
Camtasia offers powerful editing tools, making it an all-in-one solution for recording and refining your screen captures.
Tips for Successful Screen Recording:
- Select the Right Recording Area: Choose the specific window or region you want to record to keep your audience focused on the relevant content.
- Adjust Audio Settings: Ensure that your microphone is configured correctly, and background noise is minimized for clear audio narration.
- Check System Resources: Screen recording can be resource-intensive. Monitor your system’s performance, especially if you’re using third-party tools or recording high-resolution content.
- Use Keyboard Shortcuts: Learn the keyboard shortcuts of your chosen screen recording tool for efficient and seamless recording.
- Consider Editing: Many screen recording tools provide basic editing features. Trim unnecessary sections and add annotations to enhance the final video.
Conclusion:
Screen recording in Windows 10 opens up a world of possibilities for content creation, education, and communication. Whether you choose the built-in options like Xbox Game Bar or PowerPoint, or opt for third-party tools like OBS Studio or Camtasia, the key is to find the method that best suits your needs and preferences. Experiment with different tools, explore advanced features, and elevate your screen recording capabilities to effectively share your knowledge, skills, and experiences.


