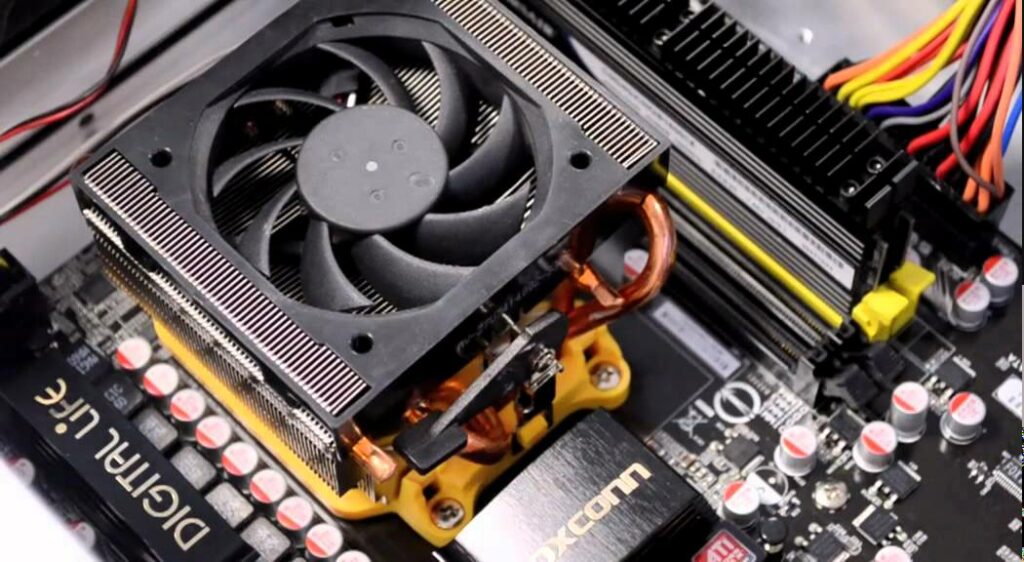
How to replace a CPU

Introduction to Replacing a CPU
Replacing a CPU involves upgrading to a more powerful processor or replacing a faulty one. This guide will walk you through the process of safely removing the old CPU and installing a new one, ensuring compatibility and optimal performance.
Preparation
Before you begin replacing your CPU, gather the necessary tools and information:
- Compatibility Check:
- Ensure compatibility between the new CPU and your motherboard. Check the motherboard’s CPU compatibility list (QVL – Qualified Vendor List) on the manufacturer’s website.
- Note the socket type (e.g., LGA 1151, AM4) and chipset compatibility (e.g., Intel Z490, AMD B550) of your motherboard.
- Thermal Paste (Optional):
- Depending on your cooler type, you may need thermal paste for reapplication. High-quality thermal paste can improve heat transfer between the CPU and cooler.
- Tools Needed:
- Screwdriver (typically Phillips-head)
- Thermal paste applicator (if not pre-applied or needed)
- Anti-static wrist strap (recommended to prevent static electricity damage)
- Cleaning cloth or compressed air (optional, for cleaning inside the case)
- Safety Precautions:
- Power off your computer and unplug it from the power source.
- Ground yourself by wearing an anti-static wrist strap or periodically touching a metal part of the case to prevent static electricity discharge.
Step-by-Step Guide to Replace a CPU
Step 1: Prepare Your Computer
- Remove Side Panel:
- Depending on your computer case, use a screwdriver to remove the side panel. Some cases may have thumbscrews or a latch mechanism for easy access.
- Access CPU Socket:
- Locate the CPU socket on your motherboard. It’s typically covered by a protective plastic or metal cover secured with a lever or screws.
Step 2: Remove the Old CPU
- Unlock and Remove Cooler:
- If your CPU has an integrated cooler, unlock the retention mechanism (usually twisting or pressing a lever) and gently remove the cooler from the CPU.
- If you have an aftermarket cooler, unscrew it from the motherboard following the cooler manufacturer’s instructions.
- Release CPU Socket Lever:
- Lift the lever securing the CPU socket cover and carefully remove the cover from the motherboard. Set it aside for reinstallation later.
- Remove Old CPU:
- Gently lift the old CPU straight up from the socket. Avoid twisting or forcing it out to prevent bending or damaging the pins.
Step 3: Install the New CPU
- Prepare New CPU:
- Remove the new CPU from its packaging. Handle it carefully by the edges to avoid touching the contacts or circuitry.
- Inspect the CPU for any bent pins or damage before installation.
- Align and Insert New CPU:
- Identify the orientation notch or corner on the CPU and align it with the corresponding notch or marker on the CPU socket.
- Gently lower the CPU into the socket, ensuring it fits snugly without applying force.
- Secure CPU Socket Lever:
- Carefully lower the CPU socket cover back onto the socket and secure it in place by lowering the lever. This secures the CPU in the socket.
Step 4: Apply Thermal Paste (if necessary)
- Clean Cooler Surface:
- If reusing the cooler, clean off old thermal paste using a lint-free cloth or alcohol wipes. Ensure the surface is dry and free of debris.
- Apply Thermal Paste:
- Apply a small amount of thermal paste (about the size of a grain of rice or pea) onto the center of the CPU. Use a thermal paste applicator or the cooler’s pre-applied thermal pad.
Step 5: Install Cooler
- Align and Secure Cooler:
- Align the cooler with the mounting holes on the motherboard. Gently lower it onto the CPU, ensuring it sits evenly.
- Secure the cooler in place using the screws or retention mechanism provided. Tighten screws in a diagonal pattern to ensure even pressure.
- Connect Cooler to Power:
- Connect the cooler’s power cable to the CPU fan header on the motherboard. Ensure a secure connection to provide power and monitor fan speed.
Step 6: Close Your Computer Case
- Replace Side Panel:
- Carefully slide the side panel back onto the case and secure it with screws or latches. Ensure all screws are tightened to prevent vibrations.
- Connect Cables and Power On:
- Reconnect all cables to your computer, including monitor, keyboard, and mouse.
- Plug your computer back into the power outlet and power it on.
Step 7: Test and Verify
- Boot into BIOS/UEFI:
- Restart your computer and enter BIOS/UEFI setup by pressing the designated key during startup (e.g., Delete, F2, F10, or Esc).
- Verify that the new CPU is detected and check CPU temperature and fan speeds in BIOS/UEFI setup.
- Install Drivers and Updates:
- Install or update motherboard chipset drivers and any necessary software updates to ensure compatibility and performance with the new CPU.
Troubleshooting
If your computer doesn’t boot or encounters issues after replacing the CPU, consider the following troubleshooting steps:
- Check CPU Installation: Ensure the CPU is correctly seated in the socket with no bent pins or damage.
- Verify Cooler Installation: Ensure the cooler is securely mounted and making proper contact with the CPU.
- Reset BIOS/UEFI: Clear CMOS (Complementary Metal-Oxide Semiconductor) to reset BIOS/UEFI settings to default if necessary.
Conclusion
Replacing a CPU is a significant upgrade that can enhance your computer’s performance and capability. By following this step-by-step guide and taking necessary precautions, you can successfully replace a CPU and enjoy improved processing power for a variety of tasks.
Always refer to the specific instructions provided by your motherboard and cooler manufacturers for detailed guidance and recommendations specific to your hardware.


