Mastering Motion Graphics: A Comprehensive Guide on How to Use the Motion Graphics Workspace in After Effects
Introduction: Adobe After Effects is a powerful motion graphics and visual effects software widely used in the film, television, and advertising industries. One of its key features is the Motion Graphics workspace, which provides users with a dedicated environment for creating, editing, and animating motion graphics elements. In this comprehensive guide, we will explore the step-by-step process of using the Motion Graphics workspace in After Effects, from navigating the interface to creating complex animations for professional-quality results.
Understanding the Motion Graphics Workspace: The Motion Graphics workspace in After Effects is designed specifically for creating and editing motion graphics elements, such as text, shapes, and vector graphics. It provides users with a streamlined and efficient workflow for designing and animating motion graphics, with access to essential tools and features for creating dynamic and engaging animations. The workspace includes panels for managing layers, properties, effects, and animations, as well as a range of built-in templates and presets to jumpstart your projects.
Step 1: Launching After Effects and Opening the Motion Graphics Workspace To begin using the Motion Graphics workspace in After Effects, launch the software on your computer and create a new project by clicking on the File menu and selecting New Project. Once the project is created, navigate to the Window menu and select Workspace > Motion Graphics to switch to the Motion Graphics workspace. Alternatively, you can customize the workspace by rearranging and resizing panels to suit your workflow preferences.
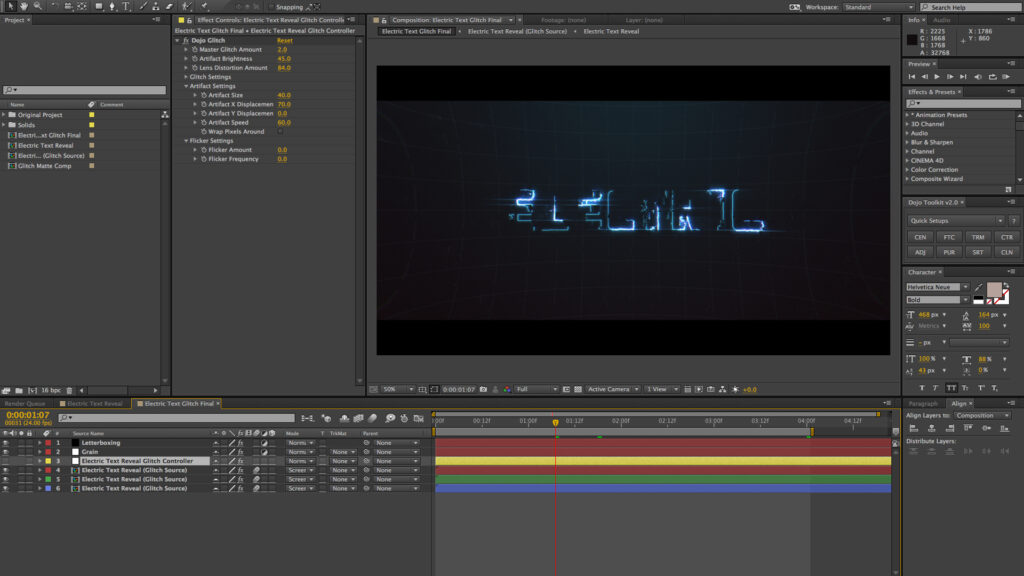
Step 2: Navigating the Interface Once you’re in the Motion Graphics workspace, familiarize yourself with the interface and its various panels and controls. The workspace consists of several key panels, including the Composition panel, Timeline panel, Project panel, and Essential Graphics panel. The Composition panel displays the active composition, allowing you to preview and edit the motion graphics elements in real-time. The Timeline panel displays the layers and keyframes in the composition, while the Project panel contains all the assets imported into the project. The Essential Graphics panel provides access to essential tools and features for creating and editing text, shapes, and other motion graphics elements.
Step 3: Creating Text and Shapes With the Motion Graphics workspace open, start creating text and shapes to use in your animations. To create text, select the Text tool from the toolbar and click anywhere in the Composition panel to create a new text layer. Type your desired text and use the Character and Paragraph panels to customize the font, size, color, alignment, and other text properties. To create shapes, select the Rectangle, Ellipse, or Pen tool from the toolbar and draw a shape directly in the Composition panel. Use the Shape layer properties to customize the shape’s fill, stroke, and other properties.
Step 4: Adding Effects and Animations Once you’ve created text and shapes, enhance them with effects and animations to make them more dynamic and engaging. Select the text or shape layer in the Timeline panel and navigate to the Effects & Presets panel to browse and apply built-in effects and presets. Experiment with effects such as blur, glow, and distortion to add visual interest to the text or shape. To animate the text or shape, use keyframes to set the initial and final values of properties such as position, scale, rotation, opacity, and effect parameters. Use the Graph Editor to fine-tune the timing and easing of the animations for smooth and fluid motion.
Step 5: Using Templates and Presets To expedite your workflow, take advantage of the built-in templates and presets available in the Motion Graphics workspace. Navigate to the Essential Graphics panel and browse the available templates and presets for text, shapes, transitions, and other motion graphics elements. Drag and drop a template or preset onto the Composition panel to add it to your project, then customize the text, colors, and other properties as needed. Templates and presets are a convenient way to add professional-quality motion graphics elements to your projects without having to create them from scratch.
Step 6: Previewing and Rendering the Animation Once you’ve finished creating and animating your motion graphics elements, preview the animation in the Composition panel to assess the timing, pacing, and visual aesthetics. Play back the animation to review it in real-time and make any necessary adjustments or refinements to the text, shapes, effects, or animations. Once you’re satisfied with the animation, render the final output by navigating to the Composition menu and selecting Add to Render Queue. Configure the render settings, such as output format, resolution, codec, and destination folder, then click on the Render button to export the animation as a video file.
Tips and Best Practices:
- Organize your project assets in the Project panel to keep your workflow efficient and organized.
- Use layer folders and labels to group and organize layers in the Timeline panel for better organization and management.
- Experiment with different text and shape styles, effects, and animations to find the perfect look and feel for your motion graphics elements.
- Take advantage of keyboard shortcuts and customizable workspace layouts to speed up your workflow and improve productivity.
- Study and analyze examples of motion graphics animations in films, television shows, and advertisements to inspire and inform your own work.
Conclusion: The Motion Graphics workspace in After Effects offers users a powerful and versatile environment for creating and animating motion graphics elements with precision and control. By following the step-by-step process outlined in this guide and experimenting with different tools and techniques, you can create dynamic and engaging animations that captivate and engage audiences. Whether you’re creating titles, lower thirds, transitions, or other motion graphics elements, After Effects provides all the tools and features you need to bring your creative vision to life. With practice, experimentation, and creativity, you can master the art of motion graphics in After Effects and unlock endless possibilities for visual storytelling and expression.


