Mastering 3D Animation: A Comprehensive Guide on How to Create a 3D Animation in HitFilm Express
Introduction: Creating 3D animations is a captivating and dynamic art form that allows creators to bring their ideas to life in a visually stunning and immersive way. HitFilm Express, a powerful and free video editing and visual effects software, offers users a range of tools and features for creating 3D animations, from basic motion graphics to complex visual effects sequences. In this comprehensive guide, we will explore the step-by-step process of creating a 3D animation in HitFilm Express, from setting up the project to animating objects and adding visual effects for professional-quality results.
Understanding 3D Animation: 3D animation involves the manipulation and rendering of three-dimensional objects and environments to create the illusion of movement and depth. This process typically involves modeling, rigging, animating, and rendering 3D assets using specialized software and tools. 3D animations can be used in a variety of applications, including films, video games, advertisements, and educational materials, to convey information, tell stories, and engage audiences in an immersive visual experience. With HitFilm Express, users can create 3D animations using built-in tools and effects, as well as third-party plugins and assets, to achieve their creative vision.
Step 1: Setting Up the Project The first step in creating a 3D animation in HitFilm Express is to set up the project. Launch HitFilm Express on your computer and create a new project by clicking on the File menu and selecting New. Set the project settings, such as resolution, frame rate, and duration, to match the specifications of your animation. Import any assets, such as 3D models, textures, and audio files, that you’ll need for the animation into the project by clicking on the Import button in the Media panel and navigating to the location of the files on your computer.
Step 2: Creating 3D Models Once the project is set up, start creating 3D models for the animation. HitFilm Express includes basic 3D modeling tools that allow users to create primitive shapes, such as cubes, spheres, and cylinders, which can be manipulated and combined to create more complex objects. Alternatively, you can import pre-made 3D models from external sources, such as online repositories or 3D modeling software, and import them into HitFilm Express. Arrange and position the 3D models in the scene to set up the composition for the animation.
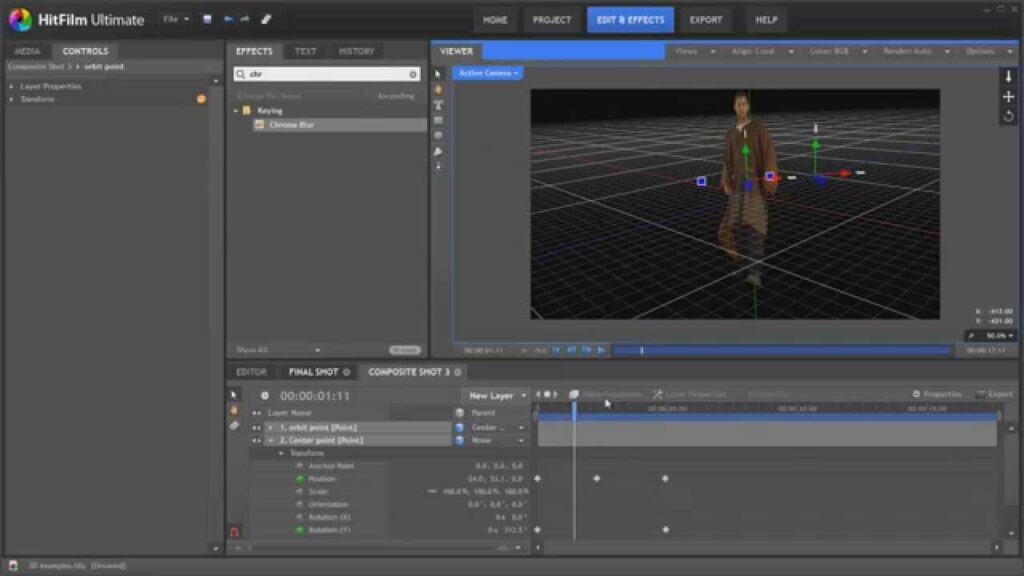
Step 3: Rigging and Animating Objects After creating the 3D models, rig and animate them to bring them to life in the animation. Rigging involves attaching virtual bones or joints to the 3D models, allowing them to be manipulated and animated like puppets. Use HitFilm Express’ animation tools to keyframe the movement, rotation, and scaling of the 3D objects over time. Experiment with different animation techniques, such as keyframe animation, motion paths, and physics simulations, to create dynamic and expressive movements for the 3D objects.
Step 4: Adding Visual Effects and Textures Once the animation is set up, enhance the visuals of the 3D animation by adding visual effects and textures. HitFilm Express includes a range of built-in effects and shaders that can be applied to 3D objects to add realism and depth to the animation. Experiment with effects such as lighting, shadows, reflections, and particle systems to create atmospheric and immersive visuals. Apply textures and materials to the 3D models to add surface detail and texture to the objects, making them appear more lifelike and tactile.
Step 5: Fine-Tuning and Rendering After adding visual effects and textures, fine-tune the animation to achieve the desired look and feel. Play back the animation in the Viewer panel to preview the animation in real-time and make any necessary adjustments or refinements to the timing, pacing, and motion of the 3D objects. Pay attention to details such as animation curves, easing, and interpolation to create smooth and fluid movements for the objects. Once you’re satisfied with the animation, render the final output by clicking on the Export button and selecting the desired output format, resolution, and compression settings.
Tips and Best Practices:
- Start with a clear and concise concept for the 3D animation, focusing on storytelling, visual aesthetics, and technical feasibility.
- Keep the scene composition simple and uncluttered to maintain focus on the main elements of the animation.
- Experiment with different camera angles, perspectives, and focal lengths to create dynamic and engaging shots.
- Take advantage of HitFilm Express’ built-in tools and effects to add depth, atmosphere, and realism to the animation.
- Use reference images, videos, and tutorials to study and learn from established 3D animators and artists.
- Practice regularly and experiment with different techniques and styles to develop your skills and artistic vision.
Conclusion: Creating a 3D animation in HitFilm Express is a rewarding and creative process that allows you to bring your ideas to life in a visually stunning and immersive way. By following the step-by-step process outlined in this guide and experimenting with different tools and techniques, you can create dynamic and engaging animations that captivate and engage audiences. Whether you’re creating a short film, a promotional video, or a visual effects sequence, HitFilm Express offers powerful tools and features for creating 3D animations that push the boundaries of visual storytelling and expression. With practice, experimentation, and creativity, you can master the art of 3D animation in HitFilm Express and unlock endless possibilities for creative expression and storytelling.


