Mastering Lens Distortion: A Comprehensive Guide on How to Add a Lens Distortion Effect in Adobe Premiere Pro
Introduction: Lens distortion effects are a popular visual tool used in filmmaking and video editing to create a unique and stylized look. These effects simulate the distortion and imperfections commonly found in different types of camera lenses, adding depth, dimension, and visual interest to footage. Adobe Premiere Pro, a leading video editing software, offers users a range of tools and features to add lens distortion effects and customize them according to their creative vision. In this comprehensive guide, we will explore the step-by-step process of adding a lens distortion effect in Adobe Premiere Pro, from importing footage to applying and customizing the effect for professional-quality results.
Understanding Lens Distortion Effects: Lens distortion effects replicate the characteristics of various camera lenses, including fisheye, wide-angle, and anamorphic lenses, to create visually compelling and dynamic footage. These effects can be used to achieve a variety of artistic and stylistic looks, from vintage and retro to modern and futuristic. Lens distortion effects can also be used to enhance the mood, atmosphere, and storytelling of a video, adding a sense of immersion and realism to the visuals. With Adobe Premiere Pro, users can apply lens distortion effects to footage, adjust parameters such as distortion strength and curvature, and customize the effect to achieve the desired look and feel.
Step 1: Importing Footage into Adobe Premiere Pro The first step in adding a lens distortion effect in Adobe Premiere Pro is to import the footage into the project. Launch Adobe Premiere Pro on your computer and create a new project by clicking on the File menu and selecting New Project. Import the footage into the project by clicking on the File menu and selecting Import, then navigating to the location of the footage on your computer and selecting the files you want to import. Alternatively, you can drag and drop the footage directly into the Project panel in Adobe Premiere Pro.
Step 2: Applying the Lens Distortion Effect After importing the footage into Adobe Premiere Pro, select the clip or clips to which you want to apply the lens distortion effect. Right-click on the selected clip or clips and choose “Speed/Duration” from the context menu. In the Speed/Duration dialog box, check the “Reverse Speed” option to enable the lens distortion effect. Adjust the speed percentage to control the intensity of the distortion effect, with higher percentages resulting in stronger distortion.
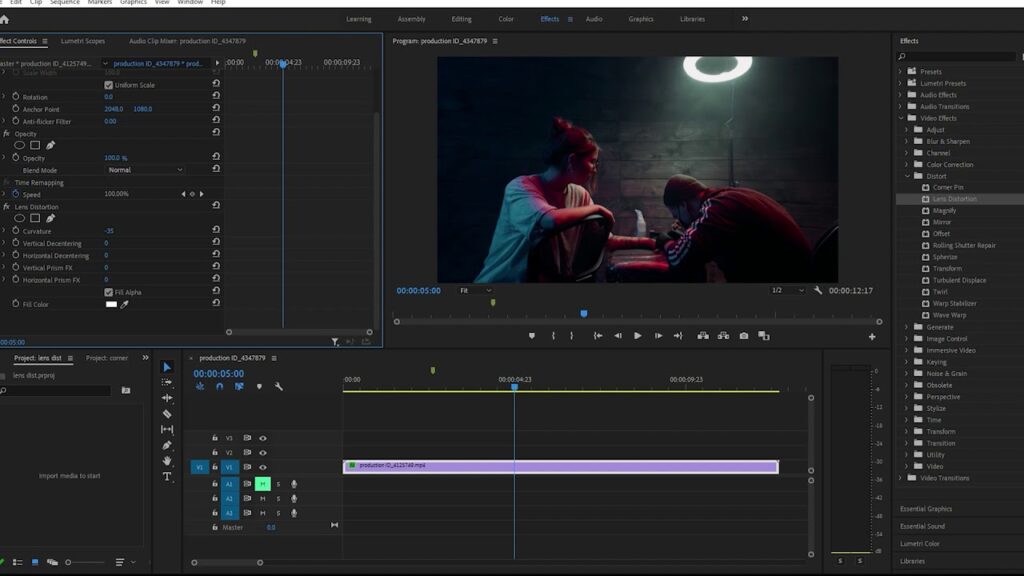
Step 3: Customizing the Lens Distortion Effect Once you’ve applied the lens distortion effect to the footage, customize the effect to achieve the desired look and feel. Select the clip with the applied effect in the Timeline panel and navigate to the Effect Controls panel. Locate the “Speed” parameter and adjust the percentage to fine-tune the intensity of the distortion effect. Experiment with different speed percentages to find the optimal balance between distortion strength and visual aesthetics.
Step 4: Adjusting Distortion Strength and Curvature To further customize the lens distortion effect, adjust parameters such as distortion strength and curvature in Adobe Premiere Pro. Select the clip with the applied effect in the Timeline panel and navigate to the Effect Controls panel. Locate the “Distortion Strength” and “Curvature” parameters and adjust them to control the overall look and feel of the distortion effect. Increase the distortion strength to intensify the distortion effect, and adjust the curvature to control the shape and curvature of the distortion.
Step 5: Previewing and Fine-Tuning the Effect After customizing the lens distortion effect, preview the effect in the Program Monitor to assess the overall look and feel. Play back the footage to review the distortion effect in real-time and make any necessary adjustments or refinements to achieve the desired result. Pay attention to details such as distortion intensity, curvature, and visual artifacts, and fine-tune the effect accordingly to ensure a natural and seamless integration with the footage.
Step 6: Exporting the Final Result Once you’re satisfied with the lens distortion effect in Adobe Premiere Pro, it’s time to export the final result. Navigate to the Export tab and select “Export Media” to export the project as a video file. In the Export Settings dialog box, configure the export settings, such as output format, resolution, codec, and destination folder. Click on the “Export” button to render the distortion effect and generate the final video file with the lens distortion effect applied.
Tips and Best Practices:
- Use lens distortion effects sparingly and purposefully to avoid overwhelming the viewer and detracting from the overall visual storytelling.
- Experiment with different types of lens distortion effects, such as fisheye, wide-angle, and anamorphic, to achieve different looks and styles.
- Combine lens distortion effects with other visual effects and color grading techniques to create unique and stylized visuals.
- Pay attention to details such as distortion strength, curvature, and visual artifacts, and fine-tune the effect to achieve a natural and seamless integration with the footage.
- Test the lens distortion effect on different types of footage and scenes to evaluate its effectiveness and suitability for the project.
Conclusion: Adding a lens distortion effect in Adobe Premiere Pro is a creative and versatile technique that allows you to enhance the visual aesthetics and storytelling of your footage. By following the step-by-step process outlined in this guide and experimenting with different parameters and settings, you can create stunning and immersive visuals that captivate and engage viewers. Whether you’re creating a cinematic sequence, a music video, or a promotional video, Adobe Premiere Pro offers powerful tools and features for adding lens distortion effects and customizing them to achieve the desired look and feel. With practice, experimentation, and creativity, you can master the art of adding lens distortion effects in Adobe Premiere Pro and unlock endless possibilities for visual storytelling and expression.


