Mastering the Art of Removing Background Noise in Adobe Audition: A Comprehensive Guide
Background noise can be a persistent nuisance in audio recordings, detracting from the clarity and quality of the sound. Whether it’s the hum of electrical appliances, the rumble of traffic, or the rustle of wind, unwanted noise can undermine the effectiveness of audio content. Fortunately, Adobe Audition, a leading digital audio workstation, provides powerful tools and features for effectively removing background noise and restoring pristine audio quality. In this comprehensive guide, we’ll explore the intricacies of removing background noise in Adobe Audition, unveiling techniques, workflows, and expert tips to help you achieve professional-grade audio results.
Understanding Background Noise Removal in Adobe Audition
Before we delve into the practical aspects, let’s first understand the importance of background noise removal and its impact on audio quality. Background noise refers to any unwanted sound present in an audio recording that is not part of the intended audio content. Common sources of background noise include electrical interference, environmental sounds, microphone handling noise, and room reverberation. Removing background noise is essential for improving clarity, enhancing intelligibility, and creating a more professional audio listening experience.
Step-by-Step Guide to Removing Background Noise in Adobe Audition
- Import Your Audio Clip: Begin by importing the audio clip containing background noise into Adobe Audition. You can do this by navigating to the File menu and selecting Import, or simply dragging and dropping the audio file into the Audition workspace.
- Identify the Background Noise: Listen to the audio clip carefully and identify the sections where background noise is most prominent. These sections will serve as your reference points for noise removal.
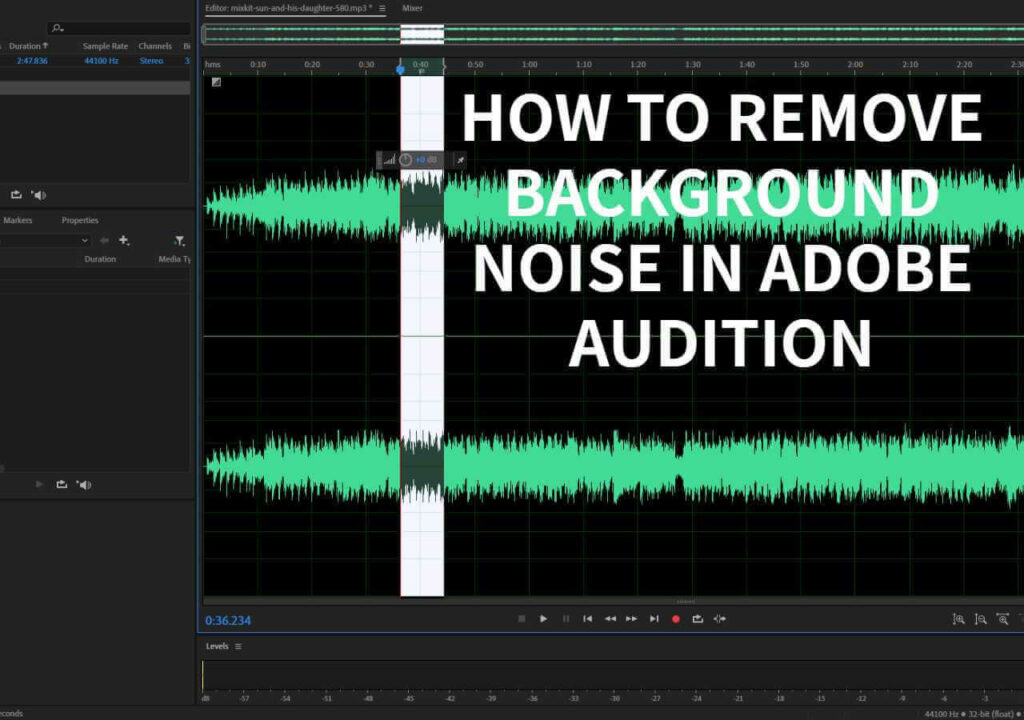
- Capture Noise Print: In the Edit view, select a portion of the audio clip that contains only the background noise you wish to remove. Go to the Effects menu, choose Noise Reduction/Restoration, and select Capture Noise Print. This action captures a sample of the background noise for use in the noise reduction process.
- Apply Noise Reduction: With the noise print captured, go back to the Effects menu, choose Noise Reduction/Restoration, and this time select Noise Reduction (Process). Adjust the Noise Reduction and Reduce By parameters to dial in the desired amount of noise reduction. Preview the effect to ensure that it effectively reduces background noise without compromising the integrity of the audio content.
- Fine-Tune Settings: Depending on the characteristics of the background noise and the audio content, you may need to fine-tune the noise reduction settings for optimal results. Experiment with different settings and preview the effect in real-time to find the optimal balance between noise reduction and audio fidelity.
- Use Spectral Frequency Display: For more advanced noise reduction tasks, utilize the Spectral Frequency Display in Adobe Audition. This visual representation of the audio spectrum allows you to identify and isolate specific frequencies associated with background noise. Use the lasso tool to select and remove unwanted noise frequencies while preserving the integrity of the desired audio content.
- Apply Restoration Effects: In addition to noise reduction, Adobe Audition offers a range of restoration effects to further enhance audio quality. Experiment with effects such as DeClicker, DeClipper, and DeHummer to address specific types of audio artifacts and imperfections.
- Consider Multitrack Mixing: If your project involves multiple audio tracks or layers, consider using the Multitrack view in Adobe Audition for more advanced noise reduction and mixing tasks. This allows you to apply noise reduction effects to individual tracks or groups of tracks while maintaining precise control over the audio mix.
- Preview and Compare: Continuously preview your audio clip with the applied noise reduction effects to assess the improvement in audio quality. Compare the edited version with the original recording to evaluate the effectiveness of the noise reduction process.
- Export the Edited Audio: Once satisfied with the results, export the edited audio clip in the desired format for distribution or further processing. Choose the appropriate settings to ensure optimal audio quality and compatibility with your intended playback platform.
Tips and Best Practices for Background Noise Removal
- Use High-Quality Source Material: Start with high-quality audio recordings whenever possible, as this provides a better foundation for noise reduction and restoration processes.
- Capture Clean Noise Prints: When capturing noise prints for noise reduction, ensure that the selected portion of the audio clip contains only background noise, with no desired audio content. This helps improve the accuracy of the noise reduction process.
- Avoid Overprocessing: While noise reduction can significantly improve audio quality, excessive processing can result in unnatural artifacts and degradation of audio fidelity. Use noise reduction tools judiciously and avoid overprocessing.
- Combine Techniques: In some cases, a combination of noise reduction techniques may be necessary to achieve optimal results. Experiment with different approaches, such as spectral editing, adaptive noise reduction, and restoration effects, to address specific types of background noise effectively.
- Regularly Update Software: Keep your Adobe Audition software up to date to ensure access to the latest features, improvements, and bug fixes related to noise reduction and audio processing.
Conclusion
Removing background noise in Adobe Audition is a fundamental skill that can significantly enhance the quality and clarity of audio recordings. By following the steps outlined in this guide and embracing best practices, you’ll be well-equipped to tackle even the most challenging noise reduction tasks with confidence. Whether you’re cleaning up dialogue for a film, restoring old audio recordings, or preparing podcast episodes for broadcast, Adobe Audition provides the tools and capabilities you need to achieve professional-grade results. So, embrace the challenge, refine your technique, and let Adobe Audition be your ally in the pursuit of pristine audio quality.


