Mastering Precision: A Comprehensive Guide to the Photoshop Background Eraser Tool
Introduction:
In the vast realm of digital editing, the ability to seamlessly remove backgrounds from images is a skill highly valued by graphic designers, photographers, and digital artists. Enter the Photoshop Background Eraser Tool, a powerful instrument designed to simplify and streamline the background removal process. In this exhaustive guide, we will embark on a journey through the intricacies of the Background Eraser Tool, exploring its features, applications, and offering step-by-step tutorials to empower you with the knowledge to become a proficient background removal maestro.
Section 1: Introduction to the Background Eraser Tool
- Locating the Tool: Navigate to the Photoshop toolbar, and under the Eraser Tool group, you’ll find the Background Eraser Tool. Click and hold on the Eraser Tool icon to reveal the Background Eraser Tool.
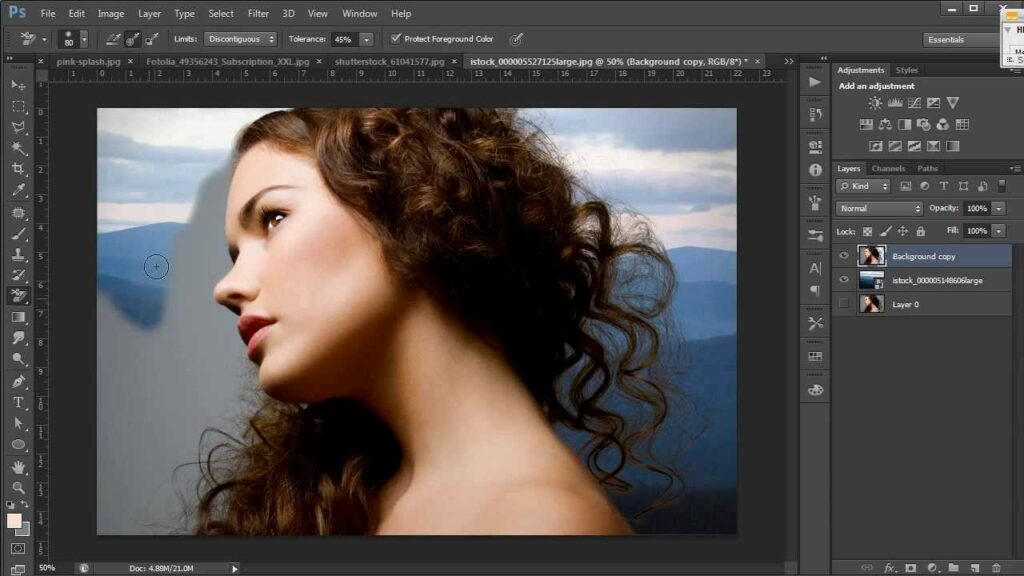
- Understanding the Options Bar: The Options Bar at the top of the screen plays a pivotal role in customizing the Background Eraser Tool. Settings such as Sampling, Limits, Tolerance, and Contiguous determine how the tool interacts with the image.
Section 2: Basic Background Eraser Techniques
- Setting Foreground and Background Colors: Before diving into background removal, set the foreground color to the color you want to keep and the background color to the one you aim to eliminate. This aids the tool in distinguishing between foreground and background pixels.
- Adjusting Tolerance: Tolerance determines the range of colors that will be erased. A lower tolerance removes only pixels similar to the clicked area, while a higher tolerance extends the erasure to a broader color spectrum. Experiment with this setting to achieve optimal results.
- Contiguous and Discontiguous Modes: Contiguous mode erases only adjacent pixels with similar colors, while Discontiguous mode erases similar colors throughout the image, regardless of adjacency. Choose the mode based on the complexity of the background.
Section 3: Advanced Background Eraser Techniques
- Limits Options: The Limits options, such as Find Edges and Contiguous, control the extent of the background erasure. Understanding these options is crucial for tackling intricate backgrounds and ensuring precision in your edits.
- Brush Size and Hardness: Customize the brush size and hardness in the Options Bar to match the requirements of your image. A smaller, harder brush is ideal for fine details, while a larger, softer brush is suitable for broader areas.
- Protect Foreground Color: Activate the Protect Foreground Color option to safeguard the foreground elements from accidental erasure. This is particularly useful when dealing with images where the subject and background share similar colors.
Section 4: Real-World Applications
- Product Photography: The Background Eraser Tool is invaluable for e-commerce or product photography. Remove distracting backgrounds to create clean, professional images that highlight the product itself.
- Portrait Editing: Perfect your portrait photography by isolating the subject from the background. This allows for creative freedom, enabling the addition of new backgrounds or a focus on the subject without distractions.
- Graphic Design: Graphic designers can use the Background Eraser Tool to extract elements from images for use in various design projects. This tool proves especially useful when creating collages or composite images.
Section 5: Tips and Best Practices
- Use Zoom for Precision: Zoom in on your image for detailed editing. This ensures accuracy when working with intricate details and reduces the likelihood of unintentional erasures.
- Experiment with Tolerance Settings: Finding the right tolerance setting is often a matter of trial and error. Experiment with different tolerance levels to achieve the desired balance between precision and efficiency.
- Combine with Selection Tools: For complex images, consider combining the Background Eraser Tool with selection tools like the Magic Wand or Quick Selection Tool. This hybrid approach allows for greater control over the background removal process.
Section 6: Undo and History States
- Reverting Changes: Familiarize yourself with the Undo (Ctrl + Z or Command + Z) and Step Backward (Alt + Ctrl + Z or Option + Command + Z) commands. These tools are essential for reverting changes or navigating through your editing history.
- History Panel: Utilize the History panel to review and jump back to specific points in your editing process. This offers a comprehensive overview of your workflow and helps troubleshoot any undesired changes.
Conclusion:
The Photoshop Background Eraser Tool stands as a game-changer in the realm of digital editing, empowering users to effortlessly remove backgrounds and elevate the visual impact of their images. This comprehensive guide has provided insights into the tool’s features, basic and advanced techniques, real-world applications, and tips for optimal usage. Whether you’re a seasoned professional or a budding digital artist, mastering the Background Eraser Tool opens up a world of creative possibilities. Embrace the precision, experiment with different scenarios, and watch as your images transform into seamless compositions with the finesse offered by the Photoshop Background Eraser Tool.