Mastering Color Transformations: A Comprehensive Photoshop Color Replacement Tool Tutorial
Introduction:
Adobe Photoshop stands as a powerhouse for digital artists and designers, offering an extensive array of tools to bring creative visions to life. Among these tools, the Color Replacement Tool stands out as a versatile instrument for transforming the colors within an image. In this in-depth tutorial, we will guide you through the intricacies of the Photoshop Color Replacement Tool, unraveling its capabilities and providing step-by-step instructions to help you master the art of color manipulation.
Section 1: Unveiling the Color Replacement Tool
- Locating the Tool: Open Adobe Photoshop and navigate to the toolbar. The Color Replacement Tool is typically grouped with the Brush Tool. Click and hold on the Brush Tool icon to reveal the Color Replacement Tool option.
- Understanding the Options Bar: Once the Color Replacement Tool is selected, examine the Options Bar at the top of the screen. This bar houses essential settings such as Sampling, Limits, Tolerance, and more. Familiarizing yourself with these options is key to achieving precise and desired color replacements.
Section 2: Basic Color Replacement
- Setting the Foreground Color: Choose the new color you want to apply by setting it as the foreground color. This can be done by clicking on the foreground color swatch in the toolbar and selecting a color from the color picker.
- Adjusting Sampling Options: Experiment with the Sampling options in the Options Bar. The Continuous sampling mode allows for continuous color replacement as you drag, while the Once sampling mode replaces the color only once per click.
- Selecting Tolerance: Tolerance determines the range of colors that will be replaced. A lower tolerance will replace only similar colors, while a higher tolerance will replace a broader spectrum. Adjust this setting based on the specific color range you wish to target.
Section 3: Advanced Color Replacement Techniques
- Limits and Contiguous Options: Explore the Limits options, including Discontiguous and Contiguous. Discontiguous replaces colors throughout the image, while Contiguous only replaces connected, neighboring pixels. This is useful for intricate color replacement tasks.
- Protecting Transparency: If your image contains transparent areas, enable the Protect Transparency option to ensure that only visible pixels are affected by the color replacement.
- Background Swatch and Image Adjustments: Utilize the Background Swatch option in the Options Bar to specify a background color. This helps Photoshop calculate the color replacement more accurately. Additionally, experiment with various image adjustments like Hue/Saturation or Levels after using the Color Replacement Tool for fine-tuning.
Section 4: Practical Applications
- Changing Object Colors: Apply the Color Replacement Tool to change the color of specific objects within an image. This can be particularly useful for product photography or graphic design projects where color adjustments are crucial.
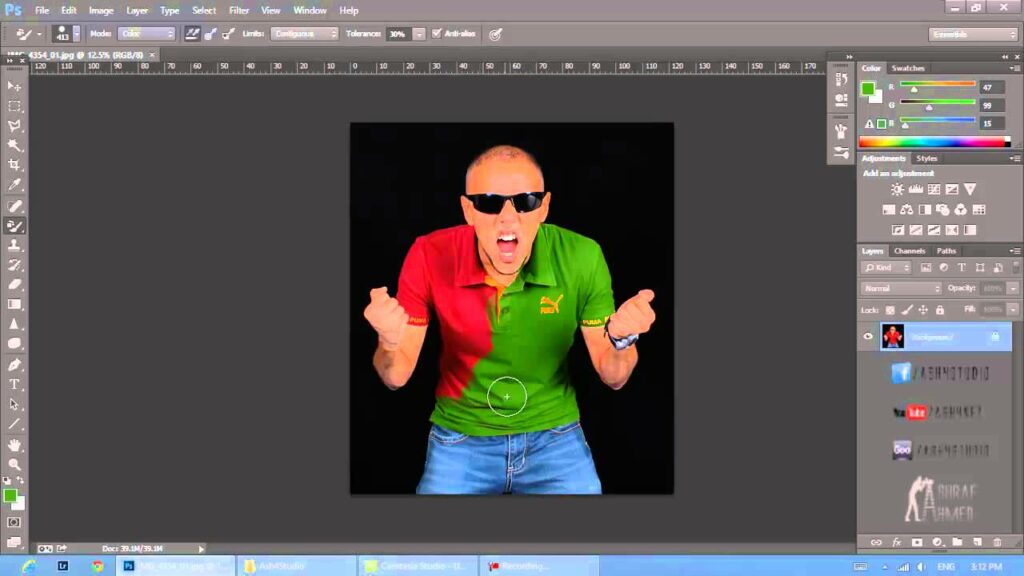
- Creating Artistic Effects: Experiment with artistic effects by applying the Color Replacement Tool to specific elements in a photo. This could include transforming the color of a person’s clothing or altering the hue of a landscape for a surrealistic touch.
- Refining Color Correction: Enhance your color correction workflow by using the Color Replacement Tool to correct subtle color imbalances in a photo. This tool is especially handy when working with images that require meticulous adjustments to achieve a harmonious color palette.
Section 5: Tips and Best Practices
- Work in a Duplicate Layer: Before using the Color Replacement Tool extensively, create a duplicate layer of your image. This safeguards the original image and allows you to compare changes easily.
- Zoom In for Precision: When working on detailed areas, zoom in for increased precision. This ensures accurate color replacement, especially in areas with intricate color variations.
- Experiment with Blend Modes: After using the Color Replacement Tool, experiment with different blend modes for the layer to create unique effects. Overlay, Soft Light, and Color are just a few options that can enhance the overall look of your color-replaced image.
Section 6: Undo and History States
- Reverting Changes: Familiarize yourself with the Undo (Ctrl + Z or Command + Z) and Step Backward (Alt + Ctrl + Z or Option + Command + Z) commands. These tools allow you to revert changes or step back through your editing history.
- History Panel: Utilize the History panel to view a comprehensive list of your editing actions. This panel provides an overview of your workflow and allows you to jump back to specific points in your editing process.
Conclusion:
The Photoshop Color Replacement Tool stands as a dynamic instrument in the digital artist’s toolkit, offering unprecedented control over color transformations within an image. This comprehensive tutorial has delved into the intricacies of the tool, from basic color replacement techniques to advanced applications and best practices. By incorporating the Color Replacement Tool into your repertoire, you unlock the potential to breathe new life into your digital creations, whether you’re refining photographs, altering object colors, or exploring artistic effects. As with any Photoshop tool, practice and experimentation are key to mastering its nuances. Embrace the journey of color manipulation, and watch as your creative visions come to life with the precision and finesse afforded by the Photoshop Color Replacement Tool.