Mastering the Art of Fast, High-Quality Black and White Conversions in Photoshop
Introduction:
In the dynamic world of digital photography, the allure of black and white photography persists, capturing timeless moments with a distinct and evocative charm. Adobe Photoshop, a powerful and versatile tool, offers photographers a myriad of techniques to transform color images into stunning black and white masterpieces. In this comprehensive guide, we will delve into the intricacies of achieving fast, high-quality black and white conversions in Photoshop, unlocking the full potential of your images.
I. Understanding the Importance of Black and White Photography:
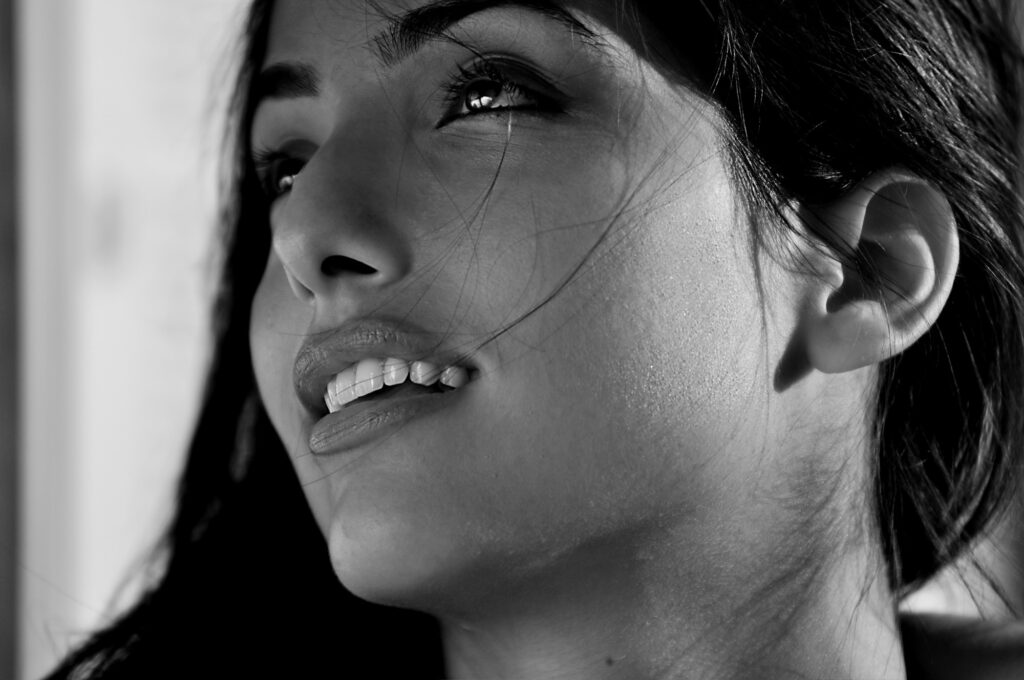
Before delving into the technicalities of black and white conversion in Photoshop, it’s essential to appreciate the unique qualities that make monochrome images so compelling. Black and white photography has the ability to convey emotion, emphasize texture, and simplify compositions, drawing attention to the essential elements within a frame. Whether capturing portraits, landscapes, or street scenes, the absence of color can elevate the visual impact and storytelling potential of an image.
II. Preparing Your Image for Black and White Conversion:
Before initiating the black and white conversion process, ensure that your color image is well-prepared. Start by addressing basic adjustments such as exposure, contrast, and white balance to establish a solid foundation. Pay attention to details and make necessary retouching before diving into the conversion process, ensuring your image is polished and ready for the transformation.
III. Utilizing Photoshop’s Black and White Adjustment Layer:
Photoshop provides several methods for converting color images to black and white, but one of the most powerful and flexible tools is the Black and White Adjustment Layer. This non-destructive method allows photographers to fine-tune the tonal values of individual colors within the image, offering unparalleled control over the conversion process.
A. Accessing the Black and White Adjustment Layer:
To initiate the Black and White Adjustment Layer, navigate to the “Layer” menu, choose “New Adjustment Layer,” and select “Black & White.” Alternatively, you can click on the adjustment layer icon at the bottom of the Layers panel and choose “Black & White.”
B. Fine-Tuning Tonal Values:
Once the Black and White Adjustment Layer is applied, Photoshop displays a dialog box featuring sliders corresponding to the original image’s color channels. Experiment with adjusting these sliders to achieve the desired tonal values. For example, enhancing the red channel can add warmth to skin tones, while adjusting the blue channel can deepen skies and enhance contrast.
C. Using the Presets:
For a quick and efficient black and white conversion, Photoshop offers a selection of predefined presets within the Black and White Adjustment Layer. These presets mimic traditional black and white film types, such as Ilford or Kodak, providing a starting point for your creative exploration.
IV. Harnessing the Power of Gradient Maps:
While the Black and White Adjustment Layer is a robust tool, photographers seeking even more control over tonal values and contrast may turn to the Gradient Map adjustment layer. This technique allows for the mapping of specific colors to corresponding tones, enabling a customized and nuanced black and white conversion.
A. Applying the Gradient Map Adjustment Layer:
To apply a Gradient Map, navigate to the “Layer” menu, choose “New Adjustment Layer,” and select “Gradient Map.” Photoshop will then apply a default black-to-white gradient map to your image, creating an immediate black and white effect.
B. Customizing the Gradient Map:
Clicking on the gradient in the Properties panel opens a gradient editor, allowing you to modify the mapping of colors to tones. Experiment with different gradient presets or create your own by adding color stops and adjusting their positions. This level of customization provides unparalleled creative control over the final black and white conversion.
V. Enhancing Contrast with Curves Adjustment Layer:
To further refine the black and white conversion and add depth to your image, consider incorporating the Curves Adjustment Layer. This powerful tool allows you to fine-tune contrast by manipulating the tonal range of shadows, midtones, and highlights.
A. Adding a Curves Adjustment Layer:
Access the Curves Adjustment Layer by navigating to the “Layer” menu, selecting “New Adjustment Layer,” and choosing “Curves.” A histogram representing the tonal distribution of the image will appear, along with a diagonal line representing the tonal values.
B. Adjusting Shadows, Midtones, and Highlights:
Utilize the curve by adding control points and manipulating it to adjust the tonal values of shadows, midtones, and highlights. A gentle S-curve is a classic technique for enhancing contrast, darkening shadows, and brightening highlights.
VI. Final Touches and Output:
With the primary black and white conversion techniques applied, it’s time to focus on the final touches to perfect your image. Consider refining details with the Sharpening filter, adding a vignette for emphasis, or experimenting with grain for a vintage aesthetic.
A. Sharpening for Detail:
To enhance the details in your black and white image, apply the Sharpening filter selectively. Create a duplicate layer of your image, navigate to the “Filter” menu, choose “Sharpen,” and select “Unsharp Mask.” Adjust the settings to achieve a balance between sharpening details and avoiding excessive artifacts.
B. Adding a Vignette:
A subtle vignette can draw the viewer’s attention to the central elements of your image. Create a new layer, choose the Elliptical Marquee Tool, draw an ellipse around the subject, and feather the selection. Invert the selection and apply a dark gradient to the edges, creating a gradual vignette effect.
C. Introducing Grain for a Vintage Feel:
To evoke a sense of nostalgia or emulate the look of film, experiment with adding grain to your black and white image. Create a new layer, fill it with 50% gray, and apply the “Add Noise” filter. Adjust the intensity and distribution of the noise to achieve the desired level of grain.
VII. Conclusion:
Mastering the art of fast, high-quality black and white conversions in Photoshop requires a combination of technical proficiency and creative intuition. By leveraging the Black and White Adjustment Layer, Gradient Maps, Curves Adjustment Layer, and additional refinements, photographers can transform color images into timeless black and white masterpieces. Experimentation and a keen understanding of the unique qualities of black and white photography will empower you to convey emotion, emphasize texture, and create compelling visual narratives through this classic medium. Elevate your photography to new heights by embracing the endless possibilities that Adobe Photoshop offers for black and white conversions.