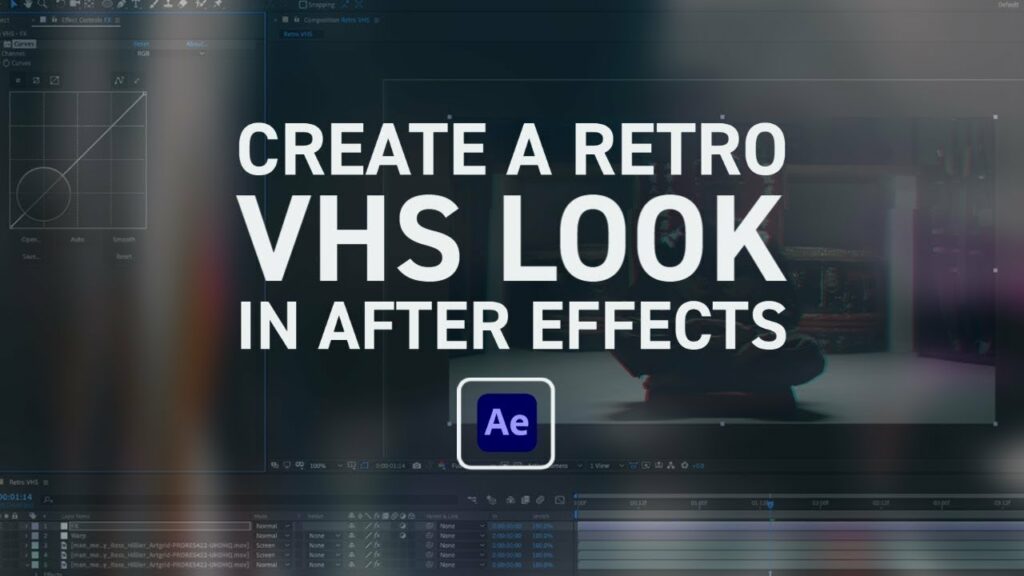
Nostalgia Reimagined: A Comprehensive Guide to Creating a Retro VHS Effect in Adobe After Effects

Introduction: The allure of nostalgia is undeniable, and in the realm of visual media, few things evoke the essence of bygone eras quite like the VHS aesthetic. The distinctive look of analog videotapes, with their grainy textures, distorted colors, and glitchy artifacts, has become synonymous with retro charm. In this comprehensive guide, we’ll explore how you can recreate that iconic VHS vibe in Adobe After Effects, transforming your digital footage into a nostalgic masterpiece.
Understanding the VHS Aesthetic
Before diving into the technical aspects of recreating the VHS effect, it’s essential to understand what defines this aesthetic:
- Analog Distortion: VHS tapes were notorious for their inherent imperfections, including tracking errors, tape noise, and analog artifacts. These imperfections contribute to the nostalgic charm of the VHS aesthetic.
- Color Bleed and Saturation: Due to the limitations of analog recording technology, VHS tapes often exhibited color bleed and saturation issues, resulting in vibrant, oversaturated hues and a distinctively retro color palette.
- Scanlines and Interference: The interlaced nature of analog video signals produced visible scanlines and interference patterns, adding to the vintage look of VHS footage.
Recreating the VHS Effect in After Effects
Now that we’ve explored the key elements of the VHS aesthetic, let’s dive into how you can recreate this look using Adobe After Effects:
Step 1: Import Your Footage
Start by importing the footage you want to apply the VHS effect to into After Effects. You can import video files, images, or sequences directly into your project.
Step 2: Create a New Composition
Create a new composition by dragging your footage into the composition panel or selecting it and pressing Ctrl+N (Windows) or Command+N (Mac). Adjust the composition settings to match the resolution and frame rate of your footage.
Step 3: Add Noise and Grain
One of the defining characteristics of VHS footage is its grainy texture. To emulate this effect, add noise and grain to your footage using the “Noise & Grain” effect in After Effects. Experiment with different settings to achieve the desired level of graininess.
Step 4: Apply Color Distortion
Next, simulate the color distortion and bleed commonly seen in VHS footage. You can achieve this effect using the “Color Correction” and “Channel Mixer” effects in After Effects. Adjust the color levels, saturation, and channel mixing to replicate the vintage color palette of VHS tapes.
Step 5: Introduce Scanlines and Interference
To mimic the scanlines and interference patterns of analog video signals, you can use the “Grid” effect in After Effects. Adjust the settings to create subtle scanlines across your footage, adding to the retro aesthetic.
Step 6: Add Glitch Effects
For an extra dose of authenticity, incorporate glitch effects into your VHS simulation. You can achieve this by using the “Glitch” or “Bad TV” effects in After Effects, which introduce random distortions, artifacts, and glitches to your footage.
Step 7: Fine-Tune and Preview
Once you’ve applied all the necessary effects, fine-tune the settings and preview your VHS effect to ensure it meets your expectations. Make adjustments as needed to achieve the desired level of authenticity and visual appeal.
Advanced Techniques and Tips
While the steps outlined above provide a basic framework for creating a VHS effect in After Effects, there are several advanced techniques and tips you can explore to enhance your results further:
- Layer Blending Modes: Experiment with different layer blending modes to blend your VHS effects seamlessly with your footage and create interesting composite effects.
- Custom Presets: Save your VHS effect settings as custom presets for easy reuse across multiple projects. This allows you to maintain consistency and streamline your workflow.
- Animation and Keyframing: Incorporate animation and keyframing techniques to create dynamic VHS effects, such as flickering screens, rolling distortion, and glitch transitions.
- Texture Overlays: Overlay texture assets, such as scanline patterns or VHS tape overlays, onto your footage to add an extra layer of authenticity and texture to your VHS effect.
- Audio Effects: Don’t forget to enhance the auditory experience by adding audio effects that mimic the sound of a VHS tape, such as tape hiss, mechanical whirring, and static noise.
Conclusion
Recreating the retro VHS effect in Adobe After Effects allows you to infuse your digital footage with the nostalgic charm of analog videotapes. By leveraging a combination of noise, color distortion, scanlines, and glitch effects, you can transport your audience back in time to an era defined by its distinct visual aesthetic.
As you experiment with creating VHS effects in After Effects, remember that creativity knows no bounds. Embrace the imperfections and quirks of analog technology, and use them to your advantage to craft unique and evocative visuals that resonate with viewers on a deeper level. So, fire up After Effects, unleash your creativity, and embark on a journey to rediscover the magic of the VHS era in the digital age.


