Mastering Clarity: A Comprehensive Guide to Utilizing the Camera Shake Deblur Effect in Adobe After Effects

Introduction: In the realm of visual storytelling, clarity is paramount. However, achieving sharp, steady footage isn’t always possible, especially when capturing dynamic scenes with handheld cameras. Fortunately, Adobe After Effects offers a powerful solution: the Camera Shake Deblur effect. This innovative tool empowers filmmakers and motion graphics artists to enhance the clarity of shaky footage, restoring sharpness and detail with precision and ease. In this comprehensive guide, we’ll delve into the intricacies of the Camera Shake Deblur effect, exploring its capabilities, applications, and best practices for harnessing its full potential.
Understanding the Camera Shake Deblur Effect
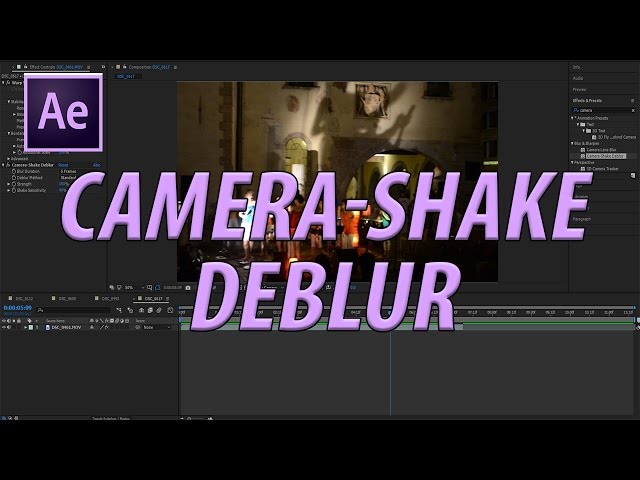
The Camera Shake Deblur effect in Adobe After Effects is a sophisticated tool designed to address the challenges of shaky footage. By analyzing the motion of the camera during filming, this effect intelligently reduces motion blur, resulting in sharper, more stable footage. Whether you’re working with handheld shots, action sequences, or footage captured in challenging conditions, the Camera Shake Deblur effect offers a powerful solution for enhancing clarity and improving visual quality.
Getting Started with the Camera Shake Deblur Effect
To begin using the Camera Shake Deblur effect in After Effects, follow these steps:
Step 1: Import Your Footage
Start by importing the shaky footage you want to enhance into After Effects. You can import video files, sequences, or compositions directly into your project.
Step 2: Apply the Camera Shake Deblur Effect
With your footage selected, navigate to the Effects & Presets panel and search for the “Camera Shake Deblur” effect. Apply the effect to your footage by dragging it onto the desired layer or by selecting the layer and double-clicking the effect in the panel.
Step 3: Adjust the Settings
Once the Camera Shake Deblur effect is applied, you’ll have access to a range of parameters for fine-tuning the deblurring process. These parameters include:
- Blur Amount: Adjust the intensity of the deblurring effect. Higher values will reduce more motion blur but may also introduce artifacts or noise.
- Directional Blur: Specify the direction of the motion blur to be removed. This can be particularly useful for footage with consistent motion in a specific direction, such as panning shots or camera shakes.
- Edge Smoothing: Control the degree of smoothing applied to the edges of objects in the frame. Increasing this parameter can help reduce artifacts and maintain the integrity of fine details.
- Iterations: Determine the number of iterations used in the deblurring process. Higher values may yield smoother results but can also increase processing time.
Step 4: Preview and Fine-Tune
After adjusting the settings, preview the deblurred footage to assess the results. Pay attention to areas of high motion and fine detail to ensure that the deblurring effect is applied effectively without sacrificing image quality. Make adjustments to the settings as needed to achieve the desired level of clarity and stability.
Advanced Techniques and Tips
While the Camera Shake Deblur effect provides powerful tools for enhancing shaky footage, there are several advanced techniques and tips you can explore to optimize your results further:
- Masking and Tracking: Use masks and tracking techniques to isolate specific areas of the frame for targeted deblurring. This can be particularly useful for footage with moving subjects or complex backgrounds.
- Stacking Effects: Combine the Camera Shake Deblur effect with other effects in After Effects to further enhance the clarity and visual quality of your footage. Experiment with effects such as sharpening, color correction, and noise reduction to achieve optimal results.
- Pre-Processing: Consider pre-processing your footage before applying the Camera Shake Deblur effect. This may involve stabilizing the footage using After Effects’ built-in stabilization tools or third-party plugins to reduce excessive camera motion and make the deblurring process more effective.
- Custom Presets: Save your preferred Camera Shake Deblur settings as custom presets for easy reuse across multiple projects. This allows you to maintain consistency and streamline your workflow when working with shaky footage.
- Blend Modes and Opacity: Experiment with different blend modes and opacity settings to blend the deblurred footage seamlessly with other elements in your composition. This can help integrate the enhanced footage into your overall visual aesthetic more effectively.
Conclusion
The Camera Shake Deblur effect in Adobe After Effects offers a powerful solution for enhancing the clarity and stability of shaky footage. By intelligently analyzing and reducing motion blur, this effect enables filmmakers and motion graphics artists to achieve sharper, more professional-looking results, even in challenging shooting conditions. Whether you’re working on a documentary, a music video, or a corporate presentation, mastering the Camera Shake Deblur effect will elevate the quality of your visuals and enhance the impact of your storytelling.
As you explore and experiment with the Camera Shake Deblur effect, remember that practice makes perfect. Take the time to familiarize yourself with the various parameters and techniques, and don’t be afraid to experiment with different settings to achieve the desired results. With dedication and creativity, you can unlock the full potential of the Camera Shake Deblur effect and elevate your filmmaking and motion graphics projects to new heights of clarity and visual excellence.


