The Ultimate Guide to Adding Filters to Instagram Stories: Elevate Your Storytelling with Creative Visual Effects
In the realm of social media storytelling, Instagram Stories reigns supreme as a dynamic and engaging platform for sharing moments, connecting with audiences, and expressing creativity. With features like stickers, text overlays, and interactive elements, Instagram Stories offer endless opportunities for users to personalize their content and captivate their followers. One of the most popular and versatile tools in the Stories arsenal is filters – visual effects that can transform photos and videos into stunning works of art. In this comprehensive guide, we’ll explore everything you need to know about adding filters to your Instagram Stories, from choosing the perfect filter to mastering advanced editing techniques.
Understanding the Power of Filters
Filters are more than just fun visual effects – they’re powerful tools for enhancing your storytelling and expressing your creativity. Whether you’re looking to add a touch of nostalgia, create a cohesive aesthetic, or simply make your photos and videos more visually appealing, filters can help you achieve your desired look and feel. With a wide range of options available, from subtle enhancements to dramatic transformations, there’s a filter for every mood, theme, and occasion.
How to Add Filters to Your Instagram Stories
- Access the Stories Camera: Open the Instagram app on your mobile device and tap on your profile picture or swipe right from your feed to access the Stories camera.
- Capture or Upload Content: Use the camera to capture a photo or record a video in real-time, or upload existing content from your device’s camera roll.
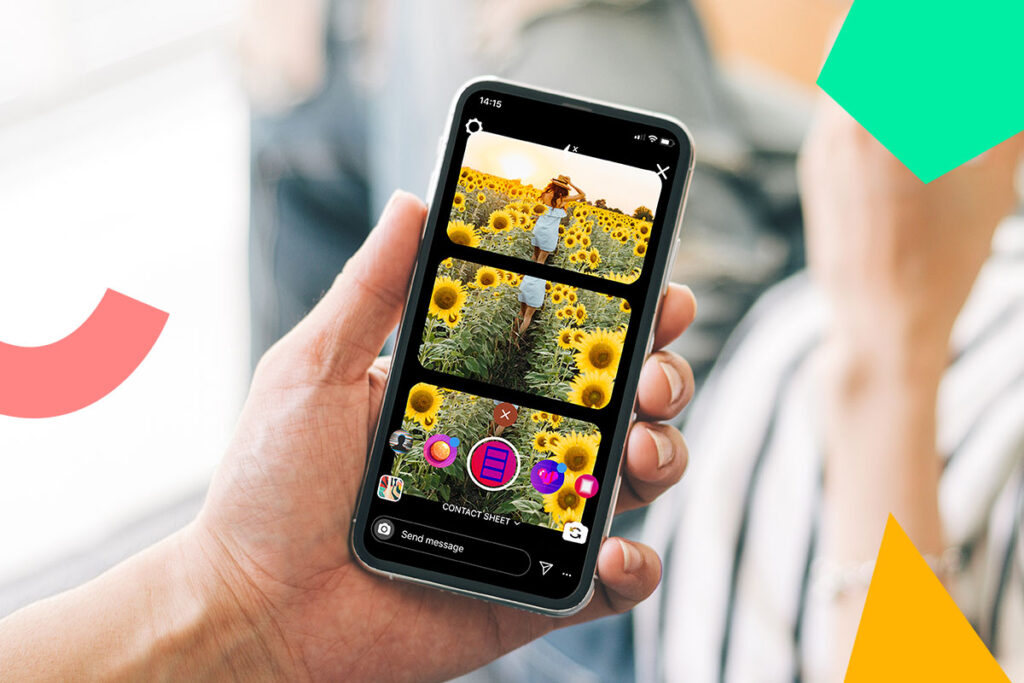
- Choose a Filter: Once you’ve captured or uploaded your content, swipe left or right on the screen to browse through the available filters. Instagram offers a variety of filters, including effects that enhance colors, add texture, apply vintage styles, and more.
- Preview and Apply: Tap on a filter to preview it on your photo or video. You can swipe through the different filters to see how each one affects your content. Once you’ve found the perfect filter, tap on it to apply it to your Story.
- Adjust Intensity (Optional): Some filters allow you to adjust the intensity or strength of the effect. After applying a filter, tap on it again to access the intensity slider and fine-tune the look to your liking.
- Add Additional Effects (Optional): In addition to filters, you can further enhance your Instagram Stories with additional effects, such as text overlays, stickers, drawings, and more. Experiment with different combinations to create a unique and engaging Story.
- Publish Your Story: Once you’re satisfied with your Story, tap the “Your Story” button to publish it to your profile. Your Story will be visible to your followers for 24 hours, after which it will disappear automatically.
Tips for Using Filters Effectively
- Stay True to Your Brand: Choose filters that align with your brand identity and aesthetic. Whether you prefer vibrant and bold or soft and muted tones, select filters that complement your overall brand image and messaging.
- Consider Context: Think about the context in which your Story will be viewed and choose filters accordingly. For example, if you’re sharing a throwback photo, a vintage-style filter might be appropriate. If you’re showcasing a product or event, opt for a filter that enhances the colors and details.
- Mix and Match: Don’t be afraid to mix and match filters and effects to create unique and eye-catching visuals. Combine different filters, overlays, and editing techniques to add depth and dimension to your Stories.
- Experiment with Trending Filters: Keep an eye out for trending or popular filters on Instagram and experiment with incorporating them into your Stories. Using trending filters can help increase engagement and attract new followers who are interested in exploring the latest trends.
- Save Your Favorite Filters: Instagram allows you to save your favorite filters for easy access. To save a filter, simply tap on the filter icon at the bottom of the screen, then tap on the “Save” button next to the filter you want to save. Saved filters will appear at the beginning of your filter carousel for quick selection.
Advanced Editing Techniques
- Layering Effects: Combine multiple filters and effects to create custom looks. For example, you can apply a color filter, add a text overlay, and then use the drawing tool to create a unique composition.
- Manual Adjustments: In addition to Instagram’s built-in filters, you can also manually adjust the color, brightness, contrast, and other settings using third-party editing apps. After applying a filter in Instagram, save the edited photo or video to your camera roll, then use a photo editing app to further refine the look.
- Create Your Own Filters: For advanced users, consider creating your own custom filters using apps like Adobe Photoshop or Lightroom. This allows you to develop a unique visual style and establish a cohesive brand identity across your Instagram Stories.
Conclusion
Filters are a powerful tool for enhancing your Instagram Stories and elevating your storytelling to new heights. By experimenting with different filters, effects, and editing techniques, you can create visually stunning and engaging content that captivates your audience and leaves a lasting impression. So, unleash your creativity, explore the possibilities, and make your Stories stand out with the perfect filter today.