The Ultimate Guide to Creating a New Project in DaVinci Resolve
Introduction:
Creating a new project marks the beginning of your creative journey in DaVinci Resolve, setting the stage for your editing endeavors, color grading adventures, and audio mastering triumphs. While it may seem like a straightforward task, understanding the nuances of project creation can significantly impact your workflow efficiency and project organization. In this comprehensive guide, we’ll explore every facet of creating a new project in DaVinci Resolve, equipping you with the knowledge and expertise to embark on your editing endeavors with confidence and clarity.
Understanding the Importance of Project Creation:
Before delving into the technical aspects of creating a new project, it’s essential to grasp the significance of this initial step in your editing process. A well-structured project serves as the cornerstone of your creative workflow, providing a centralized hub for organizing media assets, editing timelines, color grading adjustments, and audio enhancements. By establishing a coherent project framework from the outset, you lay the groundwork for efficient collaboration, streamlined revisions, and seamless project delivery.
Navigating the Project Creation Process:
Creating a new project in DaVinci Resolve is a straightforward process, but it offers several customizable options to tailor the project settings to your specific requirements. Let’s explore the step-by-step process of creating a new project:
- Launch DaVinci Resolve:
- Open the DaVinci Resolve application on your computer to access the project management interface.
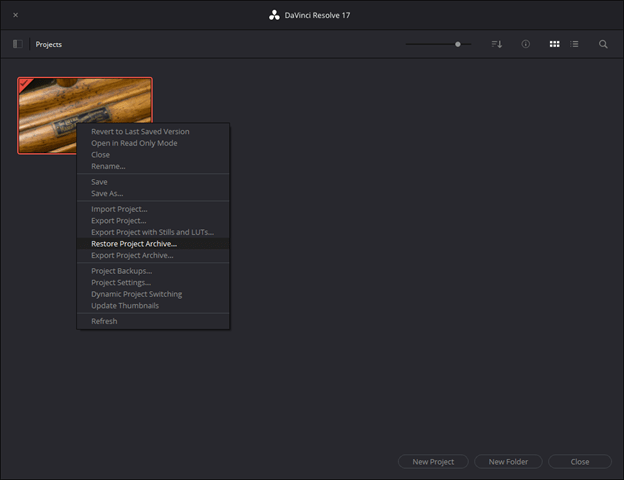
- Project Manager:
- Upon launching DaVinci Resolve, you’ll be greeted by the Project Manager, where you can create, open, and manage your projects.
- Create New Project:
- To create a new project, click on the “New Project” button within the Project Manager interface.
- Project Settings:
- In the New Project dialog box, you’ll be prompted to specify various project settings, including:
- Project Name: Enter a descriptive name for your project to distinguish it from others in your project library.
- Location: Choose the directory where your project files will be stored on your computer’s file system.
- Resolution: Select the desired resolution for your project, ranging from standard definition to ultra-high definition formats.
- Frame Rate: Specify the frame rate for your project, ensuring consistency with your source footage and delivery requirements.
- Format: Choose the video format and codec settings that best align with your project’s intended delivery platform.
- Audio Settings: Configure audio sample rate, bit depth, and channel layout to match your project’s audio specifications.
- In the New Project dialog box, you’ll be prompted to specify various project settings, including:
- Additional Options:
- Depending on your workflow preferences and project requirements, you may have additional options to customize your project settings, such as:
- Timeline Resolution: Set the default resolution for your project timeline.
- GPU Processing Mode: Choose between GPU-accelerated or CPU-only processing for rendering and playback.
- Color Science: Select the color science workflow that best suits your color grading preferences.
- Depending on your workflow preferences and project requirements, you may have additional options to customize your project settings, such as:
- Create Project:
- Once you’ve configured the desired project settings, click “Create” to generate your new project in DaVinci Resolve.
Best Practices for Project Creation:
Creating a new project in DaVinci Resolve is more than just selecting a few settings; it’s an opportunity to establish a solid foundation for your creative endeavors. To optimize your project creation process and ensure smooth sailing throughout your editing journey, consider implementing the following best practices:
- Consistent Naming Conventions: Develop a standardized naming convention for your projects to promote clarity and organization.
- Project Organization: Establish a logical folder structure for storing project files, media assets, and exports to facilitate easy navigation and collaboration.
- Template Utilization: Create project templates with predefined settings and configurations to expedite the creation of new projects and maintain consistency across your editing projects.
- Regular Backups: Implement regular backup procedures to safeguard your project files against data loss or corruption, ensuring peace of mind throughout the editing process.
- Documentation: Keep detailed records of project settings, revisions, and creative decisions to facilitate future revisions, client feedback, and project archiving.
Conclusion:
Creating a new project in DaVinci Resolve marks the inception of your creative journey, empowering you to transform raw footage into cinematic masterpieces with precision and flair. By mastering the project creation process and adhering to best practices, you can streamline your workflow, enhance collaboration, and unlock the full potential of DaVinci Resolve as a comprehensive post-production solution. Whether you’re a seasoned professional or an aspiring filmmaker, the ability to create and manage projects efficiently is essential for achieving your creative vision and delivering compelling visual storytelling.


