Unlocking Personalization: A Comprehensive Guide to Customizing the Desktop in Windows 7
James April 9, 2024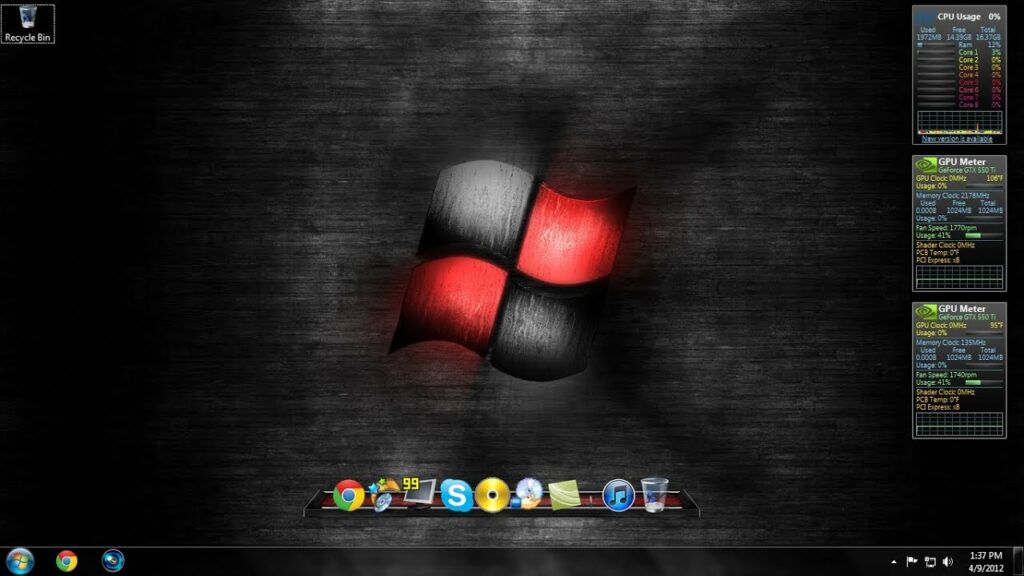
Your desktop is the digital canvas upon which you paint your computing experience. With Windows 7, Microsoft introduced a plethora of customization options, allowing users to tailor their desktop to reflect their personality, workflow, and preferences. From themes and wallpapers to gadgets and icons, Windows 7 offers a wealth of tools to make your desktop uniquely yours. In this comprehensive guide, we’ll explore the myriad ways you can customize the desktop in Windows 7, empowering you to create a workspace that inspires and delights.
Exploring Desktop Customization Options:
Before delving into the nitty-gritty of customization, let’s familiarize ourselves with the diverse array of options available for personalizing the desktop in Windows 7:
- Themes: Windows 7 themes are collections of wallpapers, window colors, sounds, and screen savers bundled together to create a cohesive visual experience. Themes allow you to change the entire look and feel of your desktop with a single click.
- Wallpapers: Wallpapers are the background images that adorn your desktop. Windows 7 offers a vast selection of built-in wallpapers, ranging from scenic landscapes to abstract patterns. Additionally, you can set your own images as wallpapers to personalize your desktop further.
- Window Colors: Window colors dictate the color scheme of window borders, taskbar, and Start menu. Windows 7 allows you to choose from a range of predefined color schemes or create custom color combinations to suit your taste.
- Desktop Icons: Desktop icons are shortcuts to files, folders, programs, and system resources displayed on the desktop. You can customize which icons appear on the desktop and arrange them to your liking.
- Gadgets: Gadgets are small, lightweight applications that provide quick access to information and functionality directly on the desktop. Windows 7 includes a variety of built-in gadgets, such as clocks, weather forecasts, and calendars, with the option to download additional gadgets from the Windows Gadget Gallery.
- Screen Savers: Screen savers are animated or static images that appear on the screen when the computer is idle for a specified period. Windows 7 offers a selection of built-in screen savers, with the ability to customize settings such as timing and transitions.
Customizing the Desktop:
Now that we have a grasp of the customization options available let’s dive into the process of customizing the desktop in Windows 7:
1. Changing Themes:
- Access Personalization Settings: Right-click on the desktop and select “Personalize” from the context menu to open the Personalization control panel.
- Browse and Select Themes: In the Personalization control panel, click on the “Themes” tab to view available themes. Browse through the list of themes and select the one that appeals to you. Alternatively, click on “Get more themes online” to download additional themes from the Microsoft website.
- Apply Theme: Once you’ve selected a theme, click on it to apply it to your desktop. Windows 7 will automatically adjust the wallpaper, window colors, sounds, and screen saver according to the selected theme.
2. Changing Wallpapers:
- Access Wallpaper Settings: In the Personalization control panel, click on the “Desktop Background” option to access wallpaper settings.
- Choose Wallpaper: Browse through the list of available wallpapers and select the one you want to use. You can also click on the “Browse” button to select your own images from your computer.
- Adjust Wallpaper Settings: Customize wallpaper settings such as picture position (e.g., fill, fit, stretch, tile), slideshow interval, and shuffle order.
- Apply Wallpaper: Once you’ve chosen your desired wallpaper and adjusted settings, click on the “Save changes” button to apply it to your desktop.
3. Customizing Window Colors:
- Access Window Color Settings: In the Personalization control panel, click on the “Window Color” option to access window color settings.
- Choose Window Color: Select a predefined color scheme from the list or click on the “Show color mixer” link to create a custom color combination.
- Adjust Transparency: Customize the transparency level of window borders and taskbar by dragging the transparency slider.
- Save Changes: Once you’re satisfied with your chosen window color and transparency settings, click on the “Save changes” button to apply them.
4. Customizing Desktop Icons:
- Access Desktop Icon Settings: In the Personalization control panel, click on the “Change desktop icons” option to access desktop icon settings.
- Customize Icon Visibility: Select which desktop icons you want to display by checking or unchecking the corresponding checkboxes.
- Change Icon Appearance: Customize the appearance of desktop icons by right-clicking on an icon, selecting “Properties” from the context menu, and navigating to the “Customize” tab. Here, you can change the icon’s appearance, label, and other properties.
- Apply Changes: Once you’ve customized your desktop icons to your liking, click on the “Apply” button followed by “OK” to apply the changes.
5. Adding and Removing Gadgets:
- Access Gadget Gallery: Right-click on the desktop and select “Gadgets” from the context menu to open the Gadget Gallery.
- Browse and Select Gadgets: Browse through the list of available gadgets and select the ones you want to add to your desktop. Click and drag a gadget onto the desktop to place it.
- Customize Gadget Settings: Right-click on a gadget and select “Options” from the context menu to customize its settings. Adjust settings such as location, size, and content to your preference.
- Remove Gadgets: To remove a gadget from the desktop, simply right-click on it and select “Close gadget” from the context menu.
6. Configuring Screen Savers:
- Access Screen Saver Settings: In the Personalization control panel, click on the “Screen Saver” option to access screen saver settings.
- Select Screen Saver: Choose a screen saver from the dropdown list of available options. Preview each screen saver by clicking on the “Preview” button.
- Adjust Settings: Customize screen saver settings such as wait time, display mode, and password protection. Click on the “Settings” button for additional configuration options specific to each screen saver.
- Apply Screen Saver: Once you’ve chosen your desired screen saver and adjusted settings, click on the “Apply” button followed by “OK” to apply it.
Conclusion:
With Windows 7’s extensive customization options, your desktop transforms into a reflection of your individuality and style. By mastering the art of desktop customization, you can create a workspace that inspires creativity, boosts productivity, and enhances your computing experience. Whether you prefer sleek minimalist themes, vibrant wallpapers, or functional gadgets, Windows 7 empowers you to curate a desktop environment that aligns with your unique preferences and workflow. So unleash your creativity, explore the possibilities, and make your desktop truly your own with Windows 7’s customizable features.


