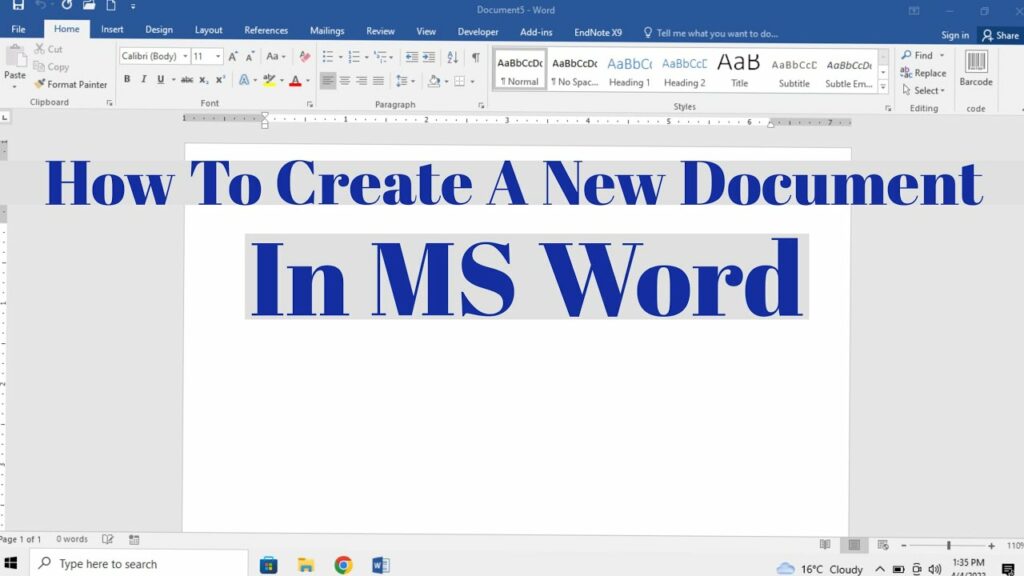
A Comprehensive Guide to Creating New Documents in Microsoft Word

Microsoft Word stands as the quintessential word processing tool, empowering users to create documents of various types with ease and efficiency. Whether you’re drafting a business report, crafting a creative writing piece, or compiling research notes, the ability to create a new document serves as the foundational step in your writing journey. In this comprehensive guide, we delve into the nuances of creating new documents in Microsoft Word, equipping you with the knowledge and skills to embark on your writing endeavors with confidence and precision.
Understanding Document Creation:
Before diving into the practical aspects of creating new documents in Microsoft Word, it’s essential to understand the significance of this process. Creating a new document sets the stage for your writing project, providing you with a blank canvas upon which to unleash your creativity and express your ideas. Word offers a myriad of features and customization options to tailor your document to specific requirements, making it a versatile tool for professionals, students, and creatives alike.
Basic Document Creation:
Creating a new document in Microsoft Word is a straightforward process that can be accomplished in a few simple steps. Here’s how to do it:
- Launch Microsoft Word: Open the Microsoft Word application on your computer. You can do this by clicking on the Word icon in your desktop or application menu.
- Navigate to the “File” Tab: Once Word is open, navigate to the “File” tab located in the top-left corner of the screen. Clicking on this tab will reveal a dropdown menu with various options.
- Select “New”: In the File menu, select the “New” option. This will prompt Word to display a list of available templates and document types.
- Choose a Template (Optional): Depending on your preferences and the type of document you’re creating, you may choose to start with a pre-designed template. Word offers a wide range of templates for resumes, letters, reports, and more. Alternatively, you can select a blank document to start from scratch.
- Click “Blank Document”: If you opt for a blank document, simply click on the “Blank Document” option to create a new, empty document. This will open a blank page where you can begin typing your content.
Advanced Document Customization:
While creating a basic blank document serves the needs of many users, Word offers advanced customization options to tailor your document to specific requirements. Here are some additional features you may explore:
- Document Settings:
Before diving into your writing, it’s essential to configure document settings such as page orientation, margins, and paper size. You can access these settings by clicking on the “Layout” tab in the Word ribbon, where you’ll find options to adjust page setup according to your preferences.
- Document Formatting:
Word provides a plethora of formatting options to enhance the visual appeal of your document. You can customize fonts, font sizes, colors, and styles using the formatting tools available in the Home tab. Additionally, features like headings, lists, and styles can help organize your content and improve readability.
- Inserting Objects:
To enrich your document with multimedia elements or visual aids, you can insert objects such as images, charts, tables, and shapes. The “Insert” tab on the Word ribbon offers a variety of options for inserting and formatting objects within your document.
- Saving Your Document:
Once you’ve created and customized your document to your satisfaction, it’s crucial to save your work to prevent data loss. Click on the “File” tab and select the “Save As” option to choose a location on your computer and specify a file name for your document. You can also select the desired file format, such as .docx or .pdf, before saving.
Best Practices for Document Creation:
Creating a new document in Microsoft Word is more than just a technical process—it’s an opportunity to showcase your creativity and professionalism. Here are some best practices to keep in mind:
- Plan Before You Create:
Before diving into your document, take some time to outline your ideas and organize your thoughts. Planning your document structure and content beforehand can streamline the writing process and ensure coherence and clarity in your final product.
- Stay Organized:
Utilize features like headings, subheadings, and bullet points to organize your document and guide the reader through your content. Clear organization enhances readability and makes it easier for readers to navigate your document.
- Review and Revise:
Once you’ve completed your document, take the time to review and revise it for clarity, accuracy, and coherence. Proofreading ensures that your document is free from errors and presents your ideas in the best possible light.
Conclusion:
Creating a new document in Microsoft Word marks the inception of your writing journey, setting the stage for creativity, productivity, and communication. By understanding the basic steps involved in document creation and exploring advanced customization options, you can harness the full potential of Word to bring your ideas to life. Whether you’re crafting a business proposal, academic paper, or personal project, Word provides the tools and flexibility you need to express yourself effectively and professionally. So, the next time you embark on a writing endeavor, remember to leverage the power of Microsoft Word to create documents that captivate, inform, and inspire.


