How to Create a Text with Wild Fire Effect in Adobe Photoshop
Photoshop is a world leader in image editing and it can be used for creating some stellar photo effects and amongst innumerable effects provided by Adobe Photoshop one of them is Wild Fire effect on your text.You can also learn about Creating a Double Exposure Effect in Corel PHOTO-PAINT X8.
For creating such effect you need to follow these steps.
- 1st of all you need to create a document which is reasonably of large size and has got a black background.
- Now select the Type Tool, type number “1” and select the text size 280pt and set the font to Trajan Pro (You can also use any other font style).
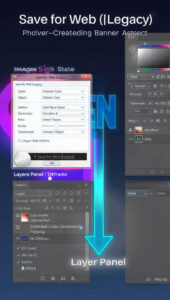
- Now you need to right click on type and select Blending Options.
- Check on Outer Glow and select the Blend Mode to Screen.
- Set the Noise slider to 0 and also set the Technique to Softer.
- Check on Color Overlay and Key and set the Blend Mode to Normal.
- Set the Opacity Level to 100%.
- Now check on Satin and key and set the Blend Mode to Multiply.
- Set the Opacity level to 100 and set the angle at 19°.
- Now check on Inner Glow and key in the following settings.
- Set the Blend Mode to Color Dodge and set the Opacity level to 100% and Noise to 0%.
- Set the color to e5c23b and set the Technique to Softer.
- Set the Choke to 0% and Size to 9pix.
- Now right click on the text layer once again and select Rasterize.
- Now select the Eraser tool and set the size to 200px.
- Fade off the top portion of the type.
- Now select Filter>Liquify and then select the Forward Wrap Tool and the key in the following settings.
- In the Tool Options set the Brush Size to 15, Brush Density to 50, Brush Pressure to 100.
- In the Reconstruct Options set the Mode to Revert.
- Now select a Fire image and the go to the Channels tab and then select the Green layer.
- Now go back to the layers tab and then use the Move Tool for dragging any part of the selected area into the document with the 1 you have done earlier.
- Now place the fire above the type.
- Now use the Eraser Tool and set its size to 15px and then erase all the excessive fire.
- Just leave the fire which is around the text.
- Now create a duplicate of the fire layer and then set the Opacity level of the original fire to 30%.
- Now set the Blend Mode of duplicated fire to Overlay.
- Now repeat the processes to cover the type with some more flames and you have got the 1st flaming type.
- Repeat the same process mentioned above for all the letters.


