Creative Ways to Make Use of Blend Modes in Adobe Photoshop
Creative Ways to Make Use of Blend Modes in Adobe Photoshop
Gaining an Understanding of How Blend Modes Function
Blend modes, which can be found in Photoshop, regulate the way in which one layer interacts with the pixels of another layer that is underneath it. Rather than merely stacking photos on top of one another, blend modes give you the ability to manipulate the ways in which colors, brightness, and contrast are combined, which opens up a vast variety of creative possibilities. Blend modes have the ability to turn a composition that is otherwise unremarkable into something that is visually appealing and dynamic, regardless of whether you are working on graphic design, digital painting, or picture modification.
The Fundamental Categories of Blend Modes
Photoshop categorizes blend modes according to the impact they have on the pixels that are below them:
- Normal Modes: The default practice is to refrain from blending.
- Darken Modes: Give preference to darker colors.
- Lighten Modes: Give preference to lighter colors.
- Contrast Modes: Improve the shadows and highlights at the same time.
- Comparative Modes: Effects are created depending on the contrasts between layers in this mode.
- Color Modes: Make adjustments to the hue, saturation, or luminance of an image without having an impact on any of the other characteristics.
- These categories are essential to your understanding since they allow you to pick the best option more quickly, as opposed to evaluating each one at random.
Employing Multiply to Create Depth and Shadows
When it comes to incorporating depth into an image, the Multiply blend mode is a popular choice. It is perfect for producing realistic shadows, enriching textures, or deepening the sky in landscape photography since it darkens the base layer by mixing the colors together. When you are trying to paint realistic shading, it is beneficial to use a soft brush set to Multiply on a new layer. This method helps to simplify the process and prevent it from becoming too complicated.
Using Screen to Enhance Highlights and Glow
The picture is lightened by the Screen mode because it mixes colors in a manner that mimics the effects of projected light. It is well suited for the purpose of generating luminous effects, which include, but are not limited to, sunshine, lens flares, and neon glows. If you want to create a highlight that is both subtle and impactful, you may make a copy of an object, set the duplicate to Screen, and then decrease the opacity of the duplicate.
Contrast and Drama Overlay
By enhancing the degree of contrast while yet allowing for the preservation of details, overlay improves both the highlights and the shadows. When it comes to portrait retouching, it is often employed to impart more depth to face features or to make textures in architectural and commercial pictures more distinct. It is possible to execute dodging and burning in a non-destructive manner by painting on a layer that is fifty percent gray and set to Overlay. This technique allows you to apply contrast to specific areas with a high degree of accuracy.
Trying Out Different Things in Order to Produce One-of-a-Kind Effects
The Difference blend mode analyzes the colors of the two layers and then subtracts the darker color from the lighter color. This produces in outcomes that are unexpected and often hallucinogenic. It is an amazing tool for creating abstract art, glitch effects, or making strong digital graphics, but it may not be the most practical option for standard picture changes.
When it comes to creative adjustments, color and hue are important factors to consider.
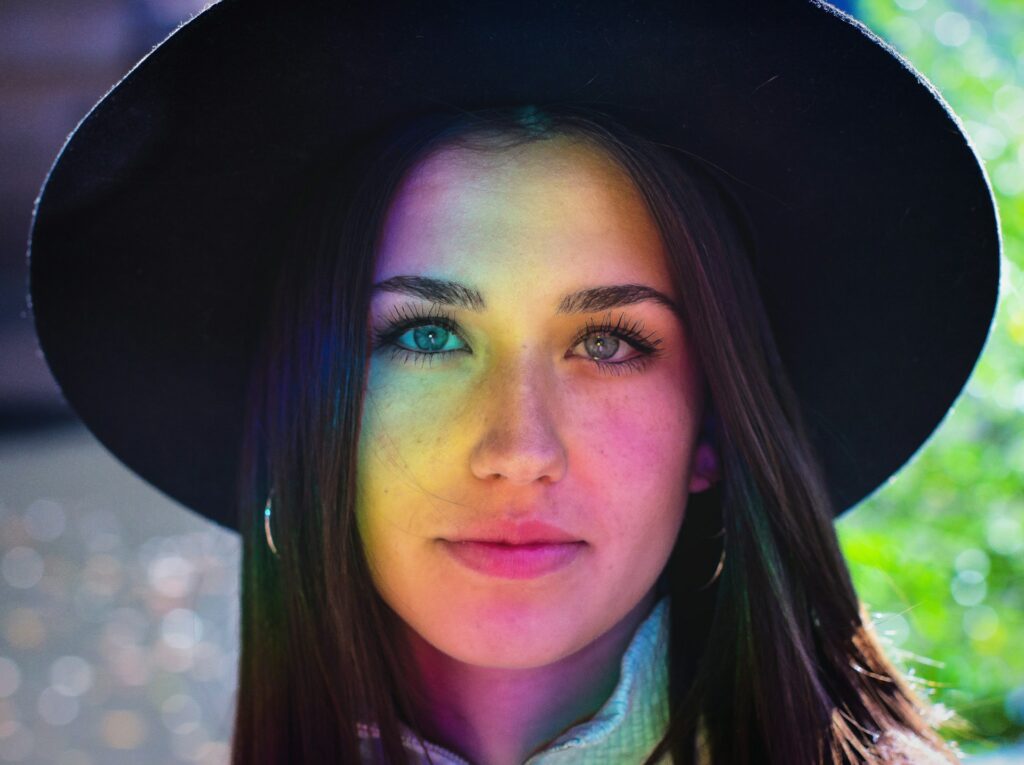
The Color and Hue modes are quite strong when it comes to working on color grading. You may use them to add tints or color shifts to an image without changing the contrast or luminance of the original picture. To give an image a cinematic appearance while still maintaining the natural shadows and highlights, for example, you may use the Color option to apply a warm tone as an overlay over the photograph.
Producing Effects That Resemble Double Exposure
It is considerably simpler to create double exposure effects when using blend modes. You may combine portraits with landscapes, architecture, or abstract textures by putting two photos on different layers and playing with the Lighten or Screen mix modes. By making adjustments to opacity and masking, you can fine-tune which sections of a design merge together smoothly.
Using Soft Light to Improve Textures
The use of texture overlays may provide a tactile quality to your work. By setting the texture layer to Soft Light, it is possible to incorporate it in a natural way without overpowering the topic. This method is effective for incorporating paper effects, film grain, or grunge into images and graphics.
The Creation of Collages Using Interactions Between Layers
It is possible to avoid the need of producing complicated cuts by using blend modes while you are building digital collages. For instance, the Lighten tool is capable of removing black regions, while the Darken tool is capable of rapidly removing white backgrounds. This not only accelerates the process, but it also results in compositions that are cleaner and more natural in appearance.
Using Multiply and Overlay for Painting and Illustration
Multiply is a program often used by digital artists for sketching and shading, whereas Overlay is a program they often use for coloring. Artists are able to segregate line work, shadows, and highlights by layering these modes on top of one another, which allows them to produce excellent results without flattening their layers or sacrificing flexibility.
Simultaneously Using a Number of Blend Modes
It is uncommon for experts to depend on a single mix mode alone. Experimentation and increased control are made possible when modes on distinct levels are combined. For instance, you may use Multiply for shadows, Overlay for contrast, and Screen for highlights, all inside the same composition. As a consequence, the picture is more layered and has more depth.
Non-Destructive Workflows in Conjunction with Blend Modes
Blend modes are inherently non-destructive, which means that you always have the option of reverting back to the original picture. When you are working on adjustment layers, fill layers, or smart objects, you are making sure that your modifications will continue to be versatile. This provides you with the ability to make adjustments to the opacity, stacking order, and masking of the picture without causing any harm to the original file.
Practical Applications in Real Projects
- Photography: Make the sky more beautiful, include light leaks, or do some creative color correcting.
- Graphic design is the process of creating posters or advertising by combining textures, typography, and abstract backdrops.
- Digital art: Make layered paintings that showcase depth, shading, and vivid highlights.
- Social Media Content: Create thumbnails and banners that attract attention by using glowing effects and overlays.
In order to achieve mastery of the blend modes in Photoshop, it is necessary to have both technical understanding and artistic exploration. There are a number of modes that are clearly useful in practical situations, such as Multiply, Screen, and Overlay, but there are additional modes that do their best work when they are used to atypical situations. You may make your edits more noticeable for their depth and uniqueness by incorporating them into any project strategically. This can be accomplished by integrating them in a way that adds drama, atmosphere, and style to your production.
