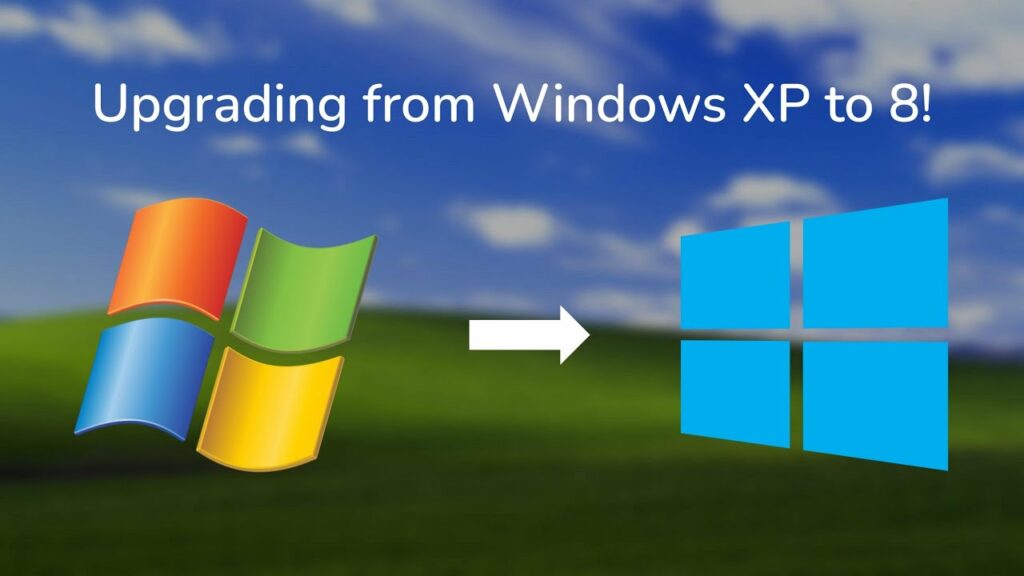
How to upgrade from Windows 7/XP to Windows 8
Upgrading from Windows 7 or XP to Windows 8 can breathe new life into your computer, offering improved performance, enhanced security features, and a modern user interface. While the process may seem daunting at first, it’s actually quite straightforward with the right guidance. In this detailed guide, we’ll walk you through the step-by-step process of upgrading your operating system from Windows 7 or XP to Windows 8.
Before we begin, it’s essential to note that upgrading from Windows XP to Windows 8 is not directly supported by Microsoft. However, it is still possible to perform a clean installation of Windows 8 on a computer running Windows XP, but it requires backing up your data and reinstalling your programs after the upgrade. Additionally, you’ll need to ensure that your computer meets the minimum system requirements for Windows 8.
Now, let’s dive into the upgrade process:
Step 1: Check System Requirements
Before you begin the upgrade process, it’s crucial to ensure that your computer meets the minimum system requirements for Windows 8. These requirements include:
- Processor: 1 GHz or faster with support for PAE, NX, and SSE2
- RAM: 1 GB (32-bit) or 2 GB (64-bit)
- Hard disk space: 16 GB (32-bit) or 20 GB (64-bit)
- Graphics card: DirectX 9 graphics device with WDDM driver
- Display: 1024 x 768 resolution or higher
If your computer meets these requirements, you’re ready to proceed with the upgrade.
Step 2: Back Up Your Data
Before upgrading your operating system, it’s essential to back up all your important files, documents, and settings. You can use an external hard drive, cloud storage, or a backup utility to create a backup of your data. This ensures that you can restore your files in case anything goes wrong during the upgrade process.
Step 3: Check for Compatibility
Before upgrading, it’s a good idea to check the compatibility of your hardware and software with Windows 8. Some older hardware devices or software programs may not be compatible with the new operating system. You can use the Windows 8 Upgrade Assistant tool provided by Microsoft to check compatibility and identify any potential issues before proceeding with the upgrade.
Step 4: Purchase Windows 8
If you haven’t already purchased a copy of Windows 8, you’ll need to do so before proceeding with the upgrade. You can purchase Windows 8 from Microsoft’s website or from authorized retailers.
Step 5: Upgrade Process
Upgrading from Windows 7:
- Insert the Windows 8 installation media (DVD or USB drive) into your computer.
- Open the installation media and double-click on the setup.exe file to begin the upgrade process.
- Follow the on-screen instructions to complete the installation process.
- During the installation, you’ll be prompted to enter your product key. Enter the product key that came with your copy of Windows 8.
- Follow the remaining on-screen instructions to complete the upgrade process.
Upgrading from Windows XP:
- Back up all your important files and settings to an external hard drive or cloud storage.
- Insert the Windows 8 installation media (DVD or USB drive) into your computer.
- Restart your computer and boot from the installation media. You may need to change the boot order in the BIOS settings to boot from the installation media.
- Follow the on-screen instructions to begin the installation process.
- Select “Custom: Install Windows only (advanced)” when prompted.
- Choose the partition where you want to install Windows 8. If you’re upgrading from Windows XP, you’ll need to format the partition and perform a clean installation of Windows 8.
- Follow the remaining on-screen instructions to complete the installation process.
Step 6: Restore Your Data and Settings
Once the upgrade process is complete, you can restore your backed-up files, documents, and settings to your new Windows 8 installation. You can use the backup utility or copy your files manually from the external hard drive or cloud storage.
Step 7: Install Updates and Drivers
After upgrading to Windows 8, it’s essential to install any available updates and drivers for your hardware devices. You can use the Windows Update utility to download and install updates automatically. Additionally, you may need to visit the manufacturer’s website to download and install updated drivers for your hardware devices.
Step 8: Enjoy Windows 8!
Congratulations! You’ve successfully upgraded from Windows 7 or XP to Windows 8. Take some time to explore the new features and improvements in Windows 8, and enjoy using your updated operating system.
In conclusion, upgrading from Windows 7 or XP to Windows 8 can be a rewarding experience, offering improved performance, enhanced security features, and a modern user interface. By following the step-by-step guide outlined above, you can upgrade your operating system with confidence and enjoy all the benefits of Windows 8.