Mastering Media Management: A Comprehensive Guide to Navigating the Media Page in DaVinci Resolve
Introduction:
In the dynamic world of video editing, efficient media management is the cornerstone of a successful workflow. DaVinci Resolve, renowned for its comprehensive suite of editing tools, offers a dedicated Media page designed to streamline the process of importing, organizing, and managing media assets. In this extensive guide, we’ll delve deep into the intricacies of the Media page in DaVinci Resolve, exploring its functionalities, features, and best practices to help you master the art of media management.
Understanding the Media Page:
The Media page in DaVinci Resolve serves as the hub for all things related to media management. Whether you’re importing footage, organizing clips into bins, or preparing assets for editing, the Media page provides a centralized workspace where you can efficiently handle your media assets. With its intuitive interface and comprehensive toolset, the Media page empowers editors to take control of their media workflow with ease.
Navigating the Media Workspace:
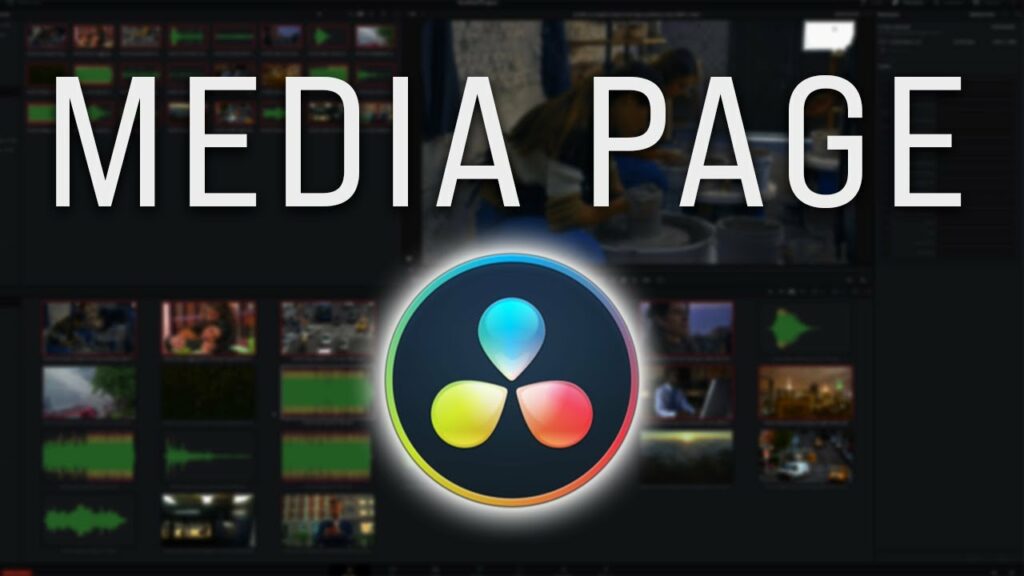
Upon entering the Media page, users are greeted with a clean and organized workspace divided into several key sections. The Media Pool, located on the left-hand side, displays all imported media assets, including video clips, audio files, images, and more. The Viewer panel in the center allows for previewing and scrubbing through selected clips, while the Metadata panel on the right provides detailed information about the selected asset. Additionally, the toolbar at the top offers a range of options for importing, organizing, and managing media.
Importing Media Assets:
One of the primary functions of the Media page is importing media assets into your project. DaVinci Resolve supports a wide range of file formats, making it easy to import footage from various sources, including cameras, hard drives, and network storage. Users can import individual files or entire folders, with options to automatically organize clips into bins based on metadata or file attributes. Advanced features such as media caching and optimized media allow for smoother playback and editing performance, particularly with high-resolution or codec-intensive footage.
Organizing Media Assets:
Effective organization is key to maintaining a tidy and efficient media workflow. The Media page offers robust tools for organizing media assets, including the ability to create custom bins, apply tags and keywords, and filter clips based on various criteria. Users can also utilize smart bins to automatically categorize clips according to predefined rules, such as file type, resolution, or metadata attributes. By organizing media assets systematically, editors can quickly locate and access the files they need, streamlining the editing process.
Previewing and Reviewing Clips:
The Viewer panel in the Media page provides a convenient space for previewing and reviewing media clips before adding them to the timeline. Users can scrub through footage, set in and out points, and mark favorite or rejected sections directly within the Viewer. Additionally, the Metadata panel displays comprehensive information about the selected clip, including file properties, technical specifications, and embedded metadata such as timecodes and camera settings. These features enable editors to make informed decisions about which clips to include in their edits and how to best utilize them.
Managing Metadata and Attributes:
Metadata plays a crucial role in organizing and managing media assets effectively. DaVinci Resolve allows users to view and edit metadata associated with each clip, including details such as file name, format, duration, and creation date. Furthermore, users can add custom metadata fields and assign tags, keywords, or ratings to individual clips, facilitating easier searching and filtering within the Media page. By leveraging metadata effectively, editors can streamline their workflow and ensure that media assets are organized and accessible throughout the editing process.
Optimizing Performance and Storage:
As projects grow in complexity, managing media storage and optimizing performance become increasingly important. The Media page offers several features to help users optimize their storage usage and enhance editing performance. This includes options for creating proxy media, generating optimized media files, and managing cache settings to improve playback and rendering speeds. By utilizing these features judiciously, editors can ensure smooth and efficient editing even with large or resource-intensive projects.
Collaboration and Sharing:
In collaborative editing environments, the ability to share and collaborate on media assets is essential. DaVinci Resolve provides built-in tools for collaborating on projects, including the ability to share media databases, collaborate remotely via shared storage solutions, and exchange project files with team members. The Media page offers seamless integration with collaborative workflows, allowing multiple editors to work on the same project simultaneously while maintaining control over media access and permissions.
Conclusion:
In conclusion, the Media page in DaVinci Resolve serves as a versatile and powerful tool for managing media assets throughout the editing process. With its comprehensive set of features and intuitive interface, the Media page empowers editors to import, organize, preview, and manage media assets with ease. By mastering the art of media management within DaVinci Resolve, editors can streamline their workflows, optimize performance, and unleash their creativity without being bogged down by the complexities of media organization. Whether you’re a seasoned professional or a novice editor, the Media page offers a robust platform for efficiently managing your media assets and bringing your creative vision to life.


