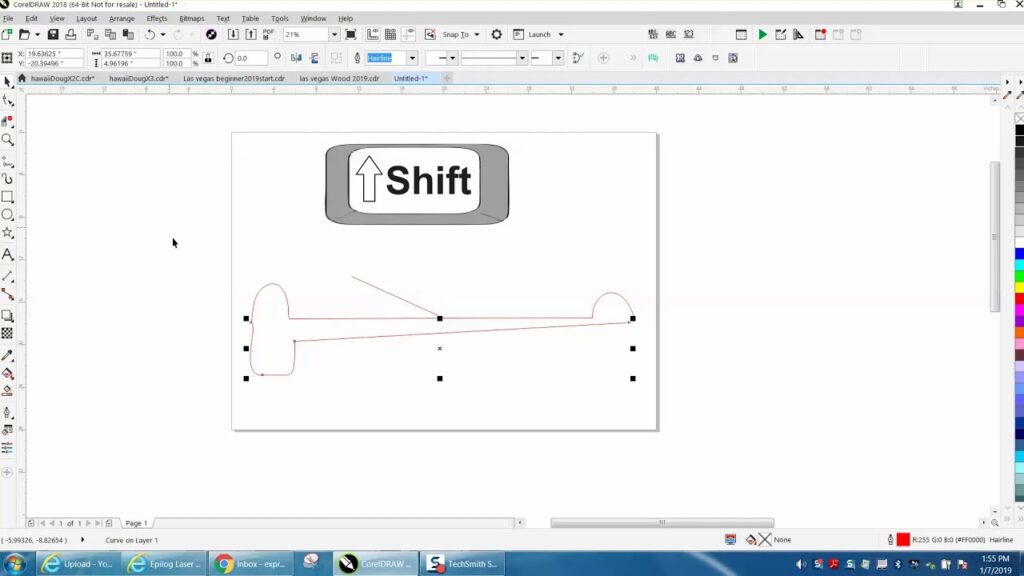
Mastering Precision: A Comprehensive Guide to Drawing Lines with the Freehand Tool in CorelDRAW

Introduction:
CorelDRAW, a powerful vector graphics editor, has long been a preferred choice for designers, illustrators, and artists seeking a versatile platform for unleashing their creativity. Among its myriad tools, the Freehand tool stands out as a go-to option for those who value the organic, hand-drawn feel in their designs. In this comprehensive guide, we will delve deep into the intricacies of using the Freehand tool in CorelDRAW, exploring techniques, tips, and tricks to help you master the art of drawing precise lines while maintaining the spontaneity that the Freehand tool offers.
Understanding the Freehand Tool:
The Freehand tool in CorelDRAW allows users to draw lines and shapes freehand, offering a fluid and natural way to express creativity. To access the Freehand tool, simply navigate to the toolbar and select the icon resembling a pencil or brush. Alternatively, you can press the ‘F5’ key to activate the Freehand tool swiftly.
Customizing Settings for Precision:
Before you embark on your creative journey, it’s essential to familiarize yourself with the tool’s settings for optimal precision. Click on the ‘Tool Options’ or ‘Property Bar’ (depending on your CorelDRAW version) to access various customization options. Adjust parameters such as line thickness, color, and smoothing to tailor the Freehand tool to your specific needs.
Utilizing Pressure Sensitivity:
For users with graphic tablets that support pressure sensitivity, CorelDRAW’s Freehand tool becomes an even more dynamic instrument. Enable pressure sensitivity in the settings to vary line thickness based on the pressure applied. This feature emulates the natural feel of traditional drawing, allowing for expressive strokes and detailed linework.
Drawing Techniques:
- Single Strokes for Consistency: When aiming for consistency in your lines, try completing an entire stroke in one go. This method minimizes potential irregularities that may arise from lifting and placing the stylus or mouse during the drawing process.
- Short, Controlled Strokes: For intricate details or precision work, opt for short, controlled strokes. This approach grants you greater command over the line’s direction and ensures a more accurate representation of your intended design.
- Overlapping Strokes: Experiment with overlapping strokes to create varying line weights or to emphasize certain areas of your design. Overlapping strokes can add depth and dimension to your artwork, providing a sense of texture and complexity.
- Combining Straight Lines with Freehand: Achieve a harmonious blend of precision and spontaneity by combining straight lines with freehand strokes. This technique is particularly useful when working on geometric designs or illustrations that require both structure and organic elements.
- Smoothing Options: CorelDRAW offers smoothing options to refine your freehand strokes further. Adjust the level of smoothing based on your preference, balancing the spontaneity of freehand drawing with the desire for clean, polished lines.
Correction and Adjustment Tools:
Despite the Freehand tool’s liberating nature, CorelDRAW provides correction and adjustment tools to refine your strokes:
- Shape Edit: Utilize the Shape Edit tool to tweak and refine your freehand lines after drawing. This tool allows you to adjust individual nodes, ensuring precision without compromising the natural flow of your artwork.
- Sculpting and Shaping: The Sculpting and Shaping tools in CorelDRAW enable users to sculpt, smoothen, and shape their freehand lines retrospectively. These tools empower you to fine-tune your design with precision.
Advanced Techniques:
- Creating Custom Brushes: Elevate your freehand drawings by experimenting with custom brushes. CorelDRAW allows users to create and import custom brushes, providing endless possibilities for adding unique textures and effects to your lines.
- Layering for Depth: Harness the power of layers to add depth to your illustrations. By layering freehand strokes, you can create intricate designs with foreground and background elements, enhancing the overall visual impact of your artwork.
Troubleshooting Common Issues:
- Jittery or Unsteady Lines: If you encounter jittery or unsteady lines, consider adjusting the smoothing options in the tool settings. Experiment with different levels until you find the right balance between spontaneity and stability.
- Inconsistencies in Line Thickness: To address inconsistencies in line thickness, ensure that pressure sensitivity is configured correctly, especially if you are using a graphic tablet. Additionally, practice drawing with consistent pressure to achieve uniform lines.
Conclusion:
Mastering the Freehand tool in CorelDRAW is a journey that combines artistic intuition with technical finesse. Whether you are a seasoned professional or a novice exploring the world of vector graphics, this guide provides a comprehensive roadmap for drawing precise lines while embracing the spontaneity and creativity inherent in the Freehand tool. With patience, practice, and a thorough understanding of the tool’s capabilities, you’ll be well-equipped to bring your artistic visions to life on the digital canvas. So, pick up your stylus or mouse, activate the Freehand tool, and let your creativity flow seamlessly in the realm of CorelDRAW.


