Mastering the Art of Teeth Whitening and Brightening in Photoshop: A Comprehensive Guide
Introduction:
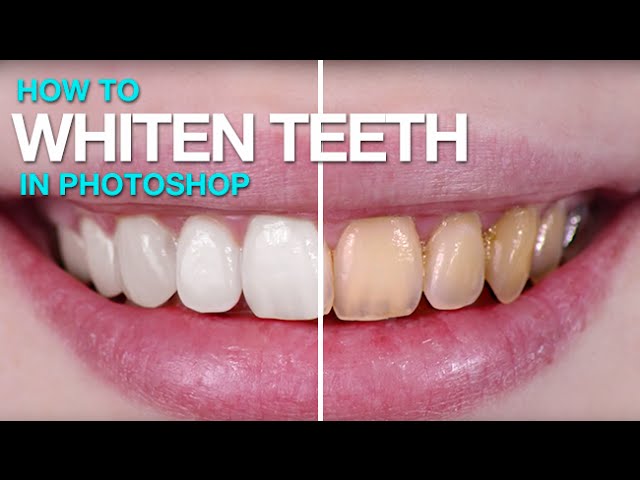
In the digital age, where visual aesthetics play a crucial role in our lives, achieving the perfect smile in photographs has become a sought-after skill. Photoshop, the industry-standard photo editing software, provides a myriad of tools to enhance and perfect images, including the ability to whiten and brighten teeth. In this comprehensive guide, we will delve into the step-by-step process of achieving stunningly radiant smiles through effective teeth whitening techniques in Photoshop.
Understanding the Basics:
Before embarking on the journey of transforming teeth in Photoshop, it’s essential to grasp the basics. Teeth whitening involves the process of lightening the color of teeth, removing stains, and enhancing overall brightness. This digital enhancement can elevate the visual appeal of portraits, making smiles appear more vibrant and healthy.
Step 1: Importing the Image:
Begin by opening Photoshop and importing the image you wish to enhance. Ensure that you are working with a high-resolution image to maintain clarity and detail during the editing process.
Step 2: Duplicate the Background Layer:
Before making any edits, duplicate the background layer to create a non-destructive editing environment. Right-click on the background layer and select “Duplicate Layer” from the menu.
Step 3: Zoom In for Precision:
Zoom in on the subject’s teeth to achieve a detailed view. This step is crucial for accurate editing, enabling you to target specific areas without affecting the surrounding elements of the image.
Step 4: Select the Teeth:
Use the “Lasso Tool” or the “Quick Selection Tool” to carefully select the teeth. Ensure that your selection is precise, capturing the entire teeth area without including adjacent elements like lips or gums.
Step 5: Create a New Adjustment Layer:
With the teeth selected, create a new adjustment layer by clicking on the “Create a new fill or adjustment layer” icon at the bottom of the Layers panel. Choose “Hue/Saturation” from the dropdown menu.
Step 6: Adjusting Saturation and Lightness:
In the Hue/Saturation adjustment layer, focus on the “Master” dropdown menu and move the “Saturation” slider to the left to desaturate the selected teeth. This step effectively removes color stains from the teeth. Experiment with the “Lightness” slider to brighten the teeth further.
Step 7: Refining the Mask:
To refine the mask and ensure a seamless blend, click on the mask thumbnail in the Layers panel. Use the “Brush Tool” with a soft brush to paint over any areas where the effect may have spilled over, such as lips or gums.
Step 8: Fine-Tuning with Curves:
For additional control over brightness, add a “Curves” adjustment layer. Adjust the curve to enhance the contrast and brightness of the teeth. Focus on creating a natural, subtle effect rather than an artificial and over-processed look.
Step 9: Addressing Highlights and Shadows:
To make the teeth appear more realistic, pay attention to highlights and shadows. Create a new layer and set the blending mode to “Overlay.” Use a soft brush with white to enhance highlights and black to deepen shadows, adding dimension to the teeth.
Step 10: Final Touches:
Review your edits and make any necessary adjustments. Ensure that the teeth appear naturally white and bright while maintaining a realistic look. Zoom out to view the entire image and assess the overall impact of your enhancements.
Conclusion:
Mastering the art of teeth whitening and brightening in Photoshop requires a blend of technical skills and a keen eye for detail. By following this comprehensive guide, you can elevate your photo editing capabilities, transforming ordinary smiles into radiant expressions. Experiment with different images, practice regularly, and soon you’ll find yourself achieving professional-level results in enhancing teeth in Photoshop. Remember, subtlety is key – the goal is to enhance natural beauty rather than create an artificial appearance. Happy editing!