Mastering Video Clip Trimming in DaVinci Resolve: A Comprehensive Guide
Introduction:
Trimming video clips is a fundamental skill in the video editing process, allowing editors to fine-tune the timing, pacing, and narrative flow of their projects. DaVinci Resolve, renowned for its robust editing capabilities, offers a plethora of tools and techniques for trimming video clips with precision and efficiency. In this comprehensive guide, we’ll delve into the intricacies of trimming video clips in DaVinci Resolve, equipping you with the knowledge and expertise to master this essential aspect of post-production.
Understanding the Importance of Video Clip Trimming:
Trimming video clips involves removing unwanted portions of footage, adjusting the in and out points, and refining the timing of edits to enhance storytelling and visual coherence. Whether you’re crafting a feature film, commercial advertisement, or social media video, mastering the art of video clip trimming is essential for achieving seamless transitions, maintaining audience engagement, and conveying your narrative with clarity and impact.
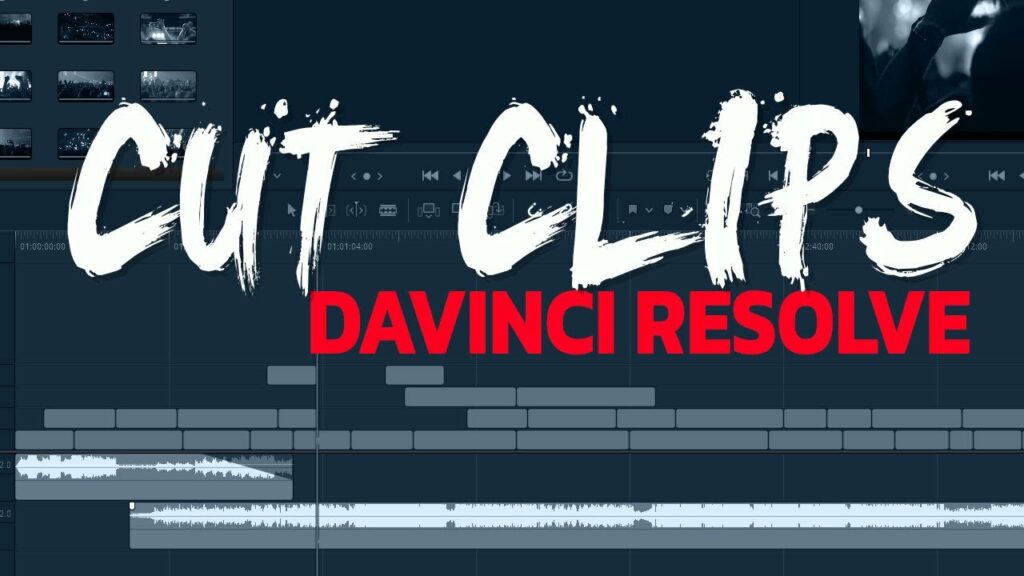
Navigating the Trimming Tools in DaVinci Resolve:
DaVinci Resolve provides a comprehensive array of trimming tools and techniques to suit different editing preferences and workflow requirements. Let’s explore the primary trimming tools available in DaVinci Resolve:
- Trim Edit Mode:
- Trim Edit Mode allows editors to directly manipulate the in and out points of video clips on the timeline.
- Enter Trim Edit Mode by selecting a clip on the timeline and pressing the “T” key, or by clicking the Trim Edit Mode button in the toolbar.
- In Trim Edit Mode, editors can perform various trimming operations, including ripple edits, roll edits, slip edits, and slide edits, to refine the timing and duration of clips.
- Blade Edit Mode:
- Blade Edit Mode enables editors to cut video clips at specific points on the timeline.
- Enter Blade Edit Mode by selecting the blade tool or pressing the “B” key.
- Use the blade tool to create cuts in the timeline, allowing you to trim individual segments of a clip independently.
- Dynamic Trim:
- Dynamic Trim provides real-time feedback on the impact of trimming adjustments as you drag the edit points on the timeline.
- Activate Dynamic Trim by clicking the Dynamic Trim button in the toolbar or by pressing the “D” key.
- With Dynamic Trim enabled, editors can preview the changes to the edit points and evaluate the resulting edits in real-time, enhancing precision and efficiency.
- Trim Viewer:
- The Trim Viewer provides a dedicated interface for fine-tuning the in and out points of video clips.
- Access the Trim Viewer by double-clicking on a clip in the timeline or by clicking the Trim Viewer button in the toolbar.
- In the Trim Viewer, editors can scrub through the clip, set precise in and out points, and preview the trimmed segment before applying the changes to the timeline.
- Ripple Trim:
- Ripple Trim allows editors to trim video clips while automatically adjusting the adjacent clips on the timeline to maintain continuity.
- Activate Ripple Trim by selecting a clip on the timeline and dragging the edit points while holding down the Alt key (Option key on Mac).
- Ripple Trim dynamically adjusts the timing of neighboring clips to accommodate the trimmed segment, preserving the overall timing and sequence of the edit.
Best Practices for Video Clip Trimming:
Mastering video clip trimming requires a combination of technical proficiency, creative intuition, and attention to detail. Here are some best practices to enhance your trimming workflow in DaVinci Resolve:
- Plan Ahead:
- Before trimming video clips, carefully review your footage and develop a clear understanding of the desired pacing, rhythm, and narrative structure of your project.
- Identify the key moments, story beats, and transitions that require precise trimming to convey your intended message effectively.
- Use Keyboard Shortcuts:
- Familiarize yourself with the keyboard shortcuts for trimming operations in DaVinci Resolve to expedite your editing workflow.
- Learn shortcuts for common trimming tasks such as ripple edits, roll edits, blade cuts, and dynamic trimming to work more efficiently and intuitively.
- Practice Non-Destructive Editing:
- Embrace non-destructive editing techniques to preserve the integrity of your original footage and maintain flexibility throughout the editing process.
- Avoid making irreversible changes to your clips whenever possible, opting instead for adjustments that can be easily reverted or modified as needed.
- Refine Transitions:
- Pay close attention to the transitions between video clips when trimming footage, ensuring seamless continuity and visual coherence.
- Experiment with different trimming techniques to achieve smooth transitions, such as J-cuts, L-cuts, and match cuts, to enhance the flow of your edits.
- Iterate and Experiment:
- Don’t be afraid to experiment with different trimming techniques and creative approaches to refine your edits and discover new storytelling possibilities.
- Iterate on your edits, fine-tuning the timing and pacing of your clips until you achieve the desired emotional impact and narrative resonance.
Conclusion:
Trimming video clips is a nuanced and essential aspect of the video editing process, requiring a blend of technical proficiency, creative intuition, and meticulous attention to detail. By mastering the trimming tools and techniques available in DaVinci Resolve, you can elevate your editing skills, enhance the visual storytelling of your projects, and captivate audiences with compelling narratives and seamless transitions. Whether you’re crafting a cinematic masterpiece, a promotional video, or a vlog for social media, the ability to trim video clips with precision and finesse is indispensable for achieving professional results and realizing your creative vision.


