Illuminating Creativity: A Comprehensive Guide to Adding a Neon Glow Effect in HitFilm Express

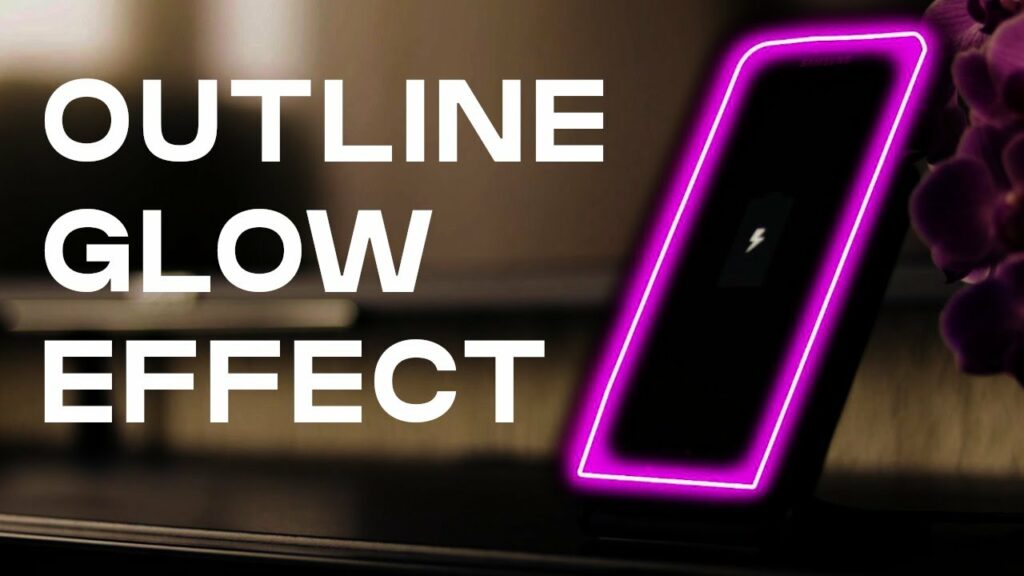
Introduction: Neon glow effects are a popular visual technique used in filmmaking, music videos, and motion graphics to create vibrant and captivating visuals. These effects mimic the luminous glow produced by neon lights, adding a dynamic and electrifying aesthetic to footage. HitFilm Express, a versatile and free video editing and visual effects software, provides users with the tools and features to easily create and customize neon glow effects for their projects. In this comprehensive guide, we will explore the step-by-step process of adding a neon glow effect in HitFilm Express, from importing footage to applying and customizing the effect for professional-quality results.
Understanding Neon Glow Effects: Neon glow effects simulate the appearance of neon lights, which emit a colorful and luminous glow when electrically charged. These effects are often used to create futuristic, retro, or stylized visuals, adding visual interest and atmosphere to footage. Neon glow effects can be applied to text, shapes, objects, and even entire scenes, enhancing the mood, tone, and storytelling of a video. With HitFilm Express, users can apply neon glow effects using built-in tools and effects, as well as third-party plugins and assets, to achieve their creative vision.
Step 1: Importing Footage into HitFilm Express The first step in adding a neon glow effect in HitFilm Express is to import the footage into the project. Launch HitFilm Express on your computer and create a new project by clicking on the File menu and selecting New. Import the footage into the project by clicking on the Import button in the Media panel and navigating to the location of the footage on your computer. Alternatively, you can drag and drop the footage directly into the Media panel in HitFilm Express.
Step 2: Creating Text or Shapes After importing the footage into HitFilm Express, create the text or shapes to which you want to apply the neon glow effect. To create text, select the Text tool from the toolbar and click anywhere in the Viewer panel to create a new text layer. Type your desired text and use the Text panel to customize the font, size, color, and other text properties. To create shapes, select the Rectangle, Ellipse, or Pen tool from the toolbar and draw a shape directly in the Viewer panel. Use the Shape layer properties to customize the shape’s fill, stroke, and other properties.
Step 3: Applying the Neon Glow Effect Once you’ve created the text or shapes, apply the neon glow effect to them in HitFilm Express. Select the text or shape layer in the Viewer panel and navigate to the Effects panel. Search for the “Glow” effect in the Effects panel and drag it onto the selected layer in the Viewer panel. Adjust the Glow effect settings, such as Radius, Intensity, Threshold, and Color, to achieve the desired neon glow effect. Experiment with different settings to create unique and stylized visuals.
Step 4: Customizing the Neon Glow Effect After applying the neon glow effect, customize it to further enhance the visuals and achieve the desired look and feel. Select the text or shape layer in the Viewer panel and navigate to the Controls panel. Locate the Glow effect controls and adjust them to fine-tune the neon glow effect. Experiment with parameters such as Radius, Intensity, Threshold, Color, and Blend Mode to create different looks and styles. Preview the effect in real-time in the Viewer panel to assess the changes and make any necessary adjustments.
Step 5: Adding Additional Visual Effects (Optional) To enhance the neon glow effect even further, consider adding additional visual effects in HitFilm Express. Experiment with effects such as Blur, Glow, Lens Distortion, and Color Grading to add depth, atmosphere, and visual interest to the footage. Combine multiple effects to create complex and dynamic visuals that captivate and engage viewers. Remember to adjust the effect settings and parameters to achieve the desired look and feel while maintaining visual coherence and consistency.
Step 6: Previewing and Exporting the Final Result Once you’re satisfied with the neon glow effect and any additional visual effects, preview the final result in HitFilm Express to assess the overall look and feel. Play back the footage in the Viewer panel to review the neon glow effect and visual effects in real-time. Make any necessary adjustments or refinements to the effect settings to achieve the desired result. Once you’re happy with the final result, export the footage as a video file by navigating to the Export tab and selecting the desired output format, resolution, and compression settings.
Tips and Best Practices:
- Experiment with different colors, intensities, and blend modes for the neon glow effect to create unique and stylized visuals.
- Combine multiple text or shape layers with neon glow effects to create complex and dynamic compositions.
- Use keyframes to animate the neon glow effect over time, creating dynamic and engaging animations.
- Pay attention to details such as composition, lighting, and camera angles to create visually compelling scenes.
- Study and analyze examples of neon glow effects in films, music videos, and motion graphics to inspire and inform your own work.
Conclusion: Adding a neon glow effect in HitFilm Express is a creative and versatile technique that allows you to enhance the visual aesthetics and storytelling of your footage. By following the step-by-step process outlined in this guide and experimenting with different tools and techniques, you can create dynamic and engaging visuals that captivate and engage audiences. Whether you’re creating titles, logos, transitions, or other motion graphics elements, HitFilm Express provides all the tools and features you need to bring your creative vision to life. With practice, experimentation, and creativity, you can master the art of adding neon glow effects in HitFilm Express and unlock endless possibilities for visual storytelling and expression.


