How to Build a High-End LUT Look Completely Inside Photoshop
How to Build a High-End LUT Look Completely Inside Photoshop
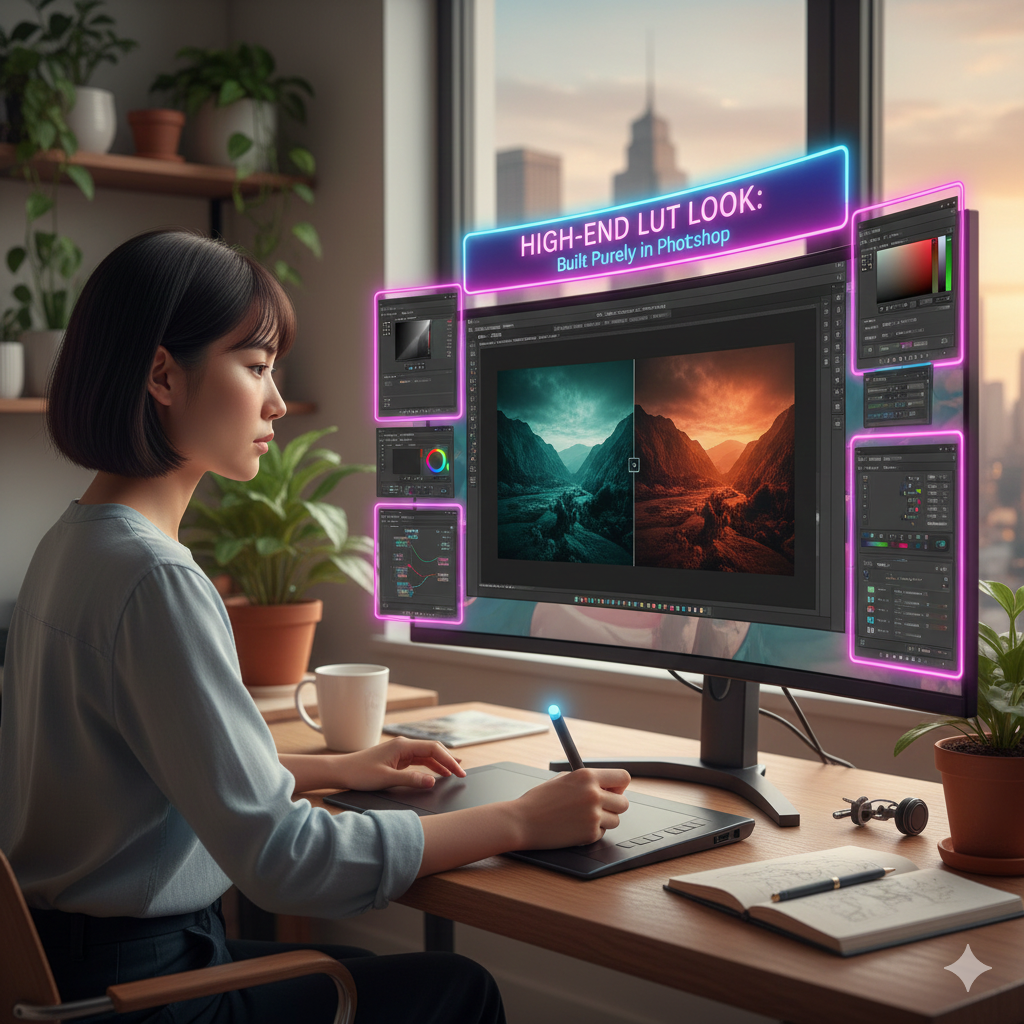
Look-Up Tables, often known as LUTs, are an effective technique that may be used to apply color grading that is consistent across several pictures or video sequences. It is possible for photographers and designers to create cinematic, stylistic, or brand-specific appearances without having to depend on third-party tools if they construct a high-end LUT fully inside Photoshop. Photoshop has the capability to generate an adaptable LUT that can be applied several times in order to retain a consistent visual style. This is accomplished via the use of adjustment layers, blending modes, and careful tonal management.
Acquiring Knowledge about LUTs and Their Function
A look-up table (LUT) is simply a map that converts the colors of an image from one range to another. It does this by giving a transformation that is constant for the shadows, midtones, and highlights of the picture. For the purpose of establishing a mood, unifying color palettes, or creating dramatic visual effects, LUTs are used extensively in the workflows of photography, cinema, and design environments. By constructing a LUT inside Photoshop, one may exercise full control over each and every color modification, while also guaranteeing that the final appearance can be replicated across a number of different projects.
Assembling the Base Image for Use
Commence with a picture that is well-balanced and has neutral tones. Before applying any stylistic color tweaks, make sure that the exposure, white balance, and contrast are all correct. It is advised that you convert the basic picture into a Smart Object in order to maintain flexibility. This will enable you to modify or change the layers that are under the surface without altering the information that was first created. A foundation that is neutral guarantees that the LUT will behave in a predictable manner when applied to other pictures.
Developing the Color Gradation structure
The foundation of a look-up table (LUT) is a stack of adjustment layers that has been meticulously designed. A fine control over contrast and individual RGB channels may be achieved via the use of curves. Alterations to hue/saturation and color balance allow you to change and improve the strength of colors, while the Selective Color feature allows you to zero in on certain hues. You may produce dramatic or stylistic tones over the picture with the use of gradient maps, which are especially effective applications. Individual adjustments may be made to each adjustment layer, which provides tiered control over the overall appearance of the final product.
Enhancing the Blending Modes and Opacity for Refinement
Natural integration of the color grade may be achieved via the use of blending modes and opacity modifications. For example, using Overlay or Soft Light on a Gradient Map allows for the creation of tiny changes without reducing the contrast from the original. By decreasing the opacity of certain adjustment layers, you can guarantee that the color grading will continue to be natural and balanced. The objective is to create a cinematic effect that improves the picture without generating color changes that are harsh or unnatural.
Preparedness for the Export of LUT
Creating a neutral reference picture, such as a gradient from black to white or a standard color chart, should be done before exporting the image. It is necessary to apply your whole adjustment stack to this picture in order for Photoshop to accurately record the mapping of colors from input to output. It is via this phase that the LUT is guaranteed to work correctly over a wide range of pictures.
When the LUT is exported
To access the Color Lookup Tables in Photoshop, go to the File menu and choose Export. Choose a format, which is commonly either 3DL or CUBE, then give your LUT a name. To guarantee that the transitions between tones are seamless, choose high quality. Photoshop will produce a look-up table (LUT) that may be used for other projects, such as video or still photos, while preserving the precise appearance of the alterations you made it to.
Experimenting with and improving the LUT
Test the LUT on a number of different photos once it has been exported to check that it is consistent. It is possible that certain alterations will need small revisions if there is an unanticipated shift in the midtones, shadows, or highlights. Due to the fact that the LUT is derived from adjustment layers, you are able to always return to the original PSD, make adjustments to the layers, and then re-export, which makes it quite simple to do iterative refining.
Incorporating Additional Effects to Improve the Appearance
When you want to get high-end results, you should think about adding subtle finishing touches such as vignettes to direct the attention of the viewer, soft light overlays to provide further control over the highlights, or gradient overlays to create duotone effects. These additions, when applied with care, enrich the LUT while maintaining the workflow’s non-destructive and adaptable nature.
A Workflow That Is Flexible Being Maintained
Maintain a master PSD file from which the adjustment layer stack may be retrieved. This makes it possible for you to change, update, or extend your LUT in the future without having to resort to rebuilding it from the ground up. Through the use of Smart Objects, masks, and adjustment layers, the workflow is guaranteed to stay completely editable and of a professional standard.
The ability to create a high-end LUT fully inside Photoshop gives designers and photographers the flexibility to produce dramatic and styled images with accuracy and reproducibility. You may create a reusable look-up table (LUT) that consistently improves photos and video by combining layered adjustment controls, careful blending, and non-destructive workflow approaches. This will result in an increase in the quality and cohesiveness of your visual projects.